
 When I reviewed a Samsung that was only a few months old a year ago Galaxy With the III mini, I wrote about it being an incredibly amazing phone for its price and performance, and my opinion hasn't changed much since then. But what has changed is the amount of accumulated experience with it, and over time I not only discovered all its possibilities, but unfortunately also some errors, the most annoying of which was the missing button for moving applications to the SD card, the absence of which over time due to only 5 GB of internal memory began to show more and more.
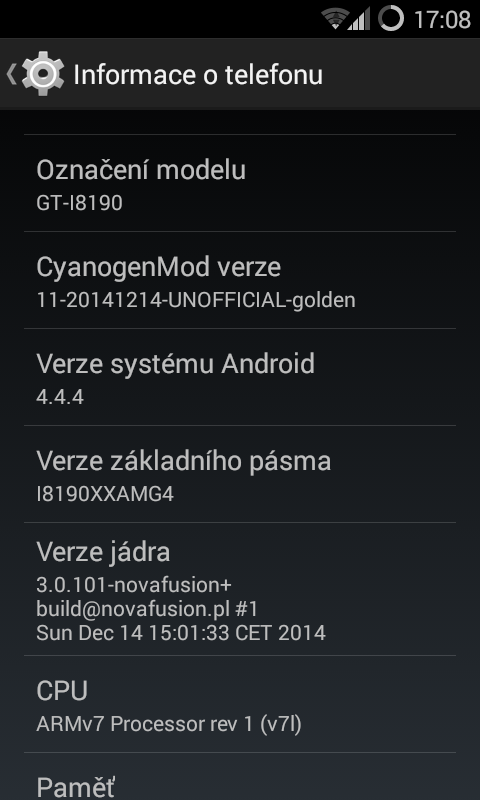
Unfortunately, all models have this problem Galaxy S III mini with the designation GT-I8190 or GT-I8190N and although Samsung very likely knows about it, it does nothing about it and instead of updating the software, it decided to release an improved S III mini with the designation VE last January, which has a newer version of the firmware and improved processor. However, you simply cannot turn the classic S III mini into a VE version, no matter how hard you try and if the inability to use an SD card bothers you or you just want to have a phone with a newer version of the operating system Android, this guide is just for you.
//
Just a few years ago, a "manual" system update would have cost several hours of work, but time has progressed in such a way that this seemingly complex task can be completed in a few tens of minutes, and moreover without the risk of your smartphone becoming a "brick", i.e. a broken piece of hardware usable for… who knows what. What's more, installation Androidfor 4.4.4 or CyanogenMod 11 on Samsung Galaxy With the III mini, the phone speeds up significantly, because compared to 4.1.2, KitKat is more optimized and the CyanogenMod version is also without the often criticized TouchWiz. But it doesn't change the fact that if you install 300 applications running in the background and another 80 widgets on your smartphone, how users Androidu often like to do and then curse how their "crap" is terribly slow, you can say goodbye to fluency.
In advance would be good warn, that during the process of flashing a new ROM, all your user data will be lost and the phone will be in the same state as if you had just purchased it, so we recommend that you make a list of the apps you use, back up photos, music and other media to your computer and move your contacts to the SIM card. And what will you need? Samsung of course Galaxy S III mini (GT-I8190) charged at least 50%, PC, USB cable to connect phone to PC, installed necessary drivers to schedule Odin3.
If everything is fulfilled, we can start the first of three parts of the procedure, which may seem long, but in the final it only takes a moment. The first part is about rooting the smartphone itself.
(Please note that rooting voids your warranty, as this is unauthorized access to the system, but rooting is absolutely necessary to upload a custom ROM. Fortunately, there are also various "unroots" that should make everything go smoothly in the event of a claim )
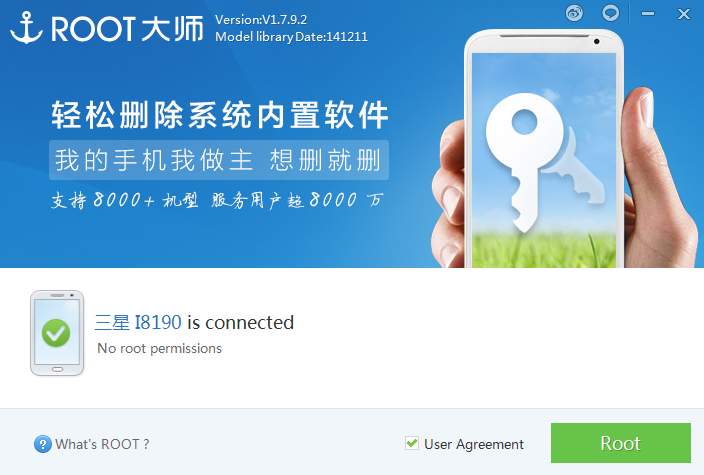
- From the link <a href="https://cdn.shopify.com/s/files/1/1932/8043/files/200721_ODSTOUPENI_BEZ_UDANI_DUVODU__EN.pdf?v=1595428404" data-gt-href-en="https://en.notsofunnyany.com/">here</a> download, install and run the iRoot application
- We connect using a USB cable Galaxy S III mini to PC
- In Settings > Developer options we activate the option "USB Debugging" (USB Debugging)
- iRoot detects and prepares the device for root after updating the database
- We click on the "ROOT" button (see image)
- The device will root and reboot after a while
- Rooting your device is done.
- If you use an antivirus on your smartphone, it will probably report the presence of a virus in one of the new applications, but there is nothing to worry about, so we will choose the option "ignore" or something similar.
The first part is behind us, now it's time to upload our own recovery mode to the smartphone, thanks to which we will then be able to upload our own custom ROM, i.e. Android 4.4.4 KitKat, respectively CyanogenMod 11.
- From the link <a href="https://cdn.shopify.com/s/files/1/1932/8043/files/200721_ODSTOUPENI_BEZ_UDANI_DUVODU__EN.pdf?v=1595428404" data-gt-href-en="https://en.notsofunnyany.com/">here</a> we download the ClockworkMod file to the PC recovery.tar.md5 we extract from the archive
- Let's run Odin3
- We'll turn it off Galaxy With the III mini and we enter the download mode. We will get there by holding down the volume down button, the home button and the power button at the same time on the device that is turned off, until we see the screen with the inscription "WARNING".
- Use the volume up button to continue to download mode.
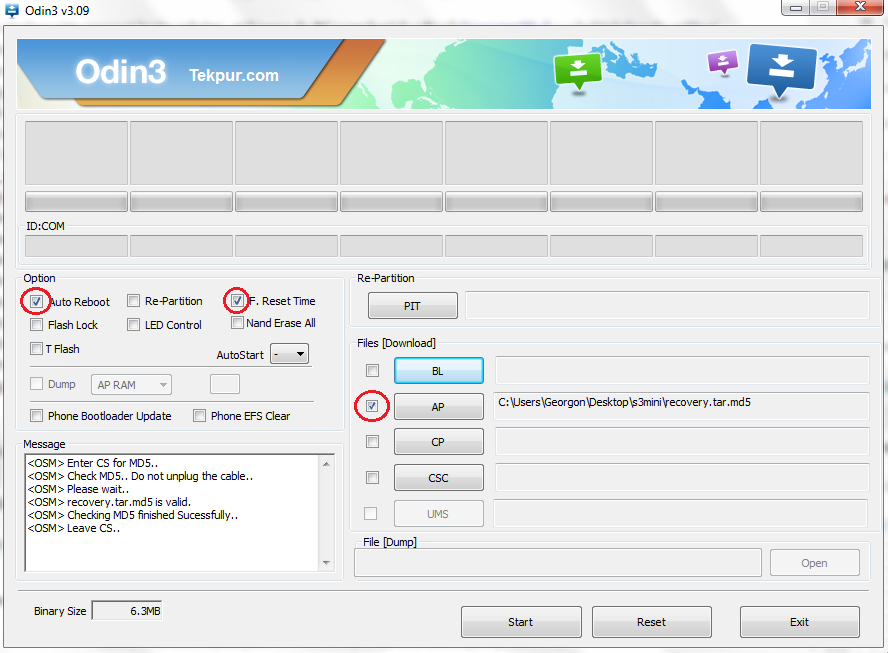
- In Odin3, click on "AP" (or "PDA", it varies by version) and select the file recovery.tar.md5
- Let's make sure that in addition to "AP", only the "Auto Reboot" and "F. Reset Time", or we will make it so (see image)
- The smartphone must be connected to the PC, as well as the mentioned drivers installed and "USB Debugging" turned on
- We click on the "START" button
- ClockworkMod will be loaded onto your device, Galaxy The S III mini restarts after a while
- After a few seconds from the restart, the loading of the custom recovery mode should be complete
The device now has its own recovery mode in the form of ClockworkMod. Some may prefer TWRP, but it may have a verification issue when flashing the ROM. Now the last part is in front of us, which is uploading the ROM itself.
- If all the steps described above are fulfilled, we will download to the PC from the given links CyanogenMod 11 a Google Apps Package
- It is also possible to download a package with several applications incl. e.g. Google Chrome, but there may be a size problem during installation, but additional applications can always be downloaded from the Google Play Store
- !We do not extract anything!
- We copy the downloaded .ZIP files anywhere on the phone's SD card, or even in the phone's internal memory
- We turn off the phone and turn it on in recovery mode by holding the volume up button, home button and power button at the same time for about 10 seconds
- In recovery mode, move up/down using the volume up/down buttons, confirm the selection by pressing the power button
- In recovery mode, select the "wipe data/factory reset" option, then "wipe cache partition" and in "Advanced" select "wipe dalvik cache"
- We select the option "install zip from sdcard", followed by "choose zip from external sdcard“
- We will find a .zip file with CyanogenMod with a name similar to "cm11.0_golden.nova..." and install it
- We will then do the same with the package of Google applications whose name starts with "pa_gapps"
- If everything is done, we select the "reboot system now" option and the device will reboot
- The first power on should take up to a few minutes, but if the wait is longer than 5-10 minutes, hold the power button, the device will restart again, this time already successfully
- Even before turning on, some applications are updated
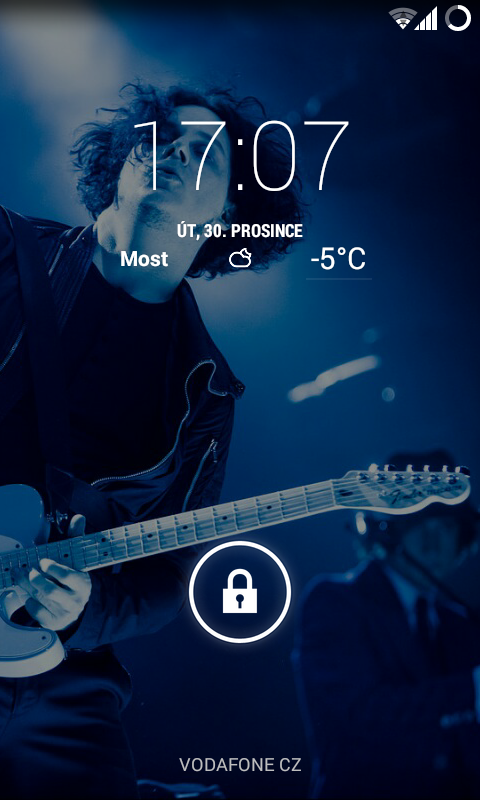
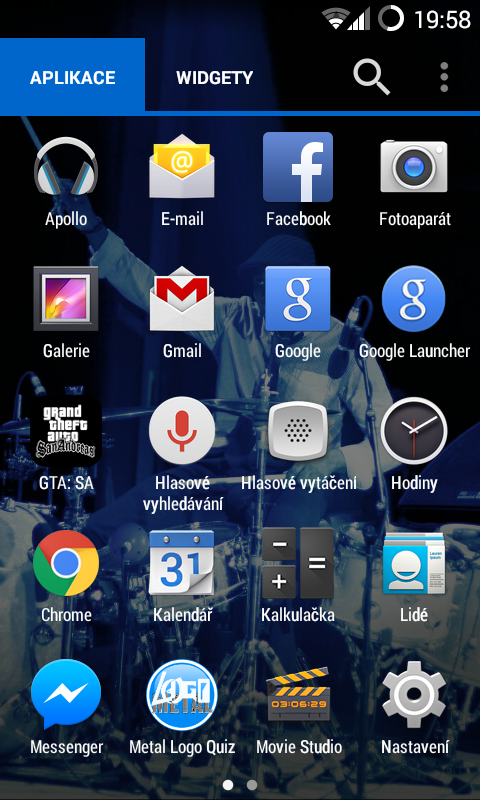
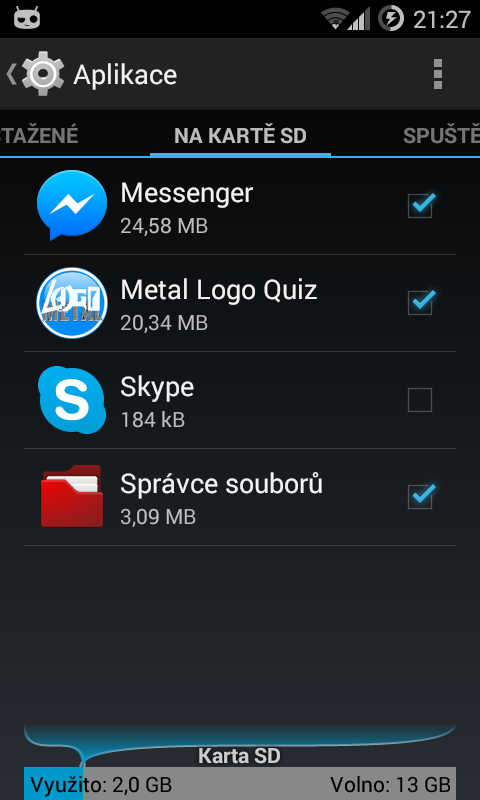
- And it is done! Set your own Galaxy With III mini as you need, Android KitKat on this device is truly amazing and you will definitely not regret your decision to upgrade the system, it's a nice change from 4.1.2 in every way including moving apps to SD card working! (see pictures)

For Samsung Galaxy CyanogenMod 12 s is also available with the III mini Androidem 5.0.1 Lollipop, but the current beta build crashes a lot and is unstable, plus no working camera. The procedure given here is exclusive to Samsung Galaxy S III mini (GT-I8190), but for many others Android device, installing a custom ROM is similar and often differs only by downloading a different ROM version from a link <a href="https://cdn.shopify.com/s/files/1/1932/8043/files/200721_ODSTOUPENI_BEZ_UDANI_DUVODU__EN.pdf?v=1595428404" data-gt-href-en="https://en.notsofunnyany.com/">here</a>.
//
