For many of us, Synology is the word we imagine when we think of NAS or home server. It is widely known that Synology is the market leader in terms of NAS stations, and the new DS218play device only confirms this. Synology DS218play was sent to me by Synology Inc. for a short test and review. In this first part, we will look at the appearance of the Synology itself, both from the outside and from the inside, we will tell you how to connect this NAS and, last but not least, we will look at the DSM (DiskStation Manager) user interface.
Official specification
As usual, we'll start with some numbers and some facts so that we have an idea of what we're actually working with. I already mentioned in the title that we will be working with the new Synology DS218play. According to the manufacturer, the DS218play device is designed for all multimedia enthusiasts. In terms of hardware, the DS218play boasts a quad-core processor clocked at 1,4GHz and a read/write speed of 112MB/s. In addition to this great hardware, the station can support transcoding of source content in 4K Ultra HD resolution in real time. Synology also thought about consumption, which is more than green and many an environmentalist must be happy - 5,16 W in sleep mode and 16,79 W during load.
Packing
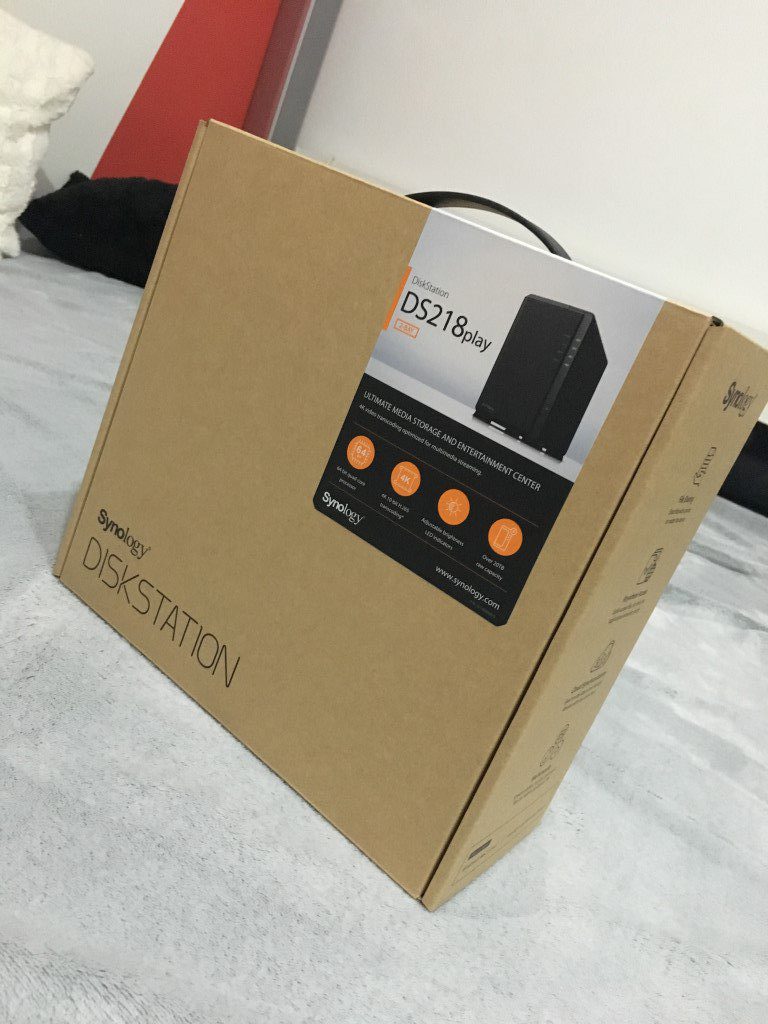
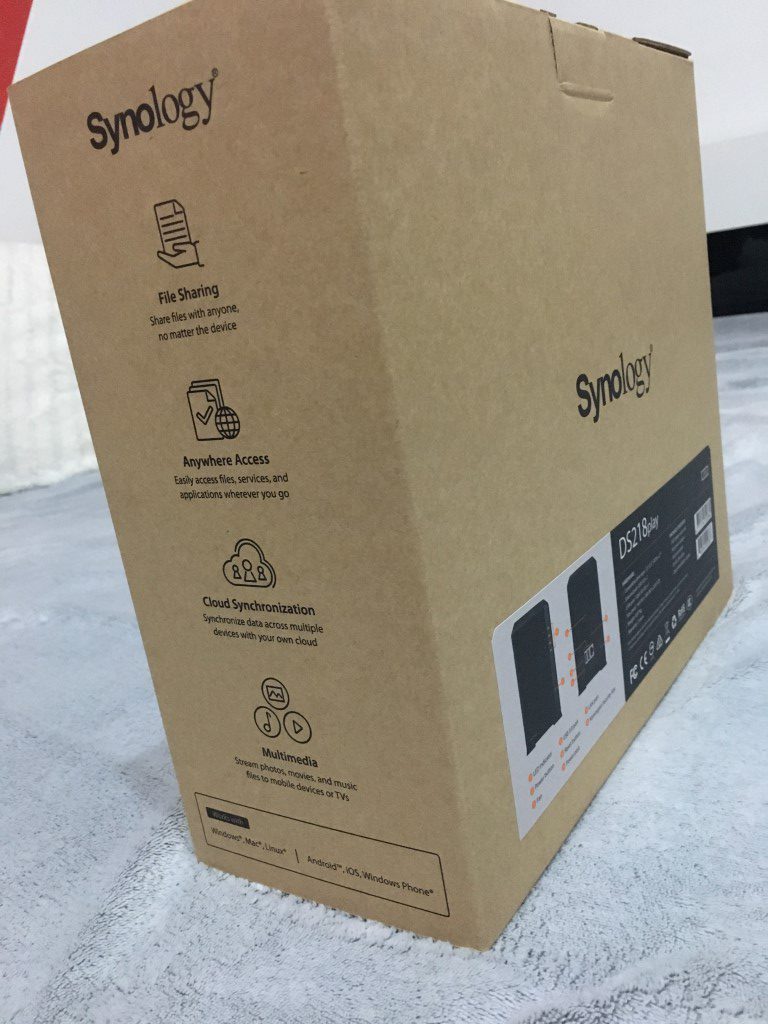
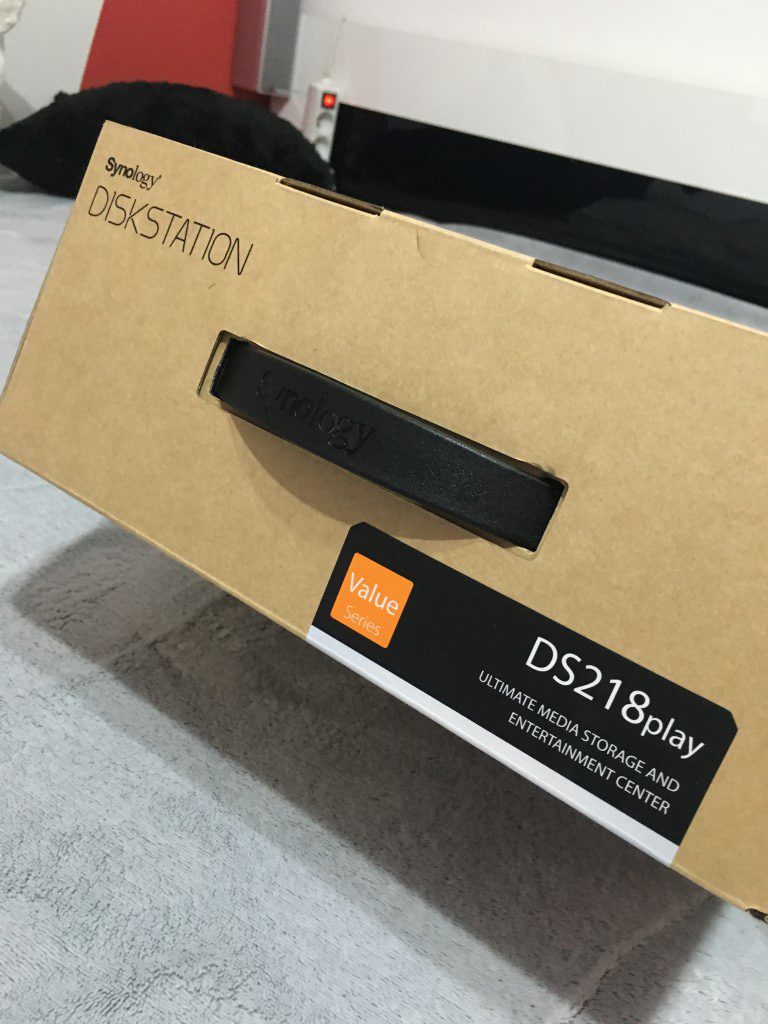
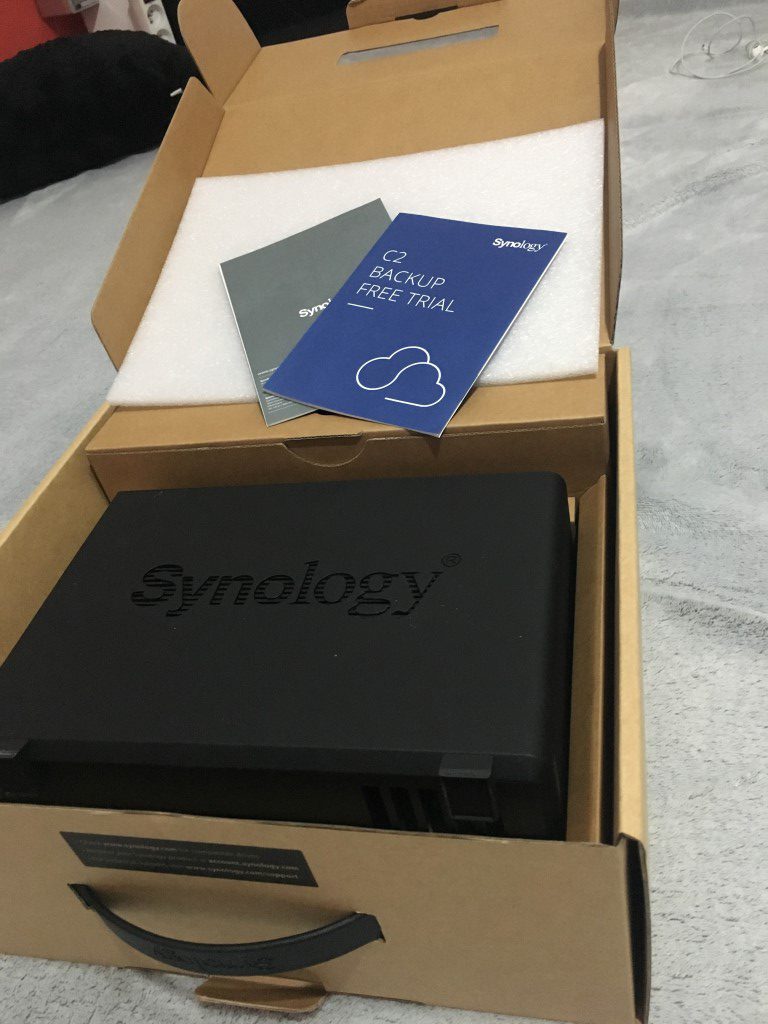
The Synology DS218play comes to your home in a simple but nice box - and why not, there is beauty in simplicity, and in my opinion, Synology follows this motto. On the box, outside of the manufacturer's logos, we find labels and images that specify the device more. But we are interested in the contents of the box. Inside the box is a simple manual and an "invitation" to try Synology's C2 Backup, a cloud-based service that we'll take a closer look at in the next installment. Also in the box we find the power and LAN cable, together with the source. Furthermore, there is a kind of metal "support" for hard drives, and of course we cannot do without screws. We'll save the best for last - the box of course contains the main thing we're here for - the Synology DS218play.
Processing station
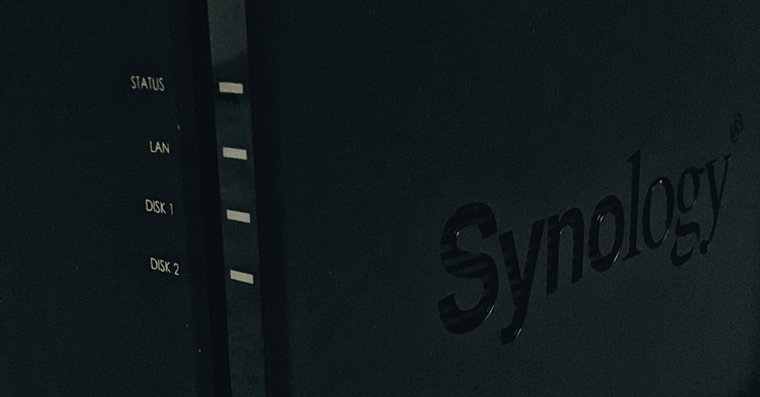
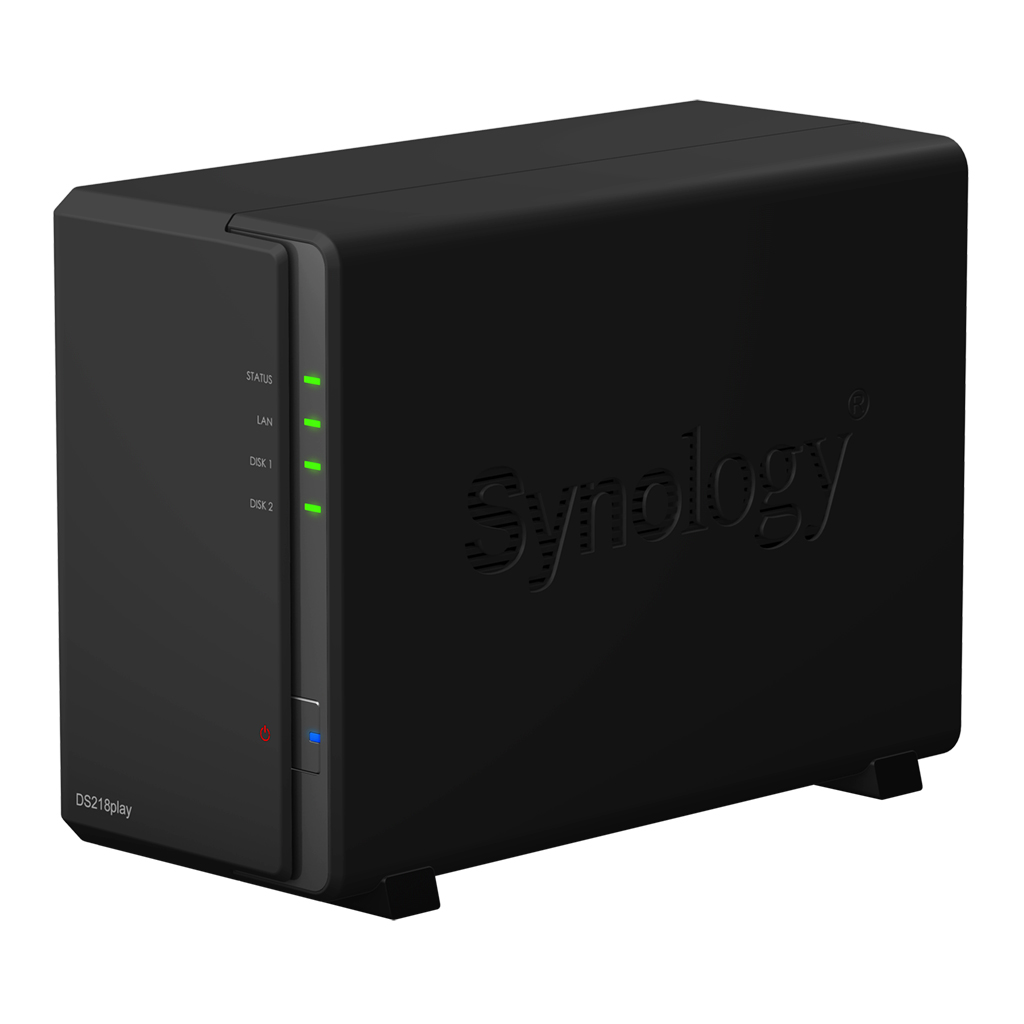
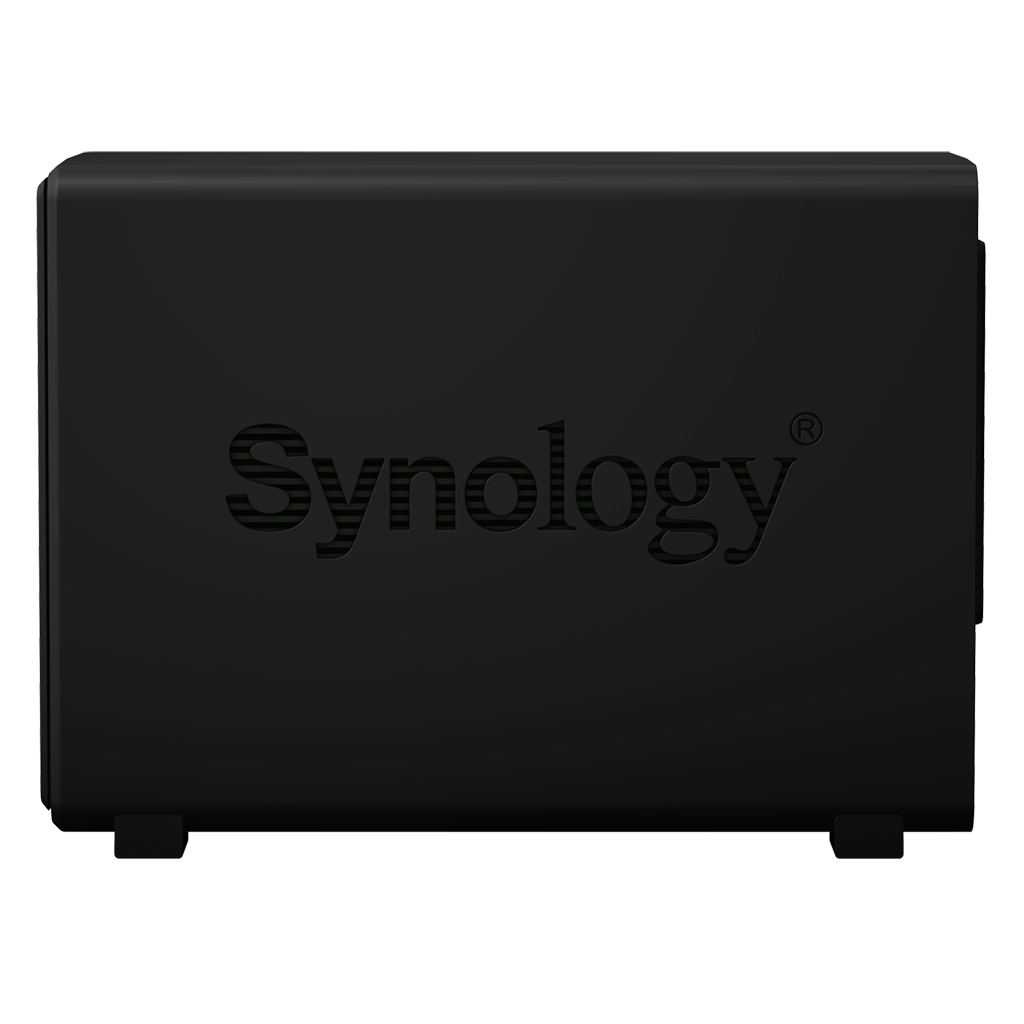
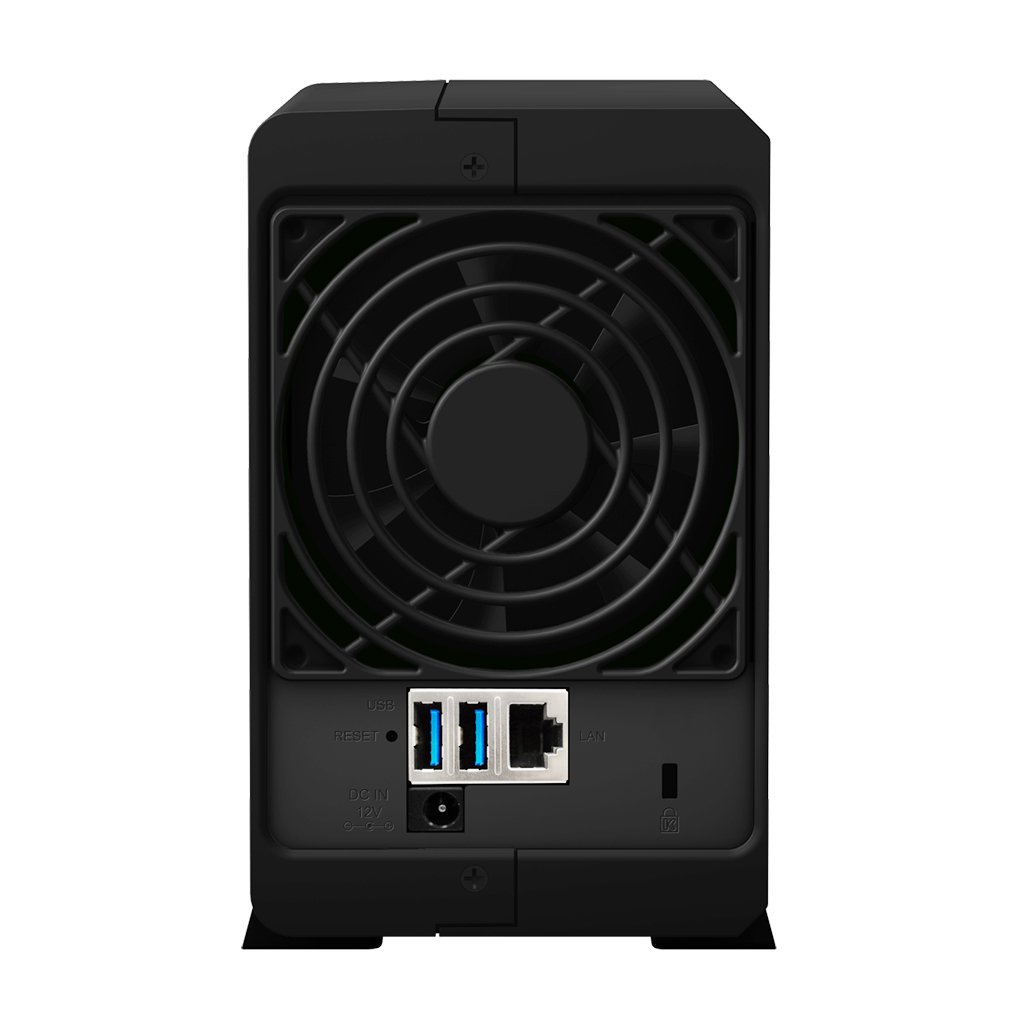
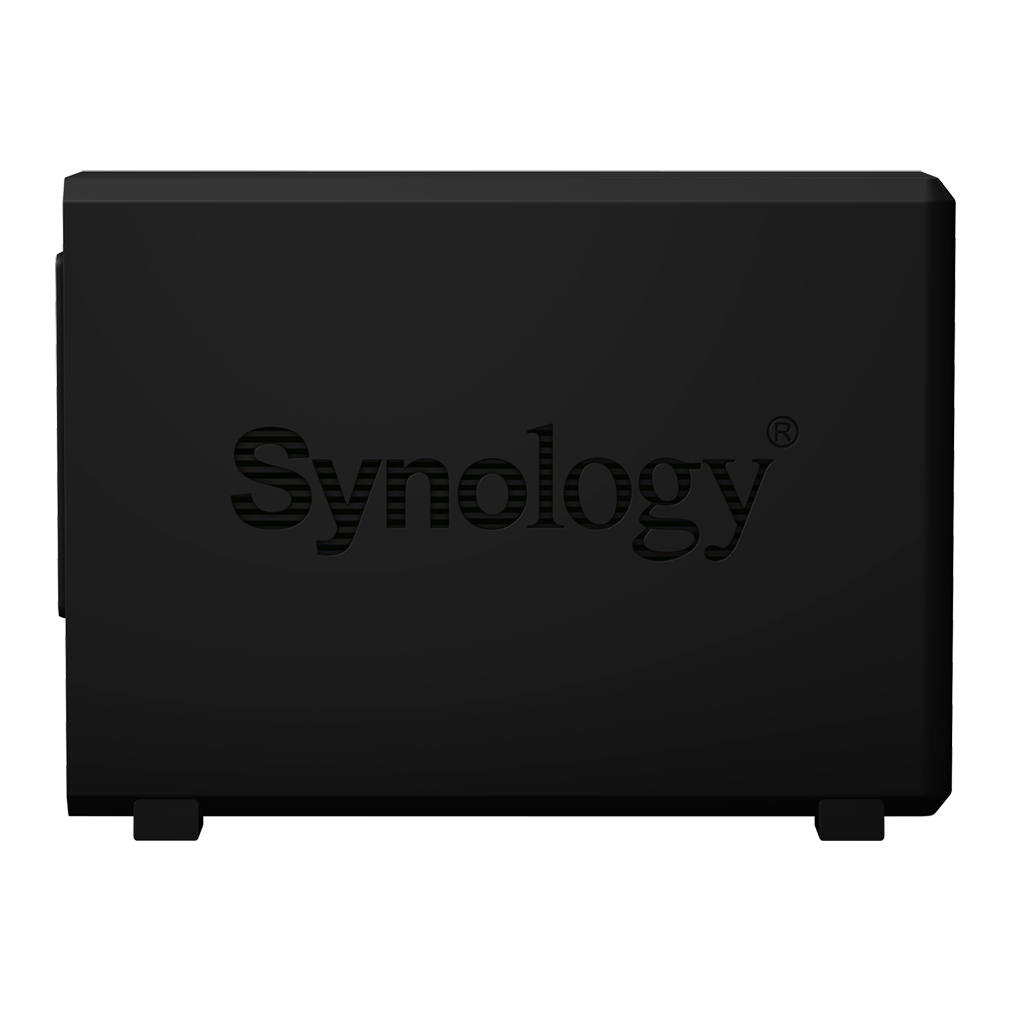
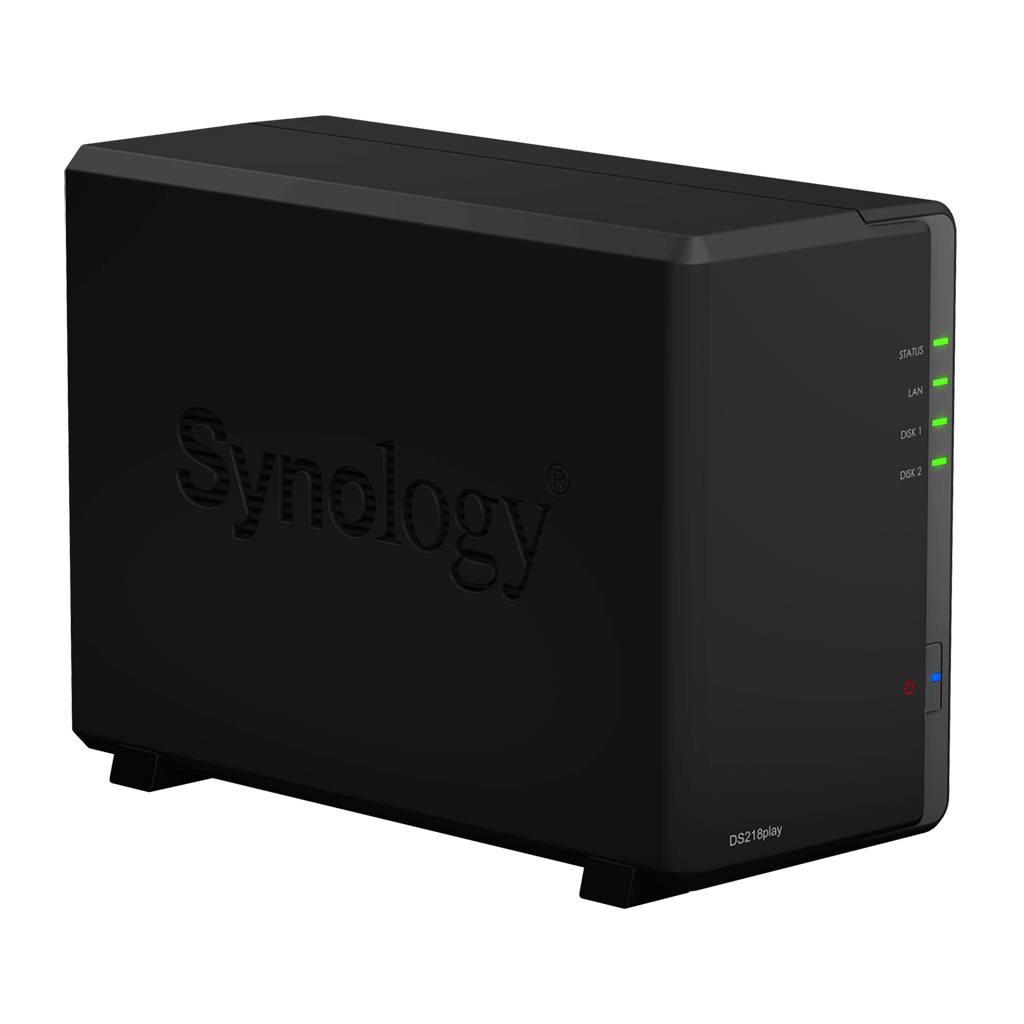
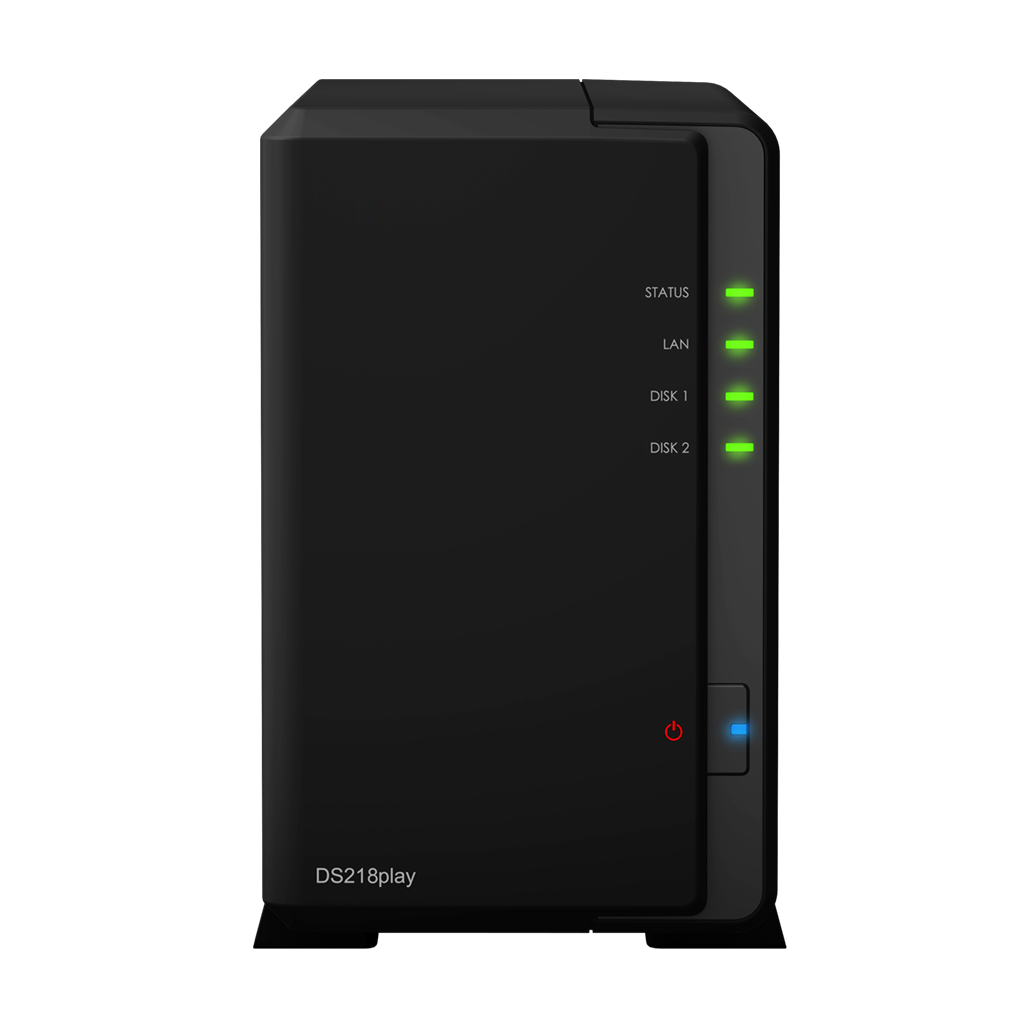
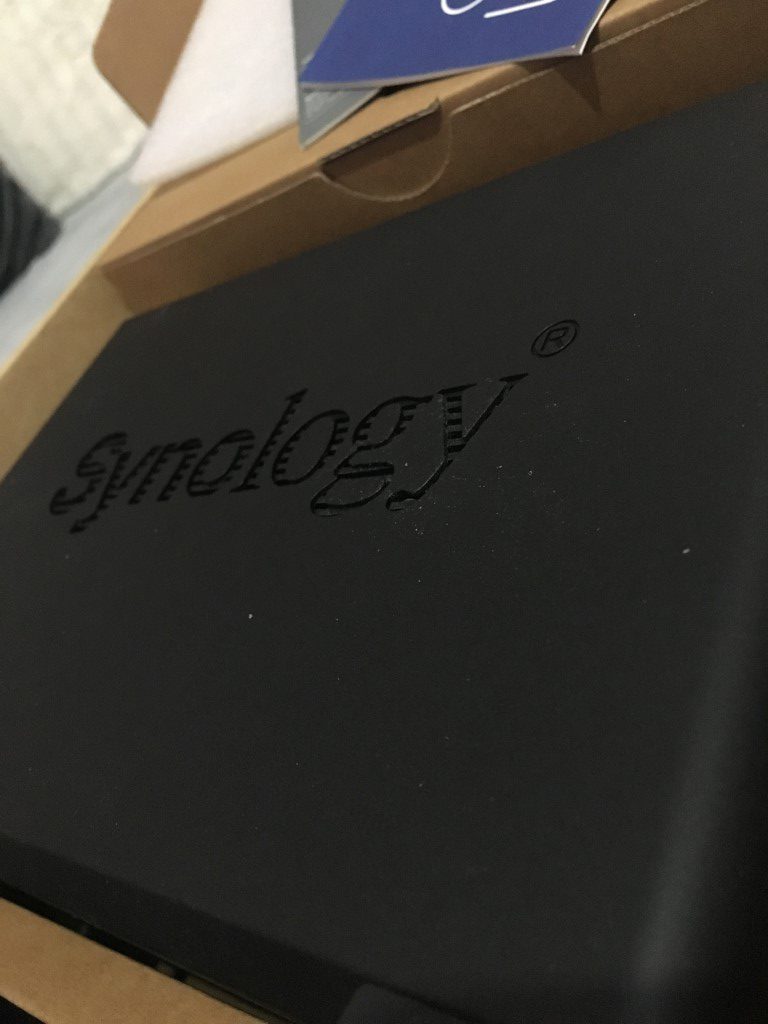
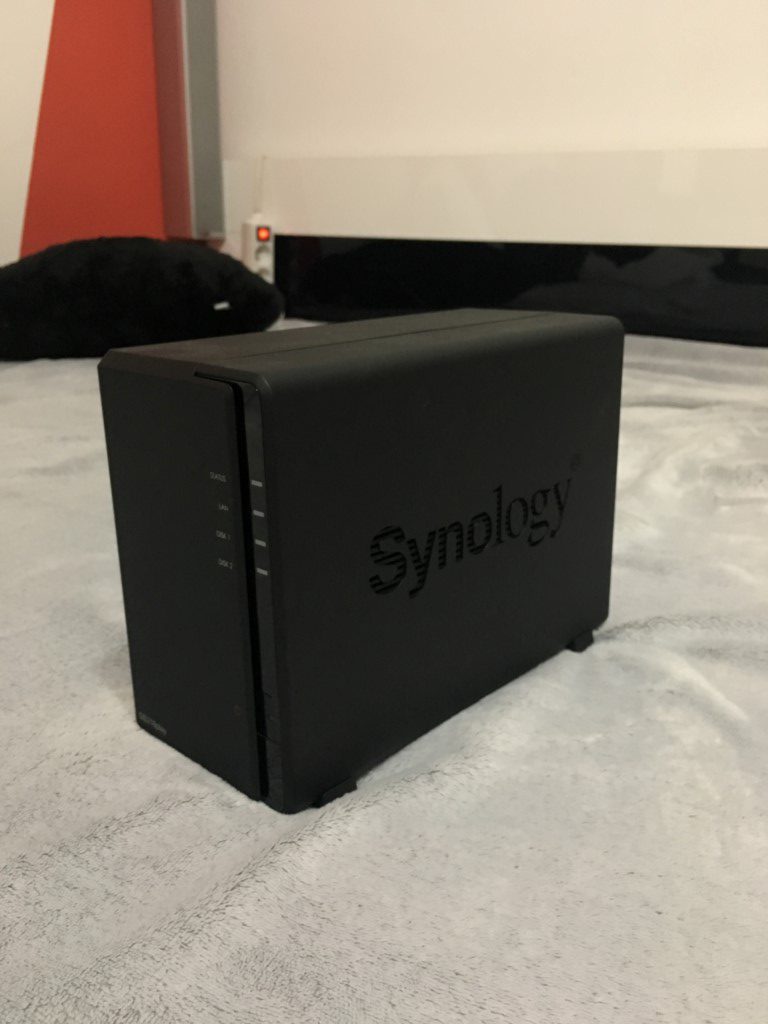
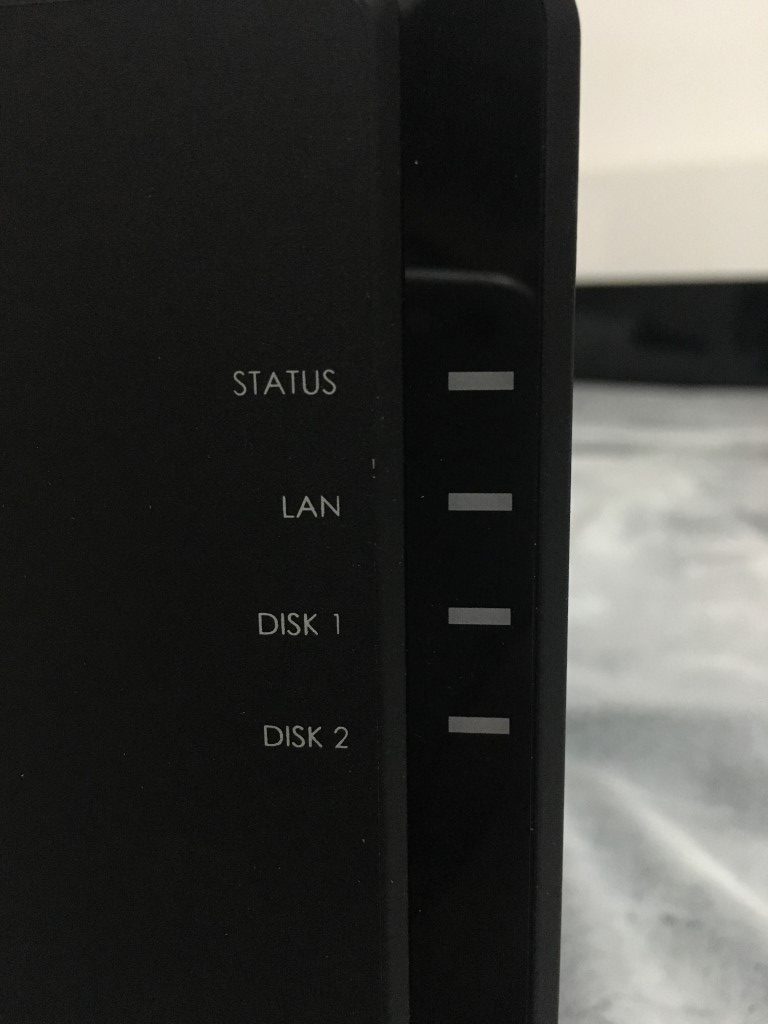
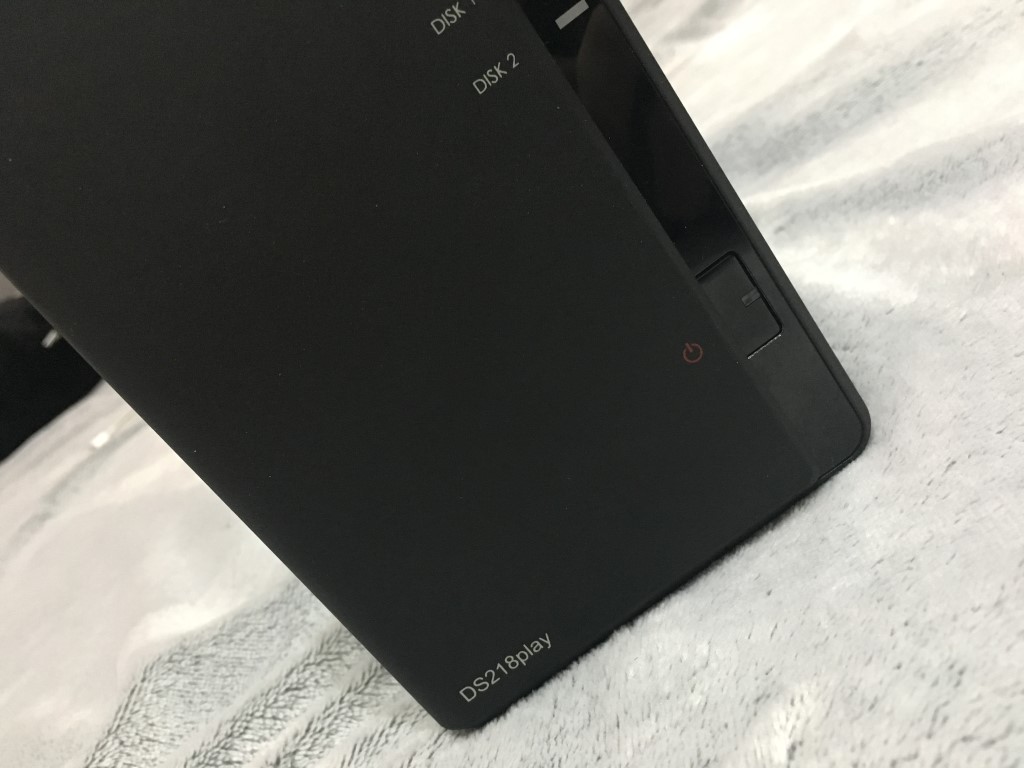
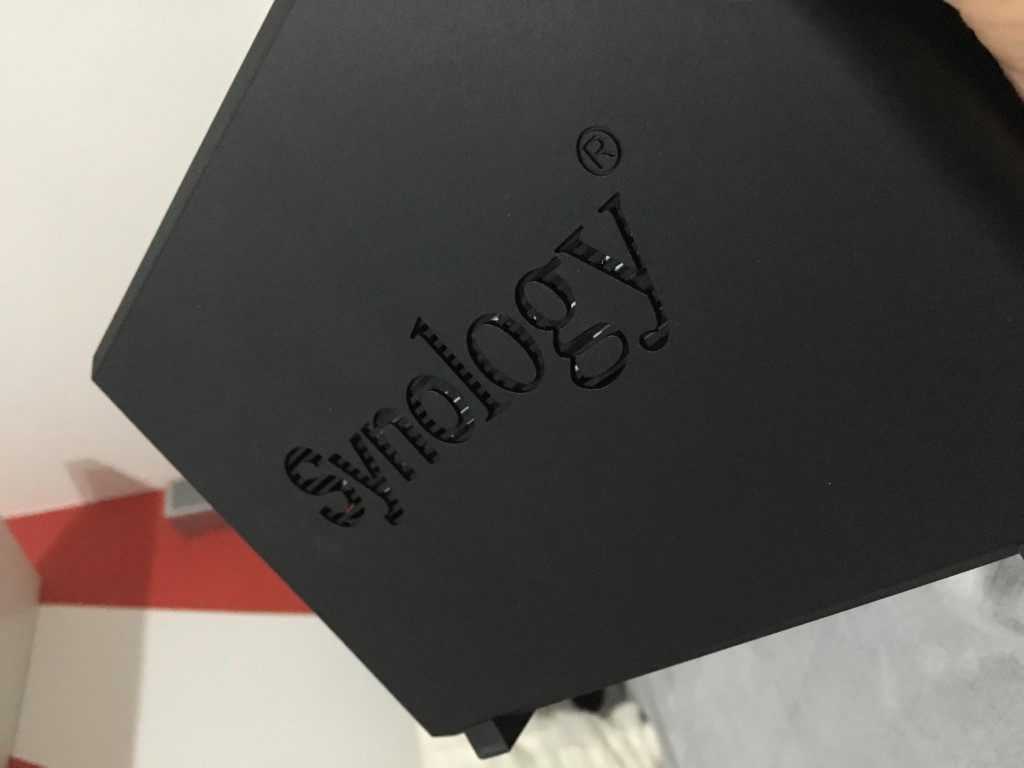
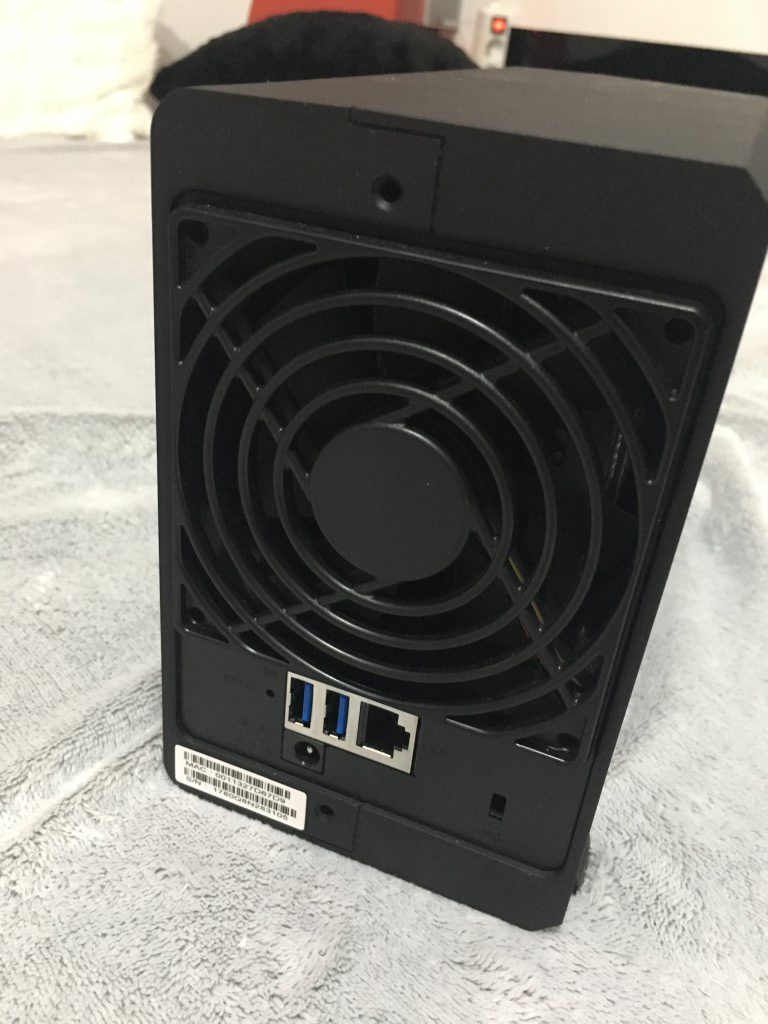
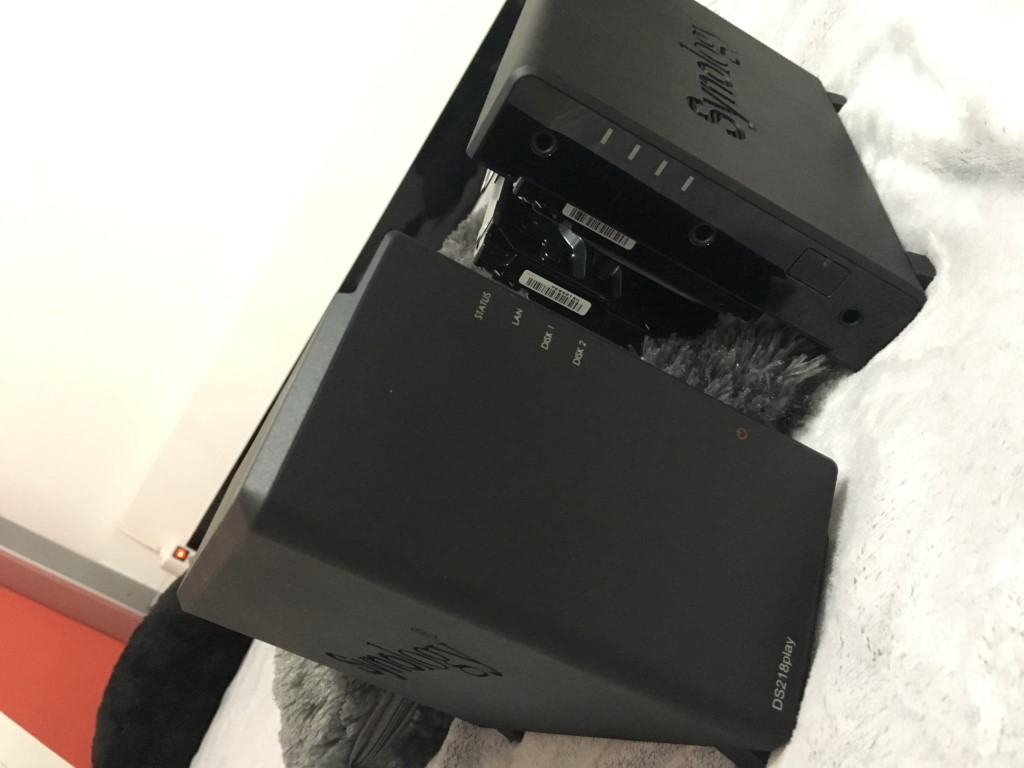
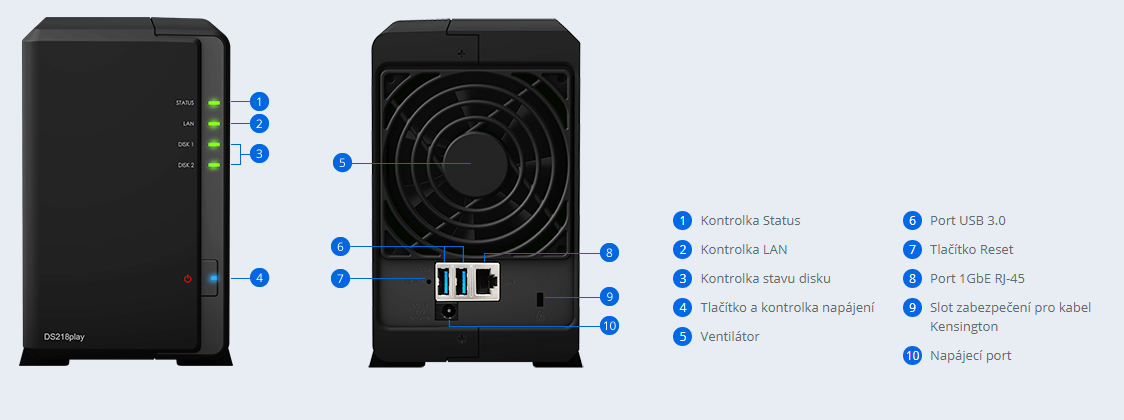
As a young person, I have a lot of patience with product design, and I must honestly say that Synology deserves a full number of design points from me. The station is made of black, hard plastic. On the head of the station in the lower left corner we find the label DS218play. Only one button stands out on the right part, which is used to turn the station on and off. Above this button, we will notice four labels, each of which has its own LED. I would allow myself one more addition to the LEDs – you can change their intensity and, if necessary, you can turn them off completely in the settings! You don't even know how happy this fact made me, because during testing I have the station on the table and the LEDs illuminated half of my room at night. It really is a total rip-off, but design-wise, I'm extremely happy with it. The Synology inscription is carved on both sides of the station - again very nicely processed in terms of design. Now let's move on to the slightly more technical, back side. Covering three-quarters of the back is a fan that blows out warm air (just to be clear - I have yet to have the station blow out warm air, even after three days of transcoding movies). Below the fan is a pair of USB 3.0 inputs to which you can connect your external hard drives or flash drives. Next to the USB inputs there is an input for connecting the station to the network. The power input is located below these connectors. On the back we also find a hidden button to reset the station and a security slot for the Kensington cable.
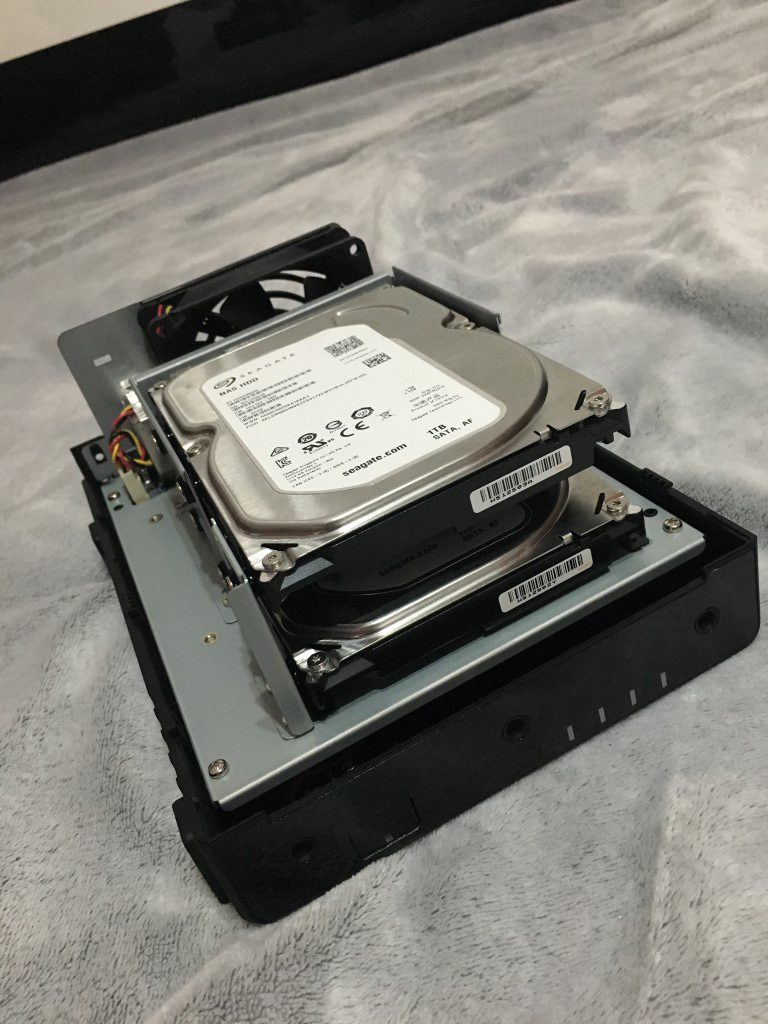
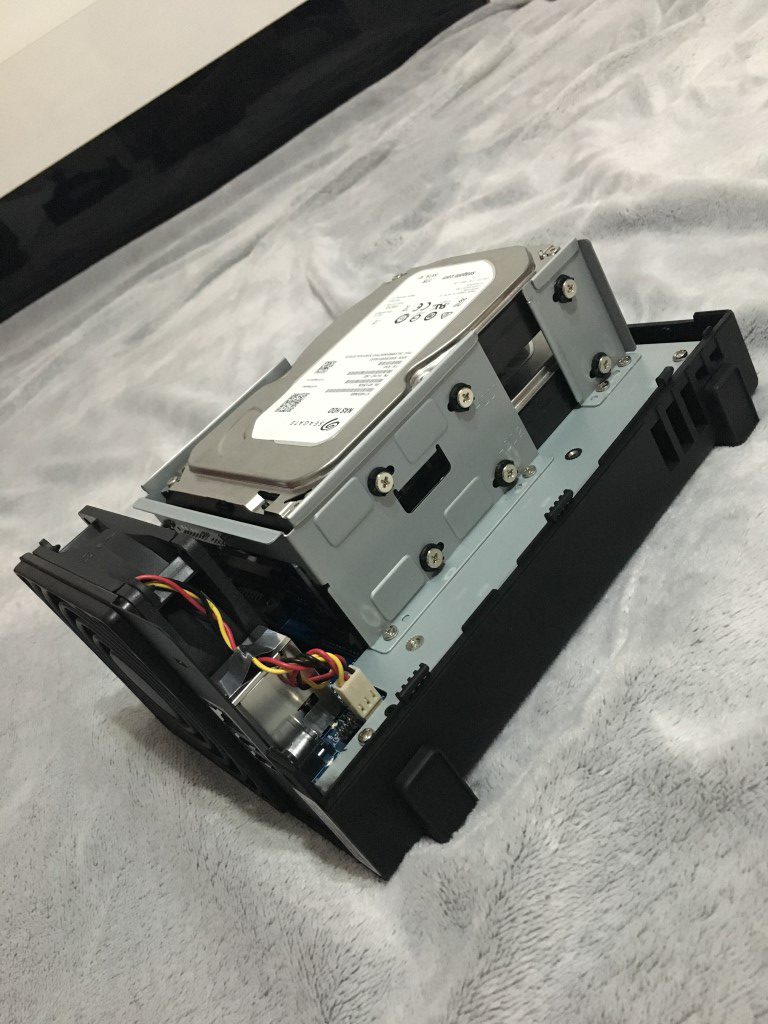
I would also like to dwell on the internal processing of the station. When I first opened it, I thought the interior was so "cheap". But then of course I realized and said to myself that you can't see the inside anyway and if everything works as it should, why change anything here. Inside we find a place for two hard drives, which we can support with the "support" I mentioned above. As mere mortals and consumers, we probably don't need to be interested in anything more. The only thing is that you would want to disconnect the connector for the cooling fan, which I definitely do not recommend.
Connecting to the network
Connecting to a LAN is not difficult and practically all of us can do it. Of course, the only thing you need is a router - which is already standard in most households today. We received the LAN cable directly to the station in the package. So just connect one end of the cable to a free connection on your router and plug the other end into the RJ45 (LAN) connector on the back of the NAS. After a proper connection, the LAN LED on the front will light up to let you know that everything is fine. After connecting, all you have to do is enter the page into the browser find.synology.com and wait a while for the device to identify itself on the network. This will be followed by a short and intuitive guide that guides you through the basic settings and functions of your Synology NAS.
DiskStationManager
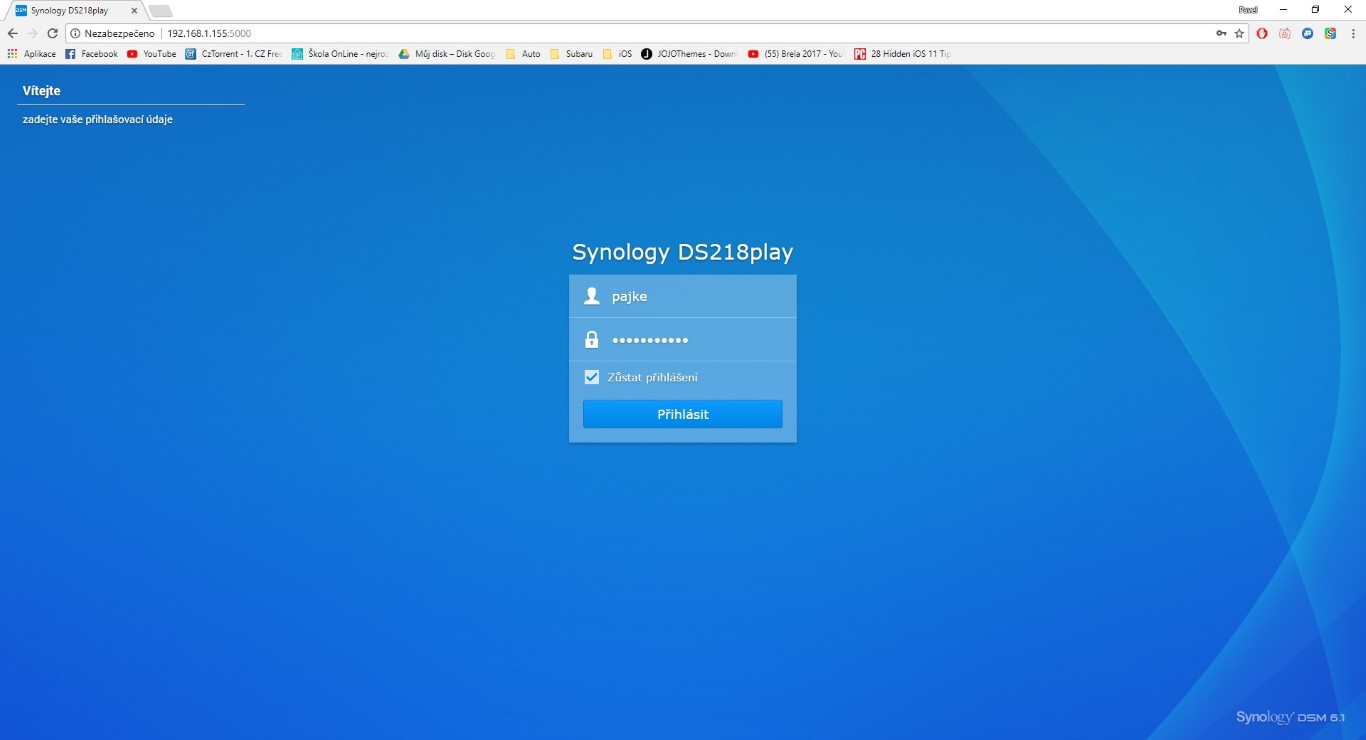
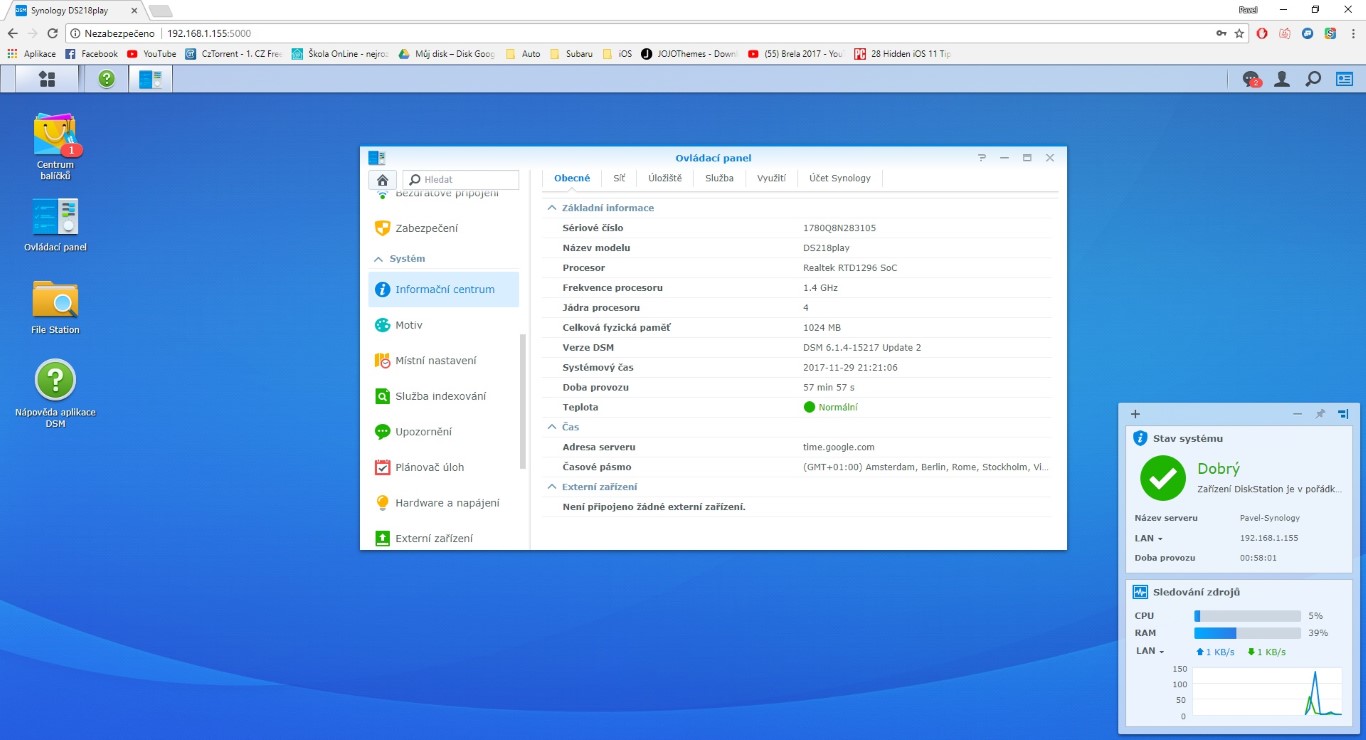
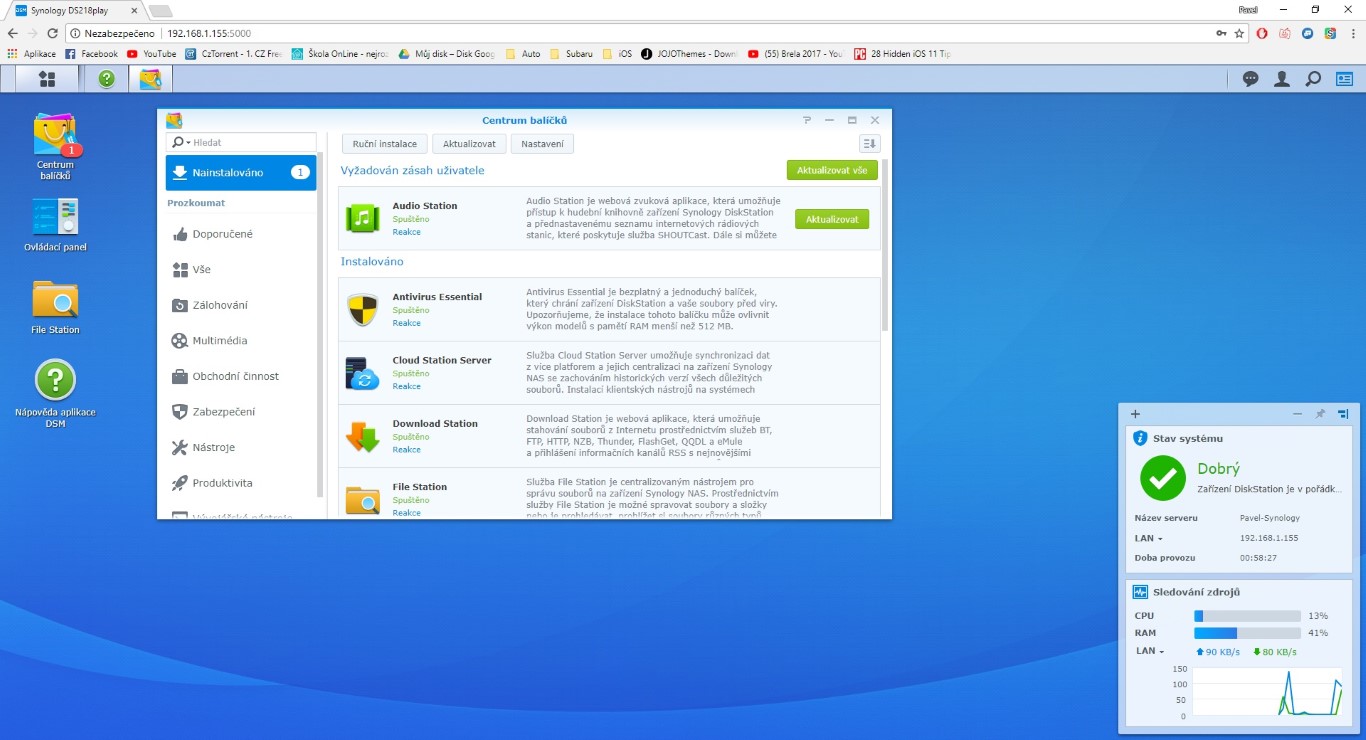
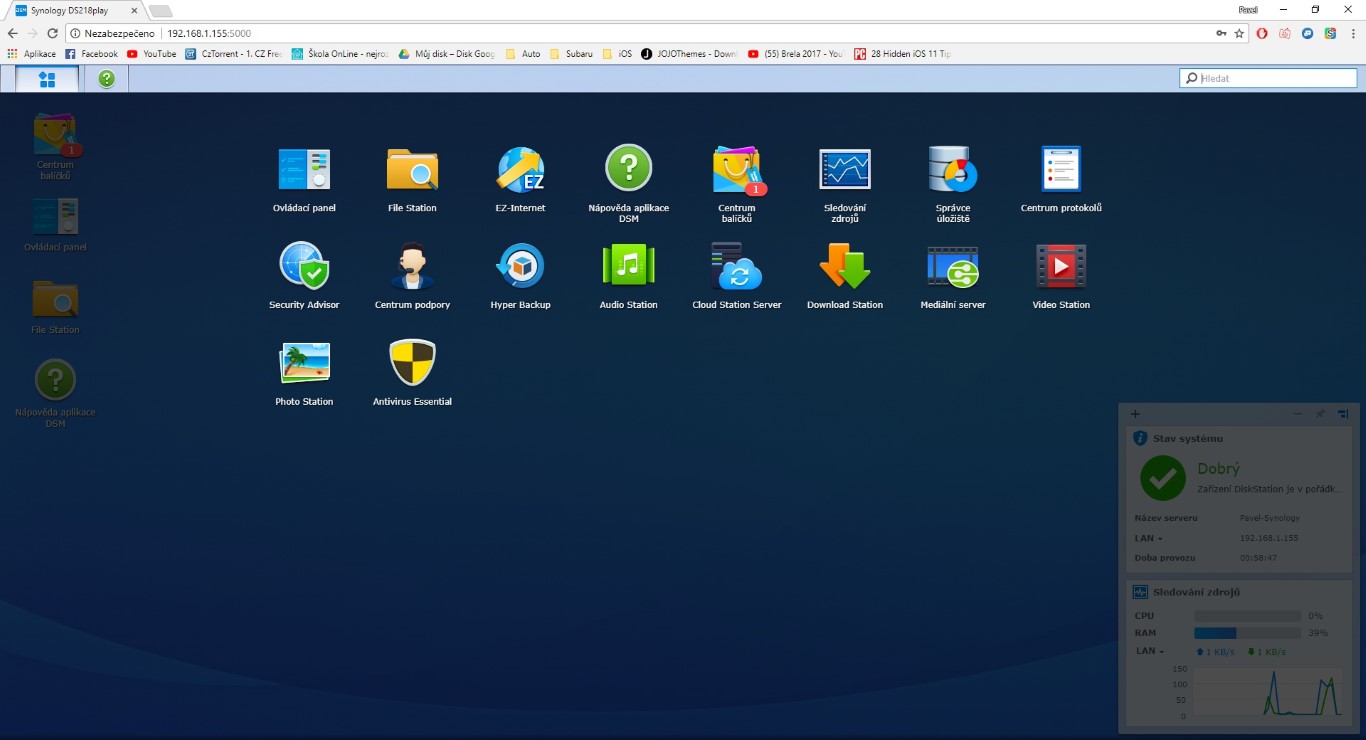
DSM is kind of like the operating system on your phone or computer. This is a graphical web interface that you will see when you log in to your NAS. You set all functions right here. After logging in, you will find yourself on a screen that is very similar to the one on your computer. From here you can get to wherever you need to go, whether it's setting up the NAS itself or, for example, setting up Cloud C2, which we'll look at in detail in the next part of this series. So the cloud is a matter of course, and a simple backup of the system is also a matter of course here. Have you ever dreamed of not having to carry a hard drive with movies with you to visits? Together with Synology, this dream can come true. Just use the Video Station app and have the Quickconnect activated, which you can create when you register your product. Quikconnect guarantees that you can access your NAS station from anywhere and on any device. In case you plan your next visit, you don't need to bring a hard drive with you, and hold on now, you won't even need a computer. All you need is an internet connection and a phone with the Video Station application of the same name, which you can find directly in the App Store or Google Play. So you take your phone full of movies and you're good to go. Isn't it amazing? This and many other functions (including turning off the LEDs on the front panel) are brought to you by the unrivaled DiskStation Manager from Synology.
