As I said in the last episode of our miniseries First steps with Synology, I am also acting. In today's episode, we will look at the first application from the DSM system, with which all Synology devices work. Since we already know how you can get all your data onto your device, which is absolutely basic in my opinion, today we can show you the Download Station application. Although it may not seem like it, in some cases just downloading the application is not enough for the proper functioning of the Download Station. I personally had to make a few adjustments inside my router as well, but we'll talk about that later.
Install Download Station
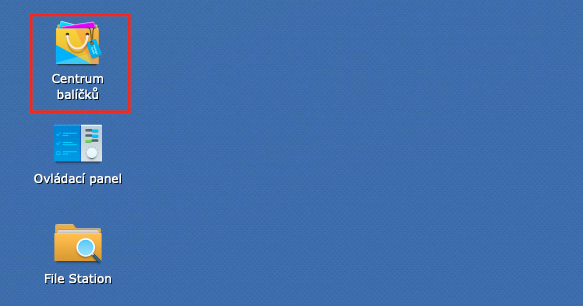
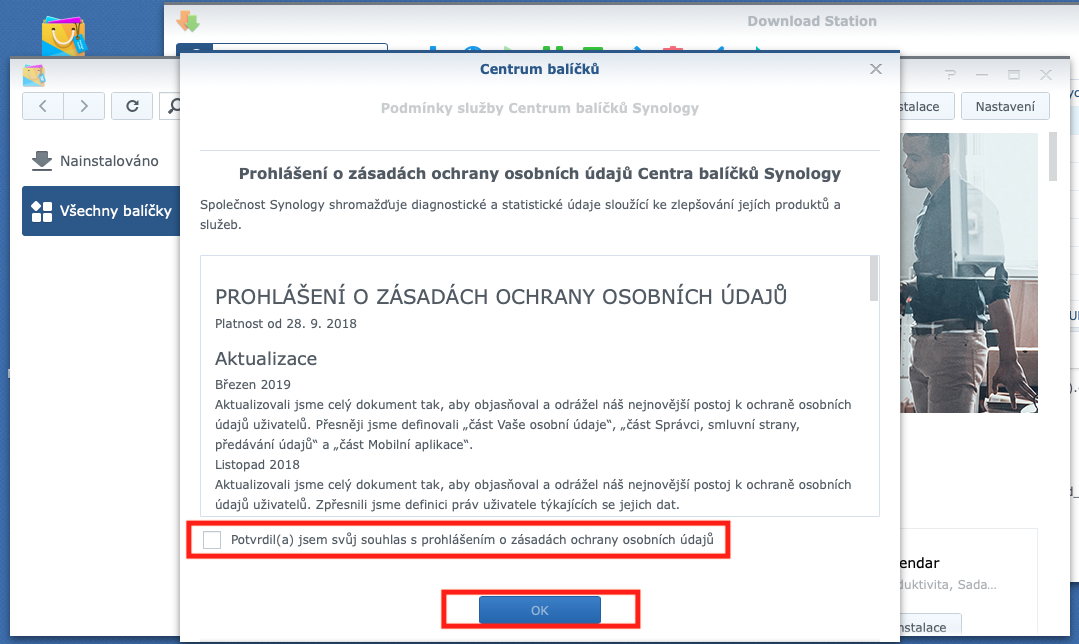
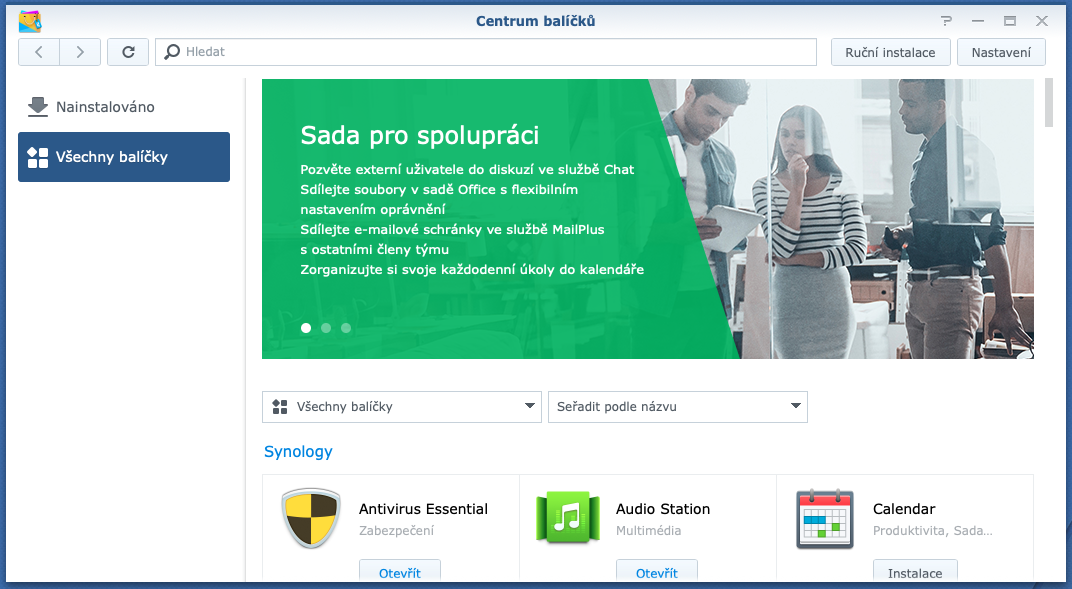
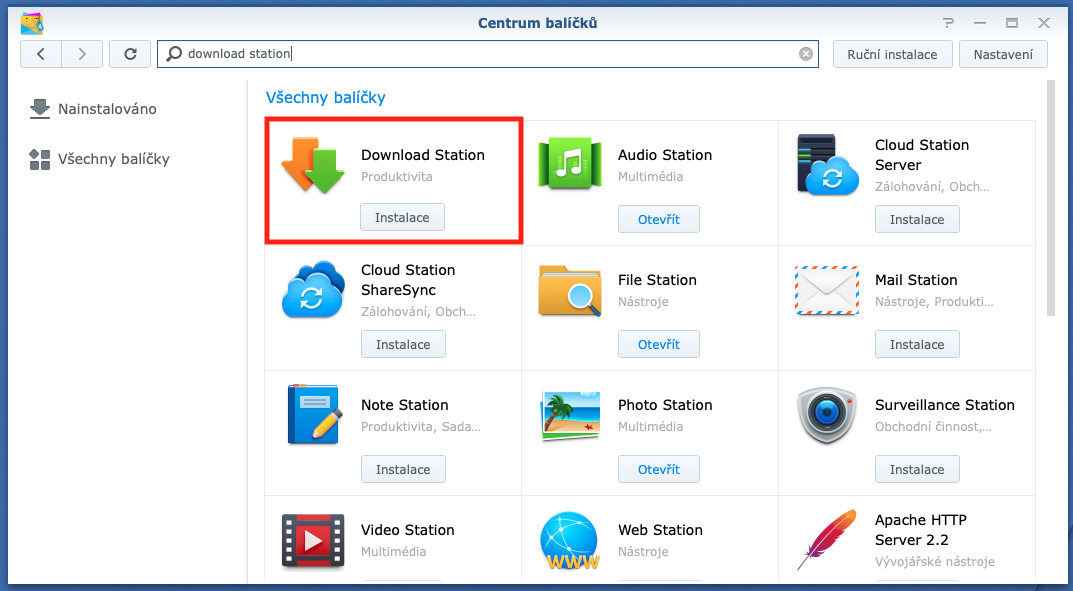
Just like all other applications in the DSM system, you can easily download Download Station from the pre-installed Package Center application. The package center can be said to be something like the App Store v iOS – simply put, you can download apps for your system here. So log in to your system to install Download Station. Then click the Package Center icon on your desktop. If you have started this application for the first time, you must agree to the terms of use. Once you get further, just type Download Station in the search field. After that, just click on the Install button next to the Download Station application, which has an icon of two arrows - one orange, the other green.
Download Station control
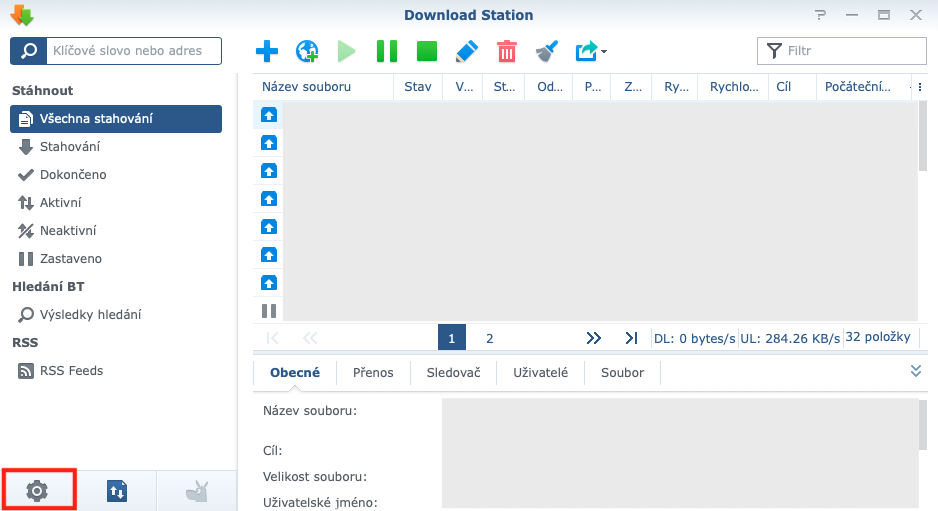
Once the Download Station download and installation process is complete, an icon for this application will appear on your desktop. After that, simply click to launch the application. The application environment is completely simple and intuitive. If you've ever worked with a similar client, I'm 100% sure you won't have any problems using it. Otherwise, I'm 100% sure you'll get used to it quickly.
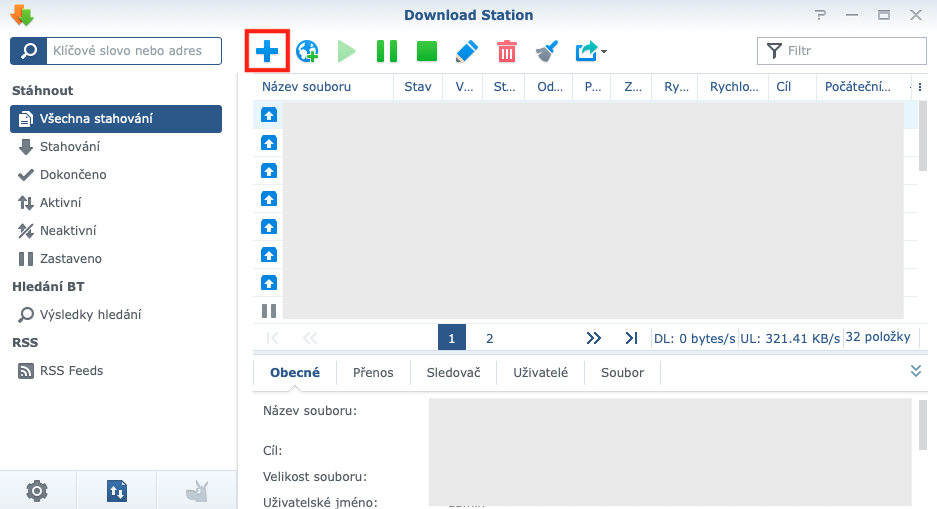
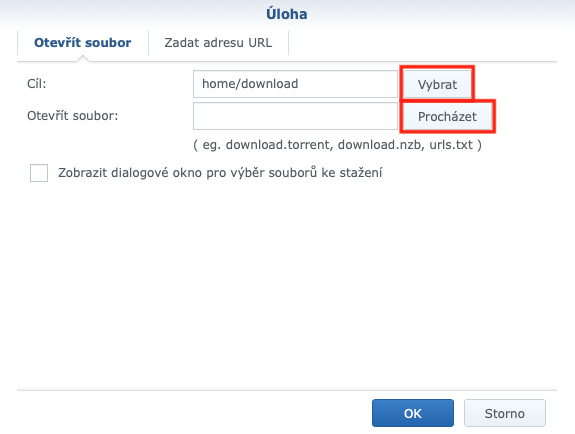
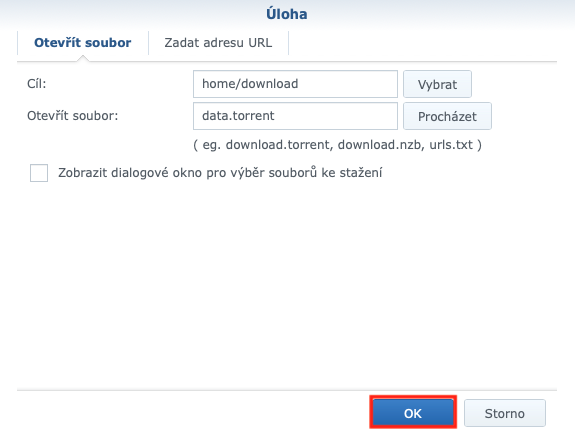
In the left part of the application there is a kind of menu in which you can easily sort all the files that you have added to the application. There are groups for Downloads, Completed, Active, and more. In this way, you can easily navigate between all the tasks you have assigned to the DSM system. The upper part of the window then contains all the controls that you can apply to tasks. With the + button you can easily add a task, either by opening a file or by using a URL. In both cases, you can choose where the resulting downloaded file should be saved. In addition, if the downloaded job has more files, you can have a window appear that lists the files for you. You can then choose which files from the package you want to download and which not. Furthermore, of course, in the top menu there are buttons for starting, pausing, stopping, modifying and deleting tasks.
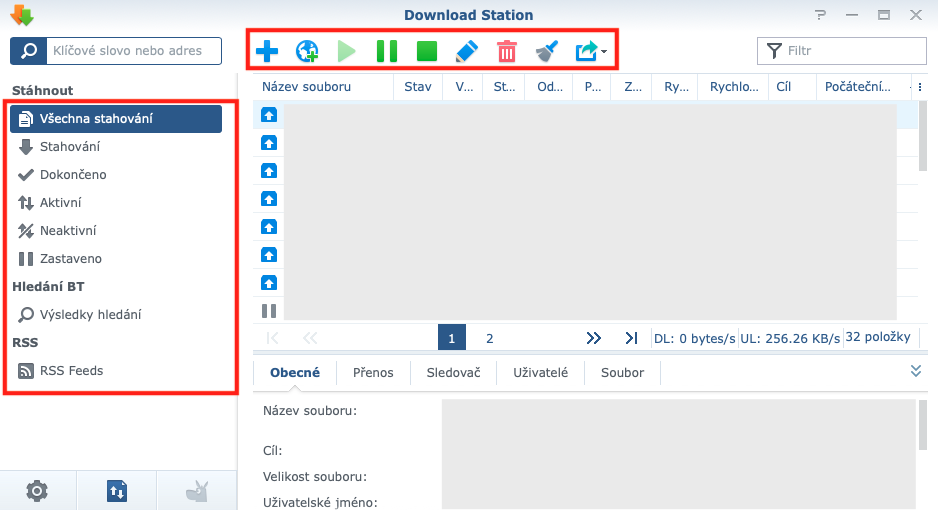
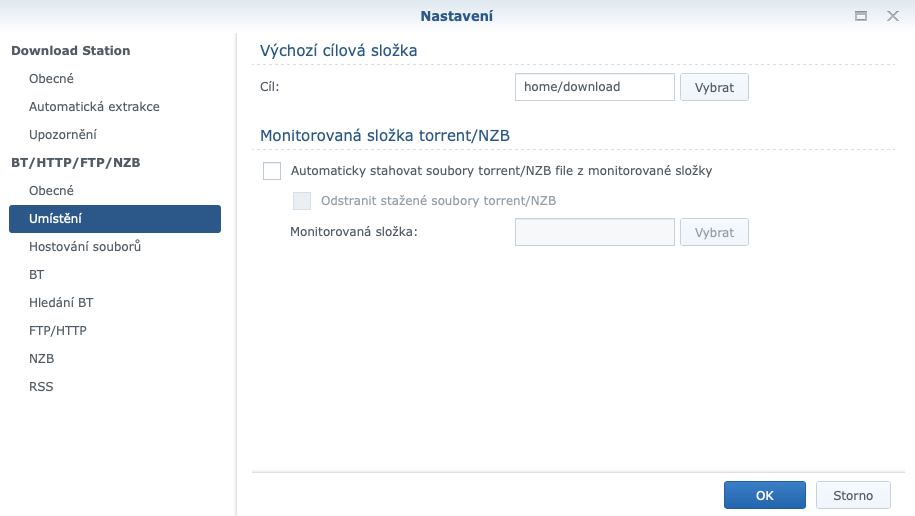
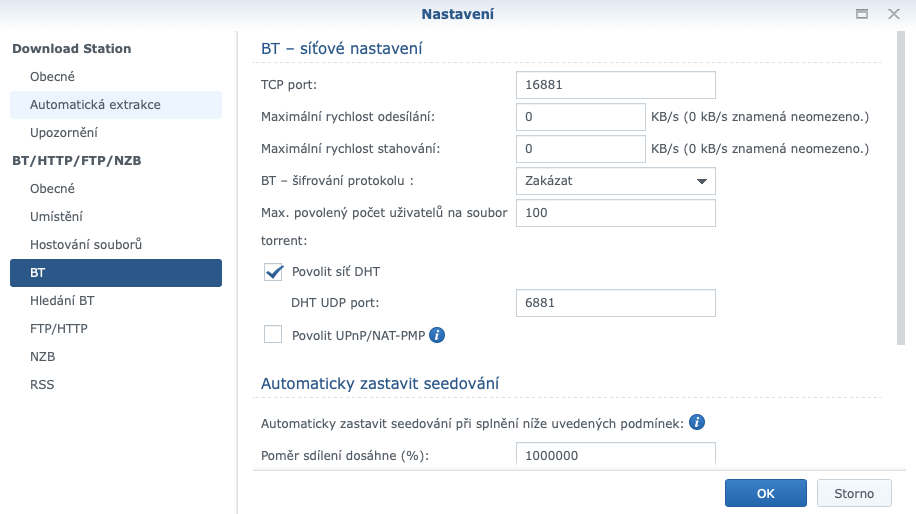
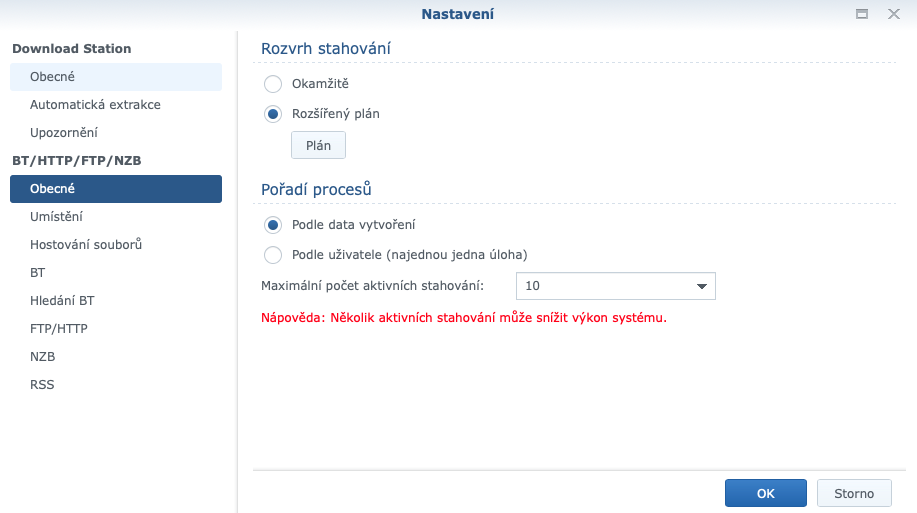
In the lower left corner of the window there is a gear wheel, which you can use to view the settings. Here you can set classic preferences, such as the default destination folder, or the order of processes. But you can also adjust advanced preferences, which include, for example, changing the TCP port for BT, the maximum upload and download speed, or protocol encryption, for example.
Adding the first download task
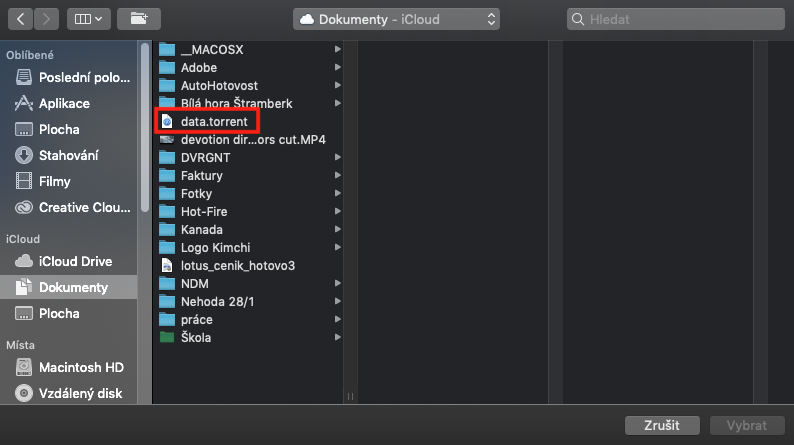
In the previous paragraphs, we briefly described the user interface of the entire Download Station application. Now let's get down to business. Adding a download task is simple. Just click on the + icon in the upper part of the window and either upload the file you want to process to the Download Station, or you can use the URL address from which it will be drawn. Then choose the destination file location and click OK. Synology will process the specified job and it will appear in the job list shortly. You can then just monitor the progress of the job, download speed, time to completion and more. Or nothing happens after adding, as was the case with me.
What to do if downloading or sending data does not work?
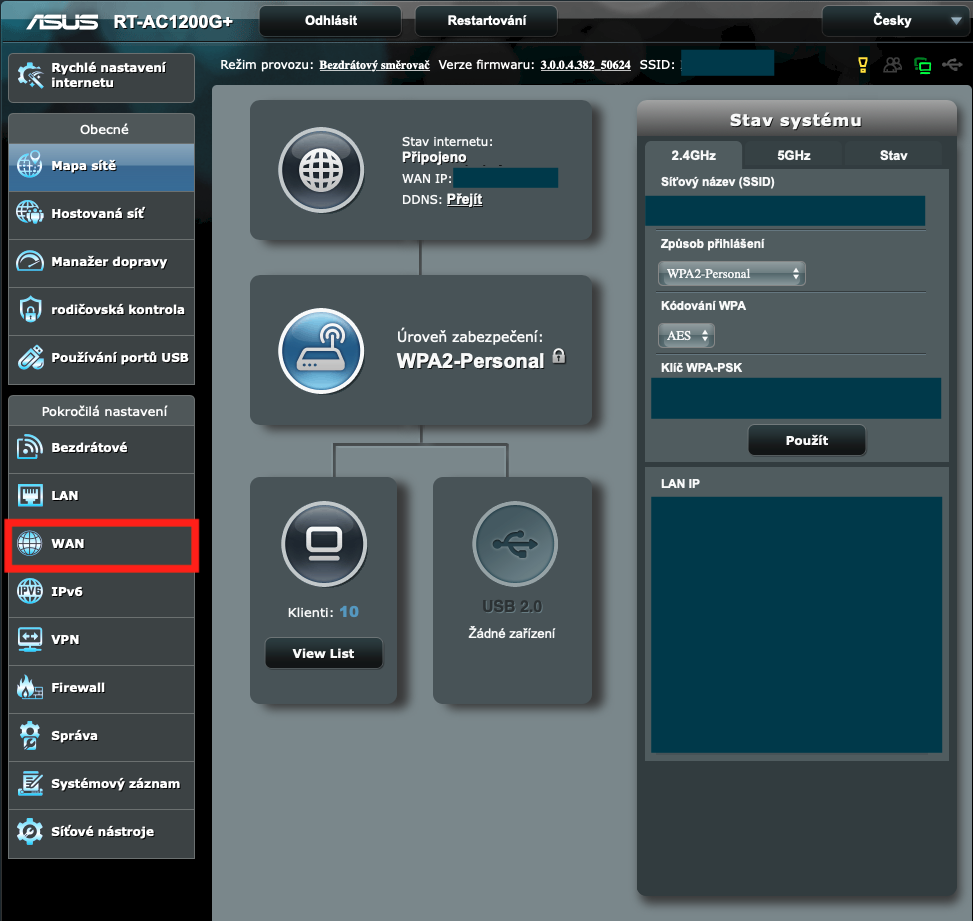
Unfortunately, in my case I ended up in a situation where I was forced to use Synology support. She had to advise me on the correct settings of the router. If you happen to find yourself in the same trouble as me, then it is quite possible that this procedure will help you. In short, you need to enable port forwarding on your router. Specifically, these are TCP/UDP protocol ports, range 16881 (unless you have set them differently).
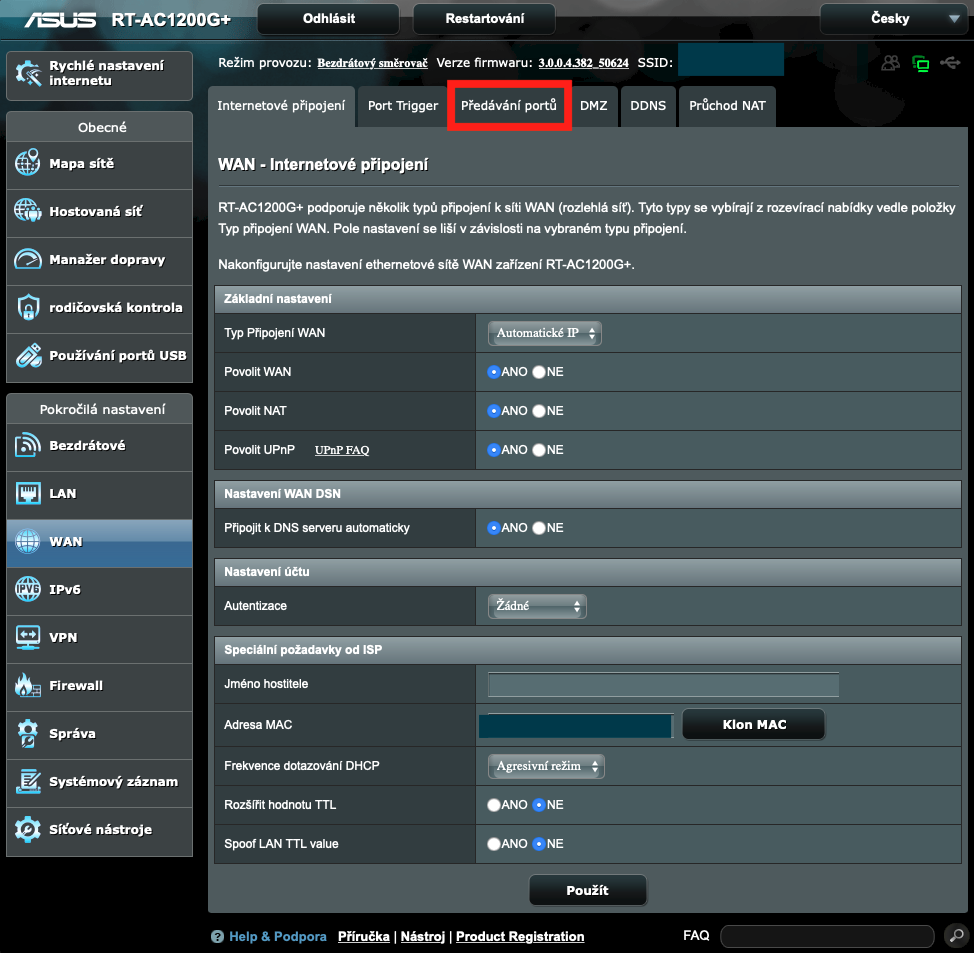
To set up port forwarding, log in to the router interface (in the case of an ASUS router, address 192.168.1.1). Then click on the WAN option in the left menu and move to the Port Forwarding section in the top menu. Here, then at the bottom, set the Service Name (for example, Synology DS), leave the Source Target blank, choose the Port Range 16881, set the Local IP to the Synology IP address (after clicking the arrow, just click on the name of your Synology device), leave the Local Port blank and choose the protocols BOTH. Then just press the plus button in the wheel. Then log out of router settings and restart Synology. After this "step" the Download Station application should start running. If not, you can still change the Sharing ratio reaches (%) column to the value 1000000 in the Download Station Settings in the BT tab. At the same time, make sure that you do not have an active limit for download speed or upload speed. If even this setting does not help, then you have no choice but to contact Synology's willing user support, who will advise you on everything, just like me.
záver
Personally, I cannot praise the Download Station service on my Synology enough. The service is perfect in that I don't have to have my computer or laptop running while downloading. I simply set what I want to download at any time and I no longer worry about how it will happen. The whole process happens in the background, and when I need the downloaded files, I just log in to Synology and drag them over. Personally, I've never had a problem with Download Station apart from setting up port forwarding, which just confirms to me that Synology makes apps for their system absolutely great. Download Station's user interface is also very friendly and simple.
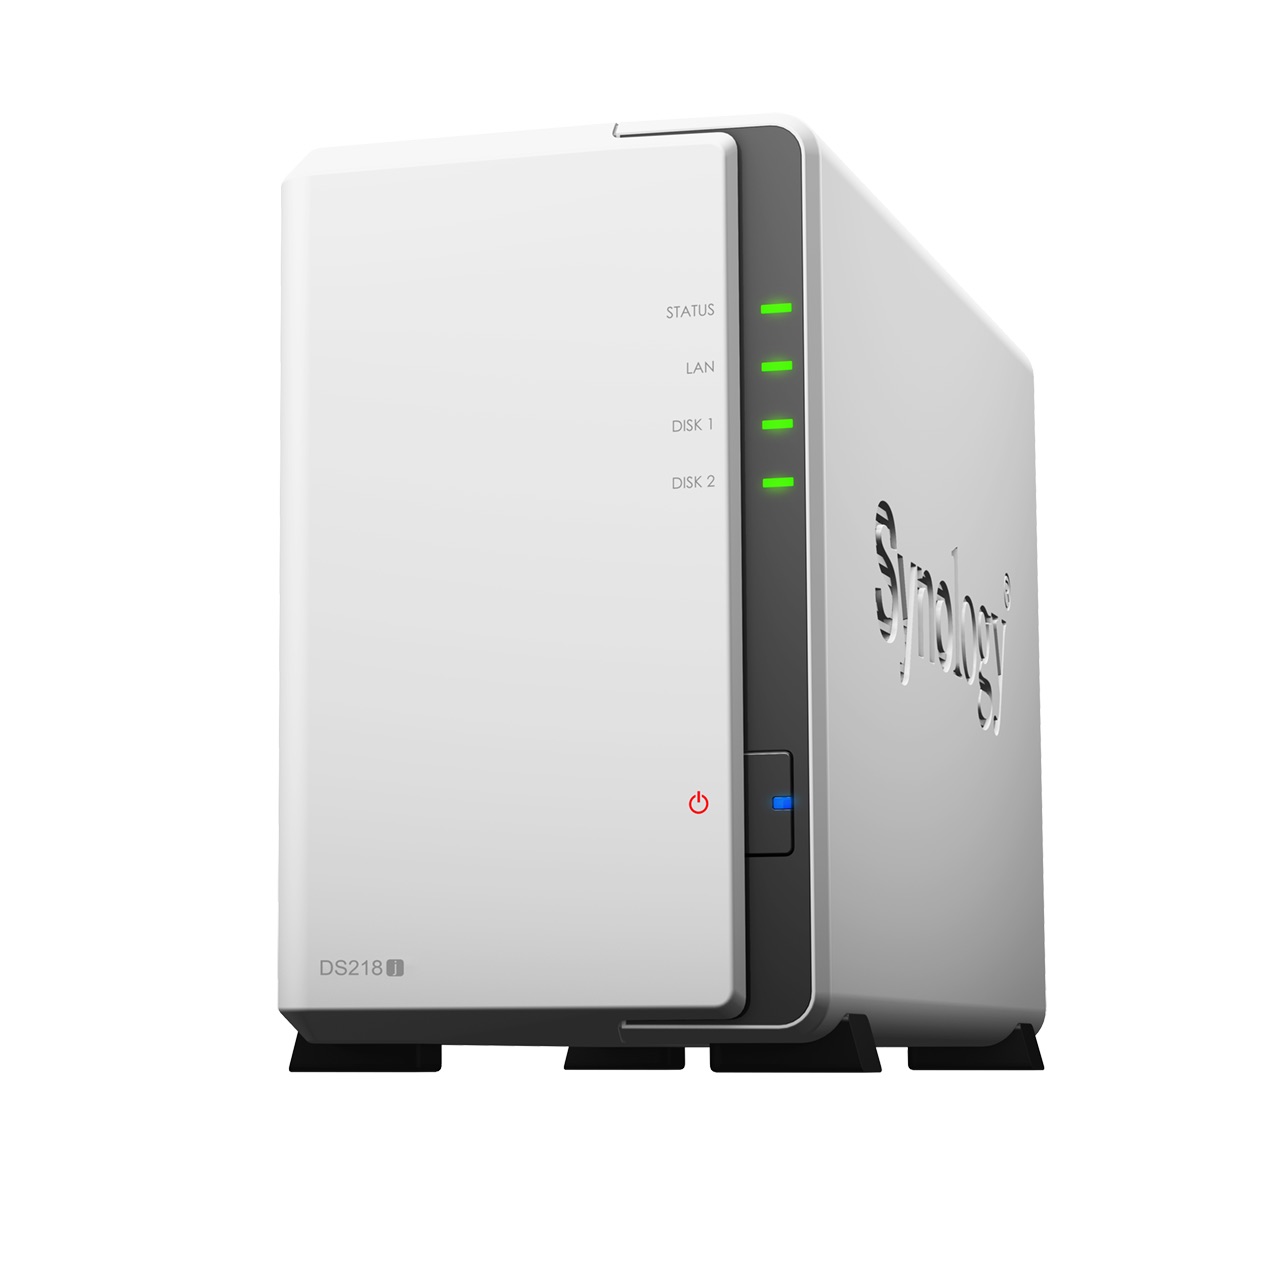
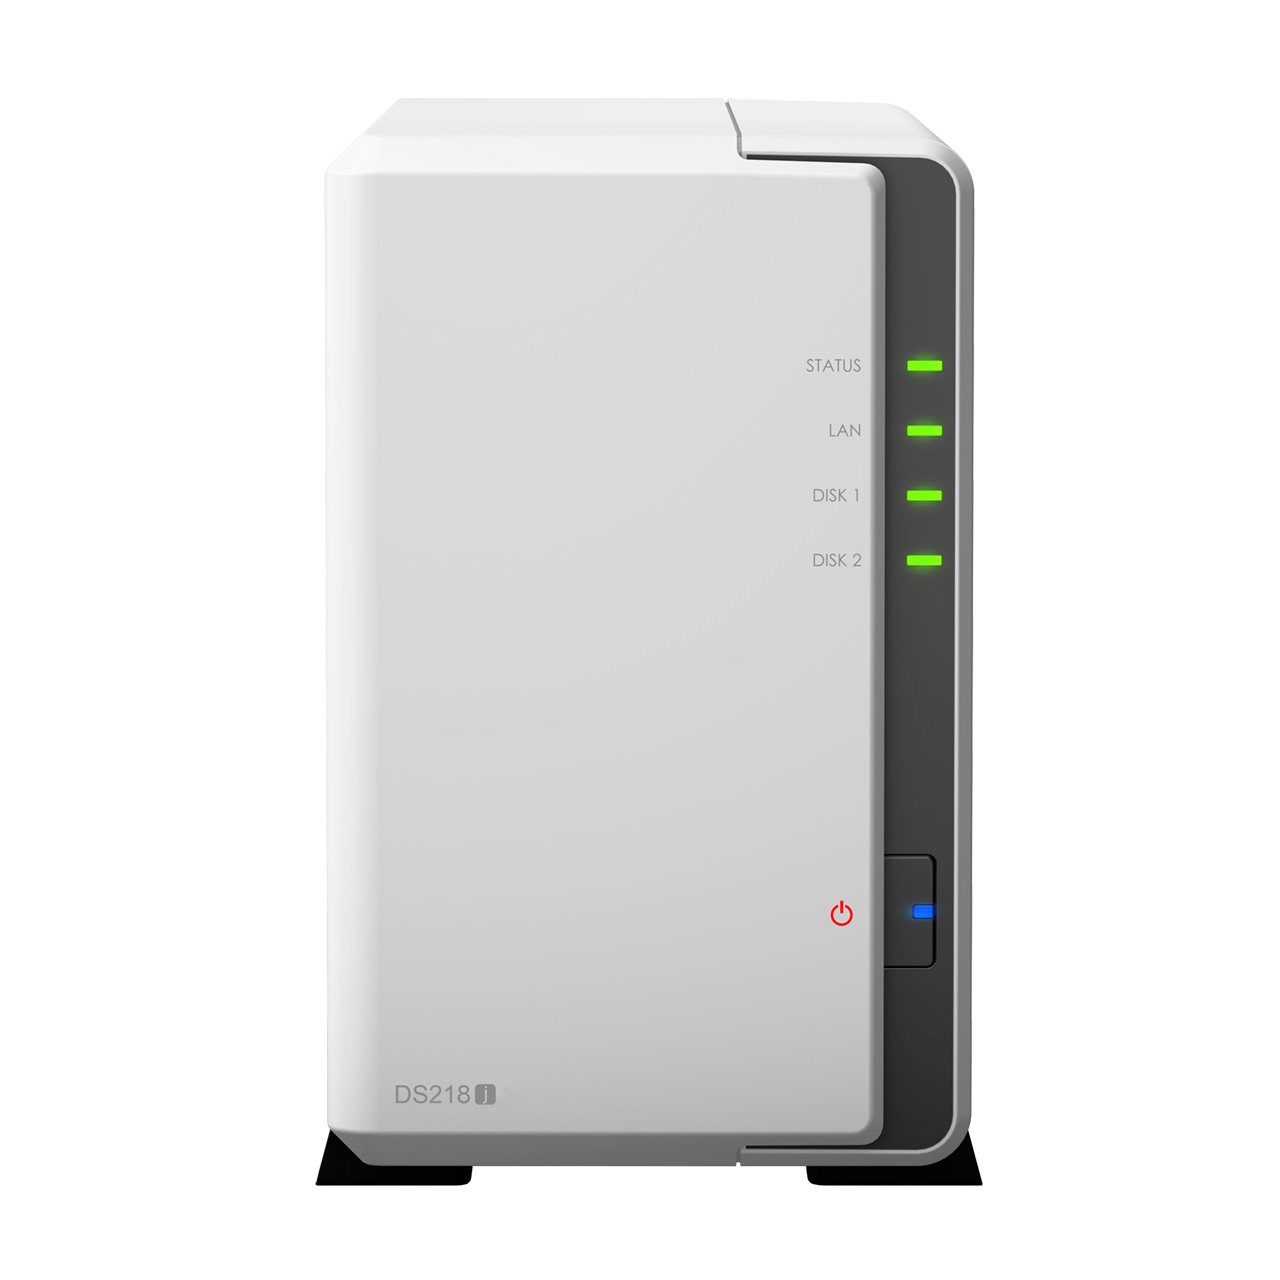
Synology DS218j:
In the next part of this miniseries, we will look at some of the questions and findings that were raised in the previous part (and therefore also in this part). As soon as we "blow up" this topic, you can look forward to the next part, in which we will show how easy it is to have a MacBook backed up to your Synology using Time Machine.
