As I promised in one of the previous parts, I am also doing it. In today's episode of First Steps with Synology, we will focus on you, our loyal readers. Over the course of several episodes that have already been released, several questions have accumulated in the comments, which I decided to answer. Of course, I couldn't choose all the questions, because there were really many of them, but I tried to choose the most interesting ones. So, if you are going to buy a Synology data storage, or you already have one at home and you can't figure something out, it is quite possible that today's article can help you. So sit back and let's get down to business.
RAID or SHR
Maybe you don't even know what the abbreviation RAID, or SHR, even means. The acronym RAID means (from English) multiple disk array of independent disks. In layman's terms, these are several disks that are set to either serve for greater security or for greater disk speed. RAID is divided according to numbers, for example RAID 0, RAID 1, or RAID 5. RAID 0 is used for interleaving between disks. So if you have two disks and data named "A", then part of the data A1 is stored on the first disk and part of the data A2 is stored on the second. Thanks to this, you get a higher speed, since you use two disks to work with data, instead of one. RAID 1 is used for mirroring, i.e. for greater security. If the first disk fails, all data is also stored on the second disk - so you won't lose it. RAID 5 then combines 4 disks together, where data is stored on the first three through interleaving, and the fourth disk then has self-healing codes that can be used if one of the disks fails.
Synology SHR stands for Synology Hybrid RAID. Classic RAID levels are not flexible and can be difficult to manage. Created by Synology, SHR technology allows users to choose the exact level of protection and minimize the unused space that appears with traditional RAID levels. Simply put, SHR is Synology's "enhanced" RAID that you should be using. If you are not sure how your disk array in Synology might look like, you can use special calculators - just use this link.
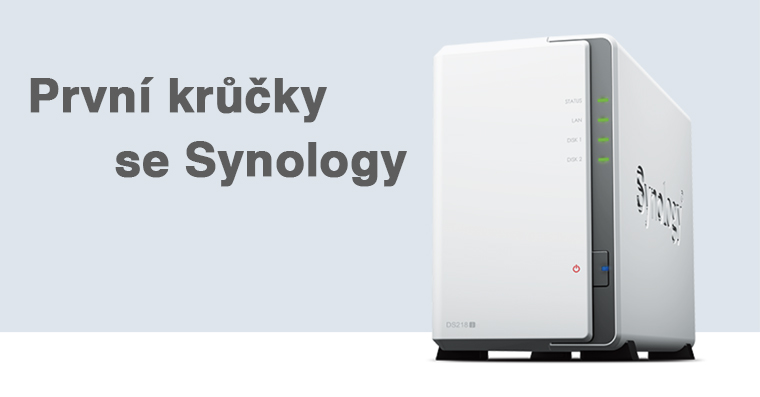
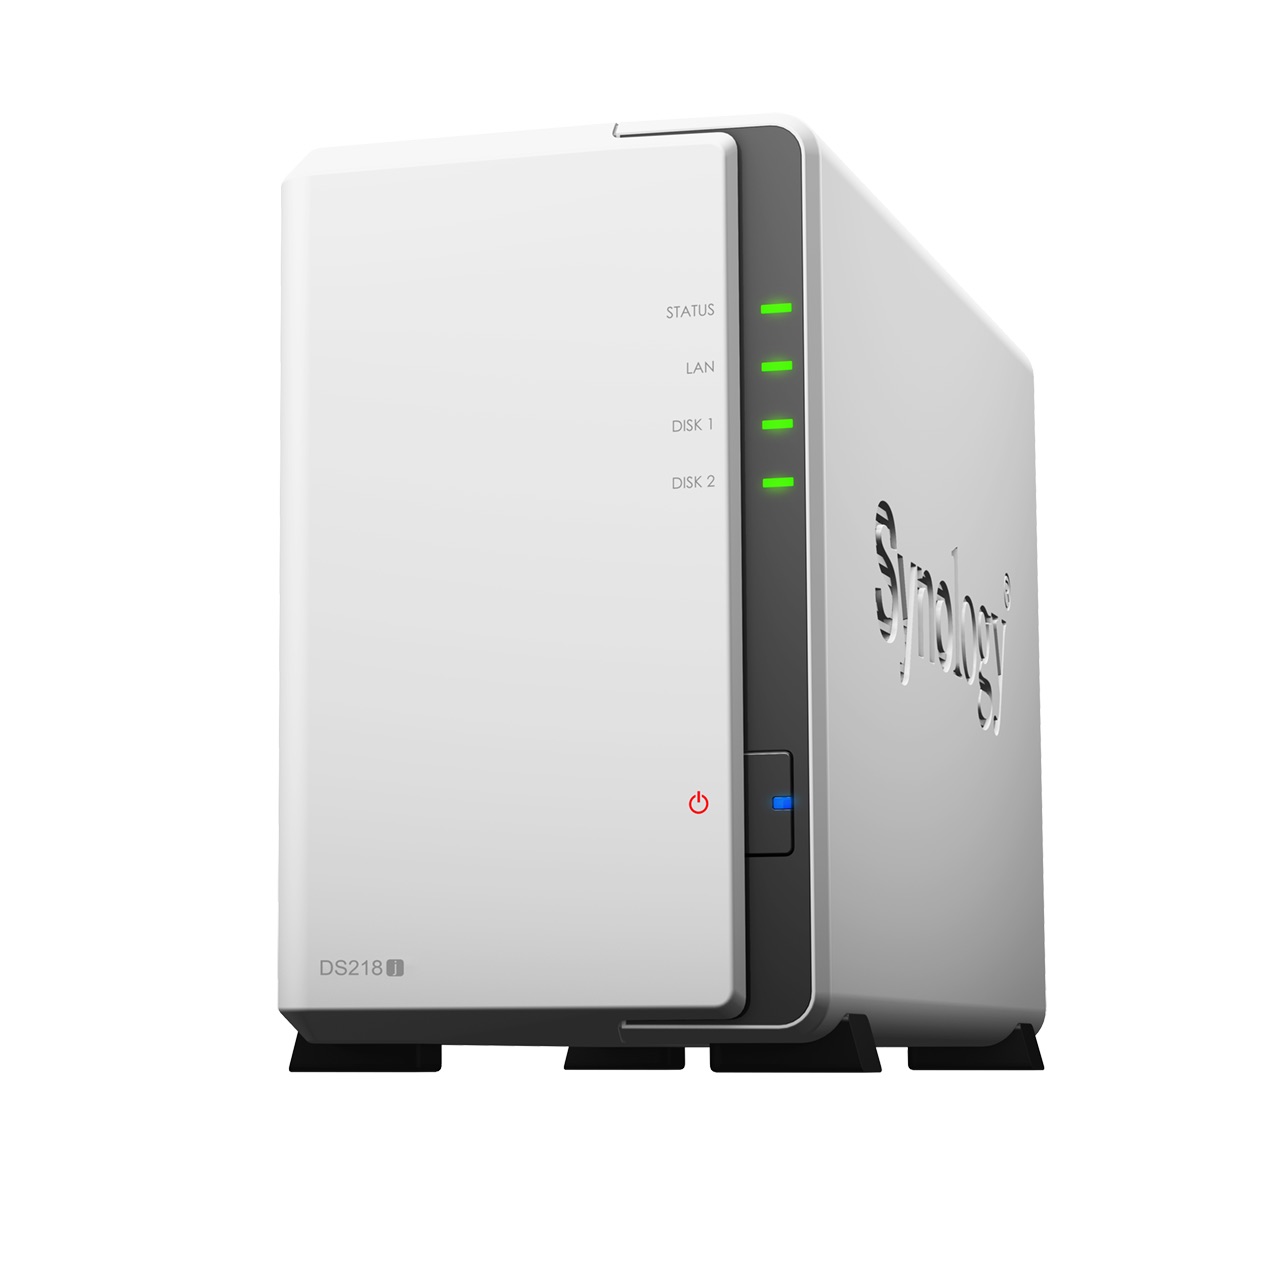
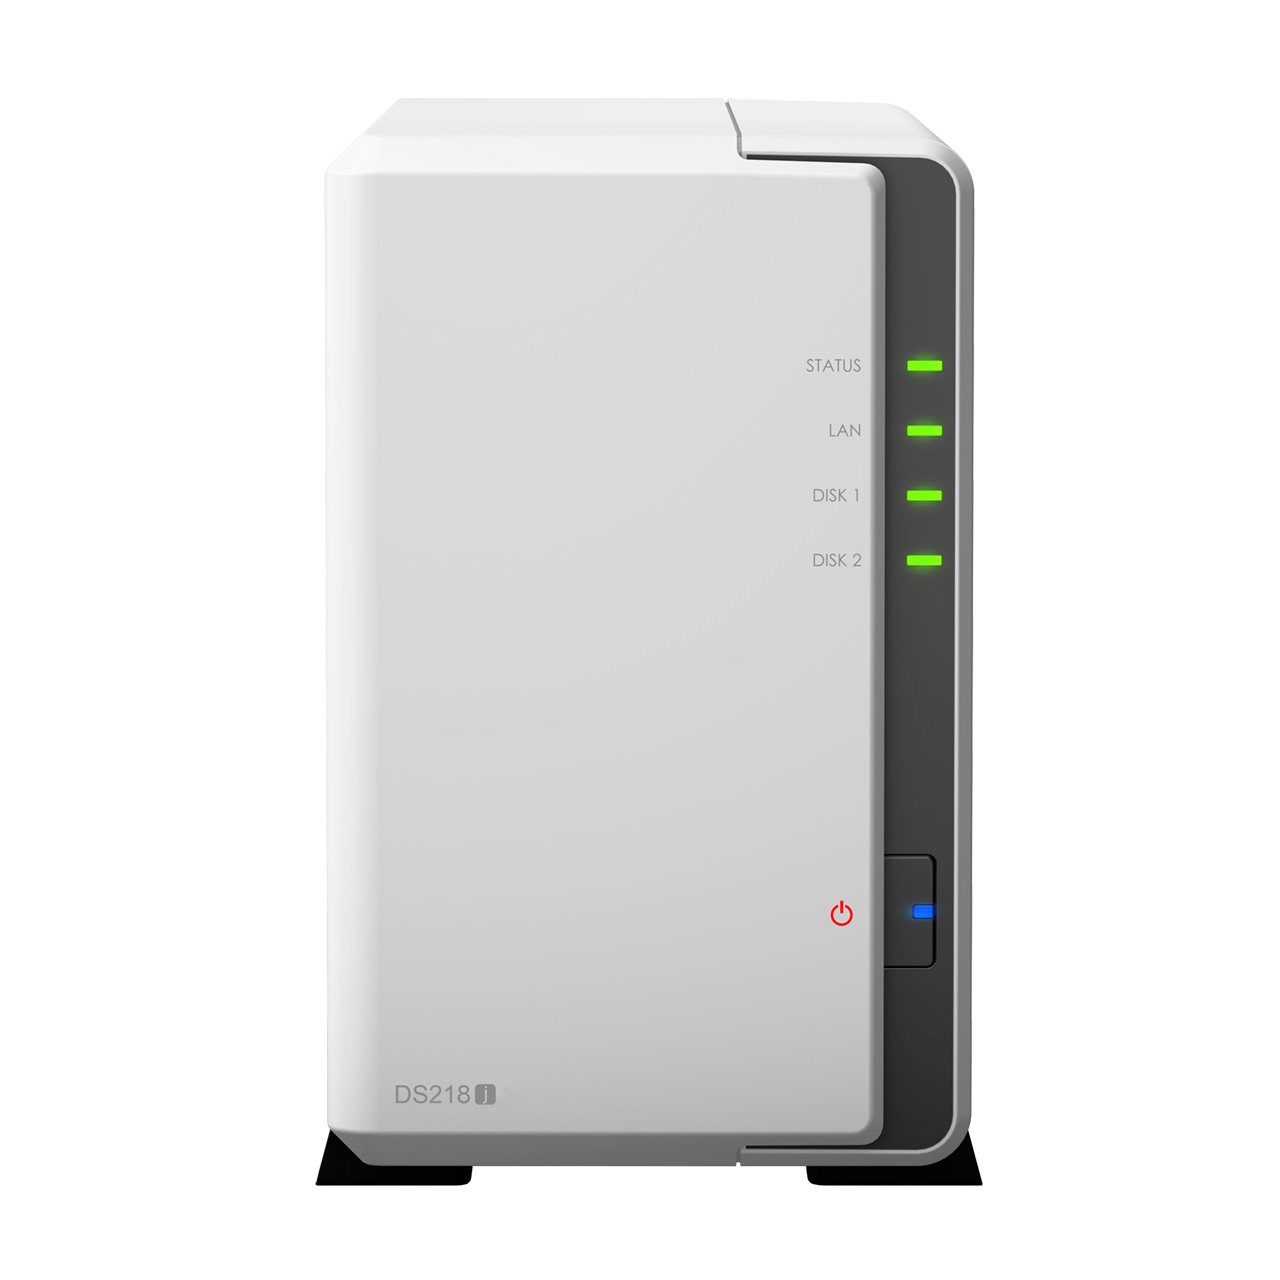
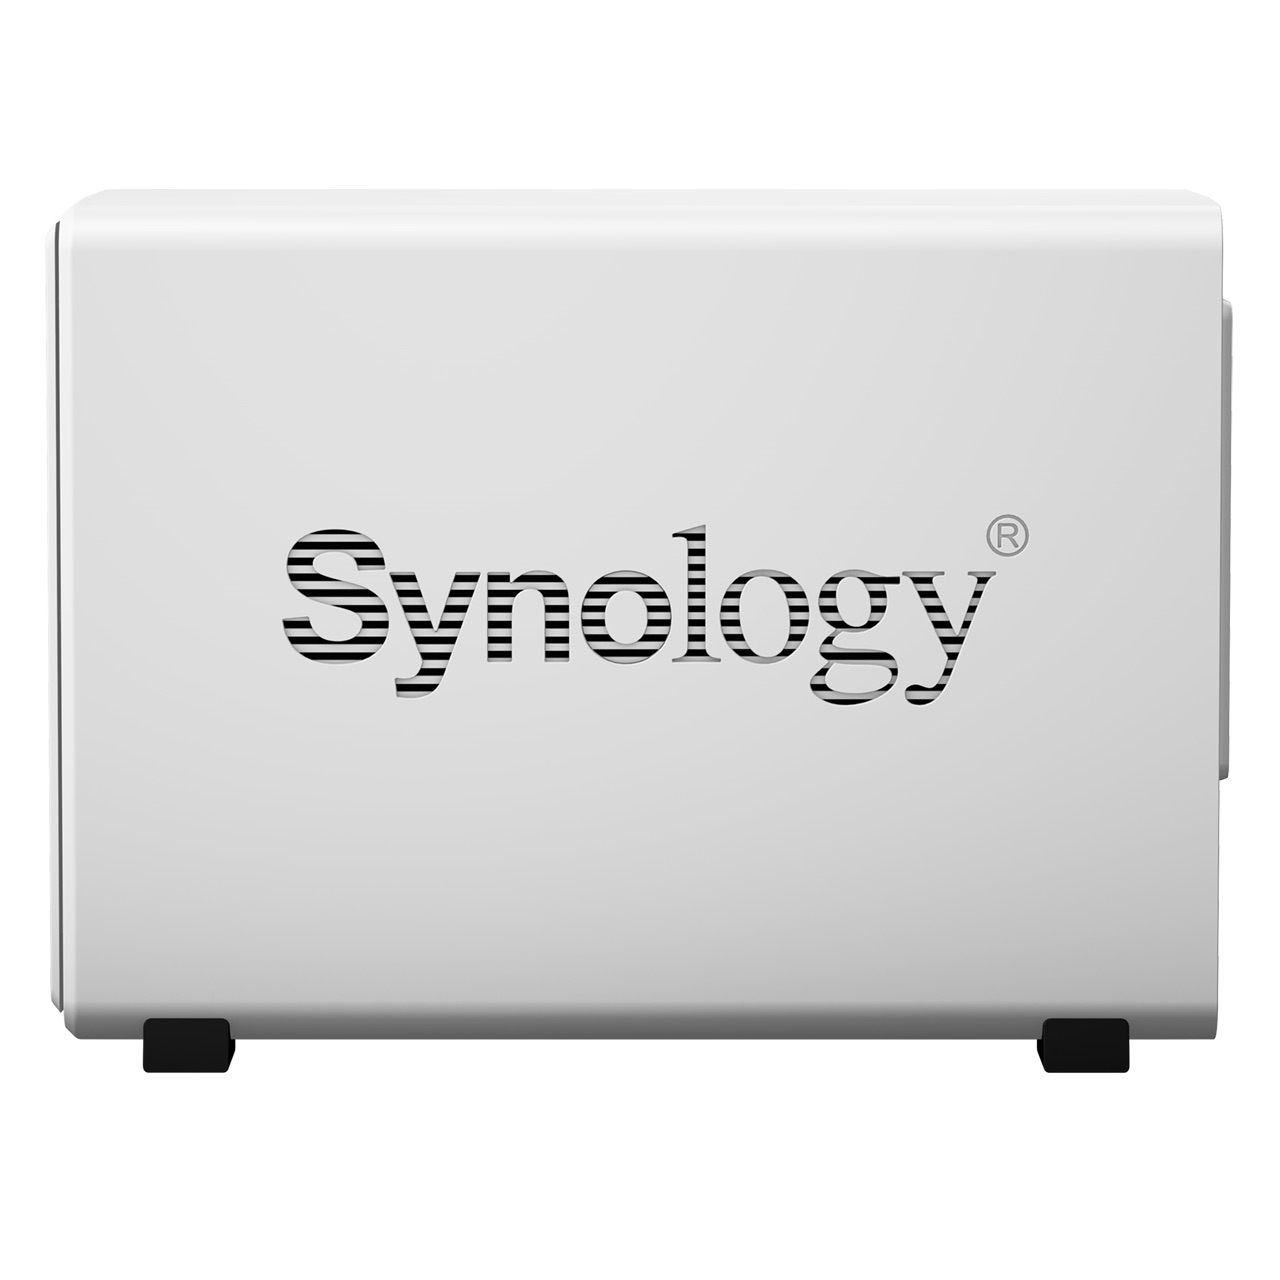
Synology DS218j:
Access without a static IP address
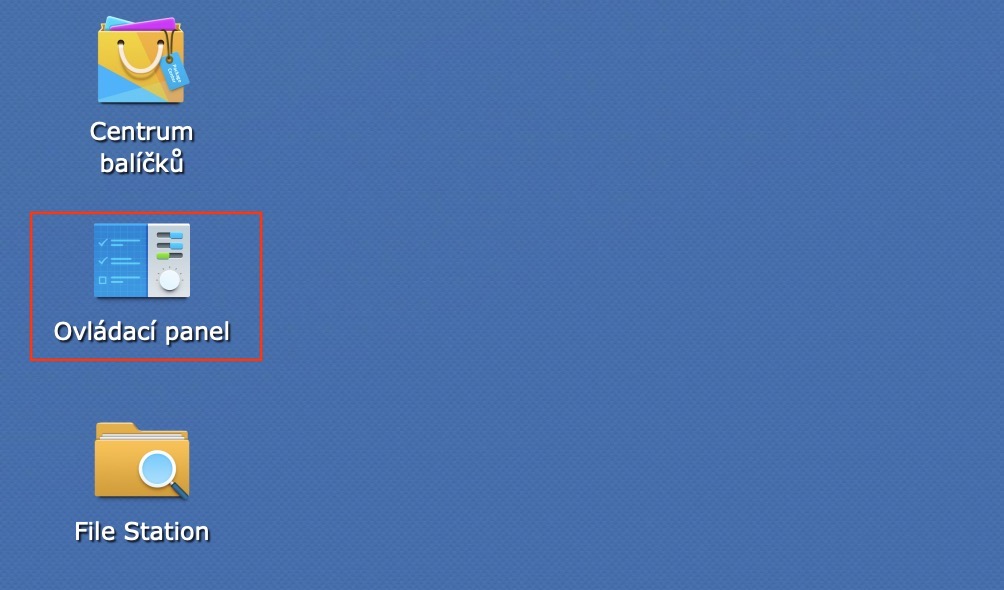
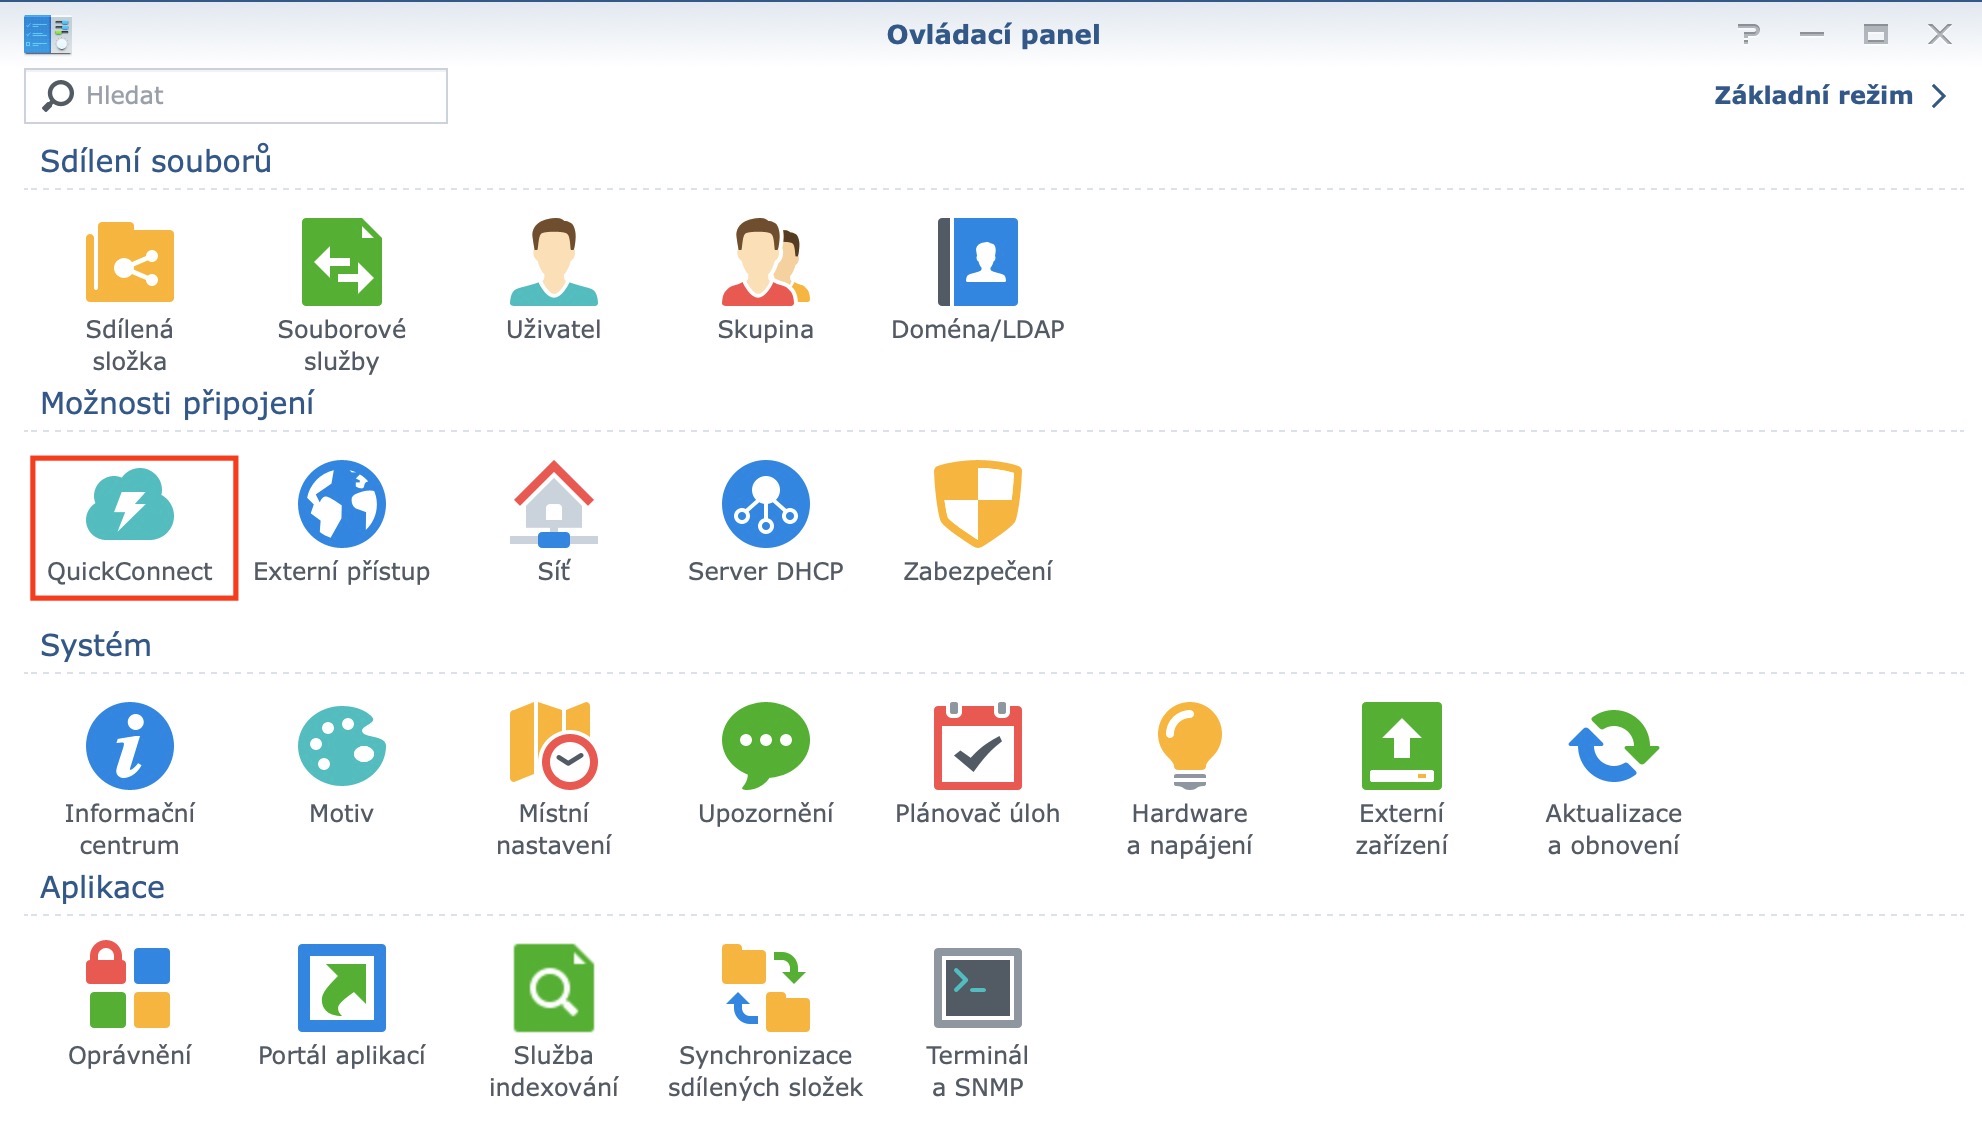
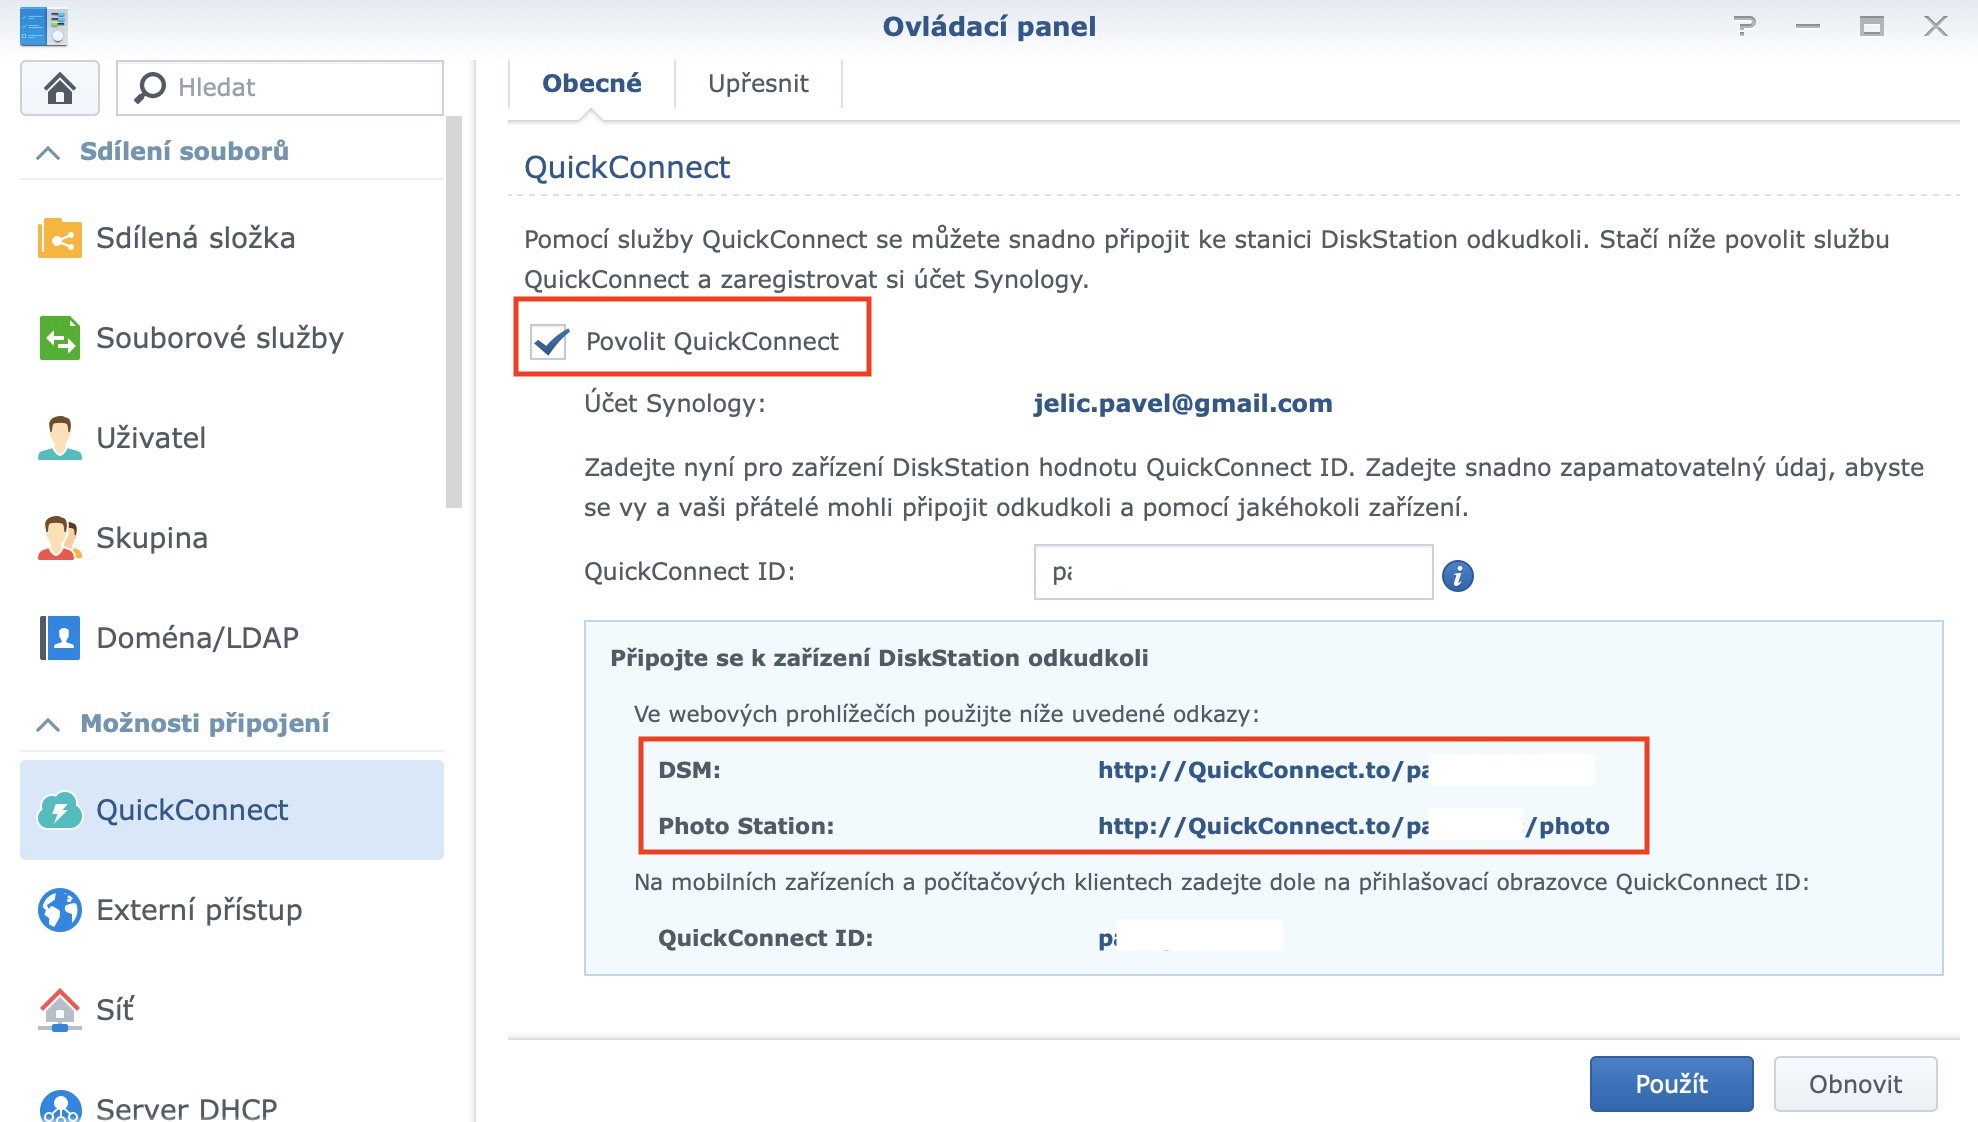
Another question arose regarding whether it is possible to access the Synology even without a static IP address. The answer is simple - yes, you can. You can use QuickConnect services for this. You simply create an account, receive an assigned address, and use it to access your Synology from the other side of the hemisphere. You can enable QuickConnect directly on your station in the settings. After that, just register or log in to your Synology account, create a QuickConnect ID, and you're done. You can then log in to Synology from any browser, just enter the address in the format quickconnect.to/ID_your_QuickConnect.
Automatic power off and on settings and more
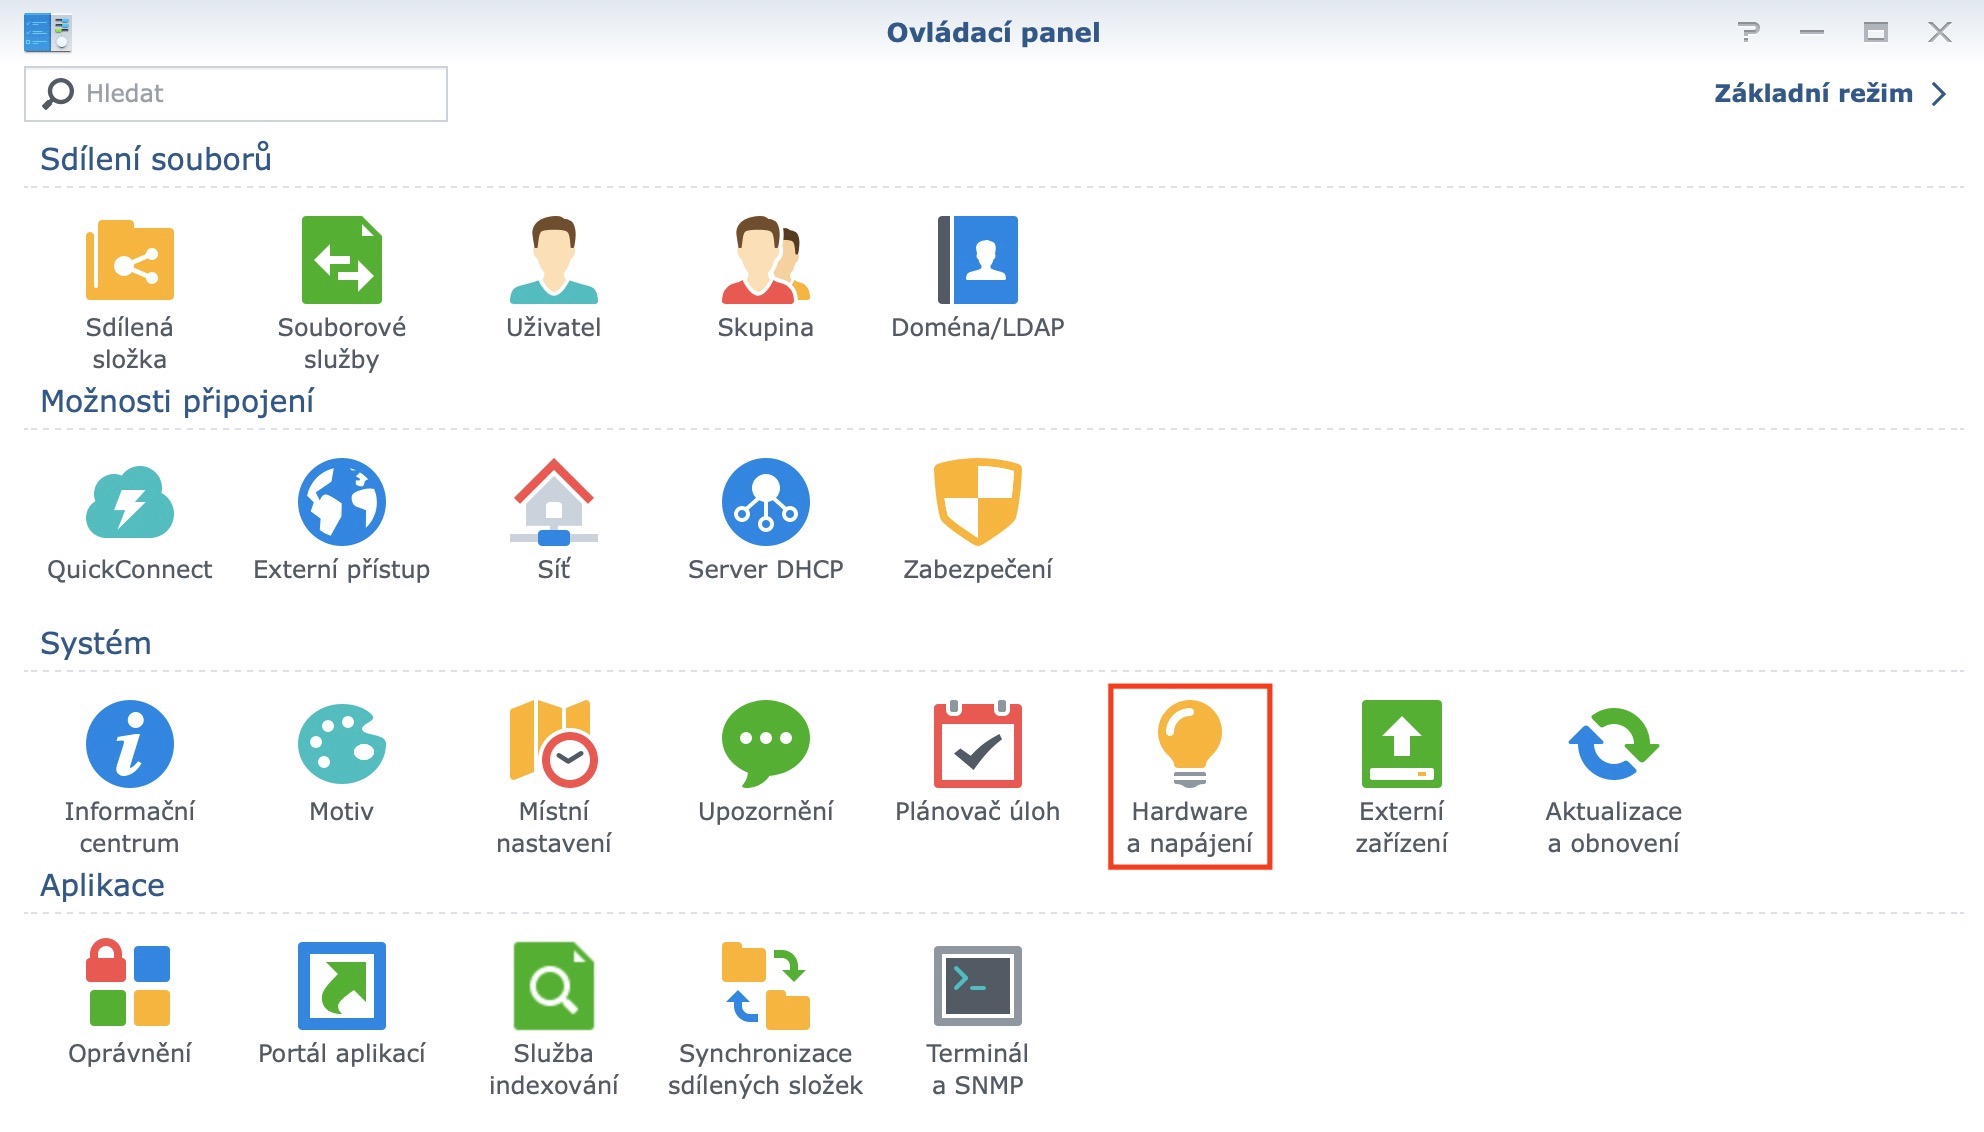
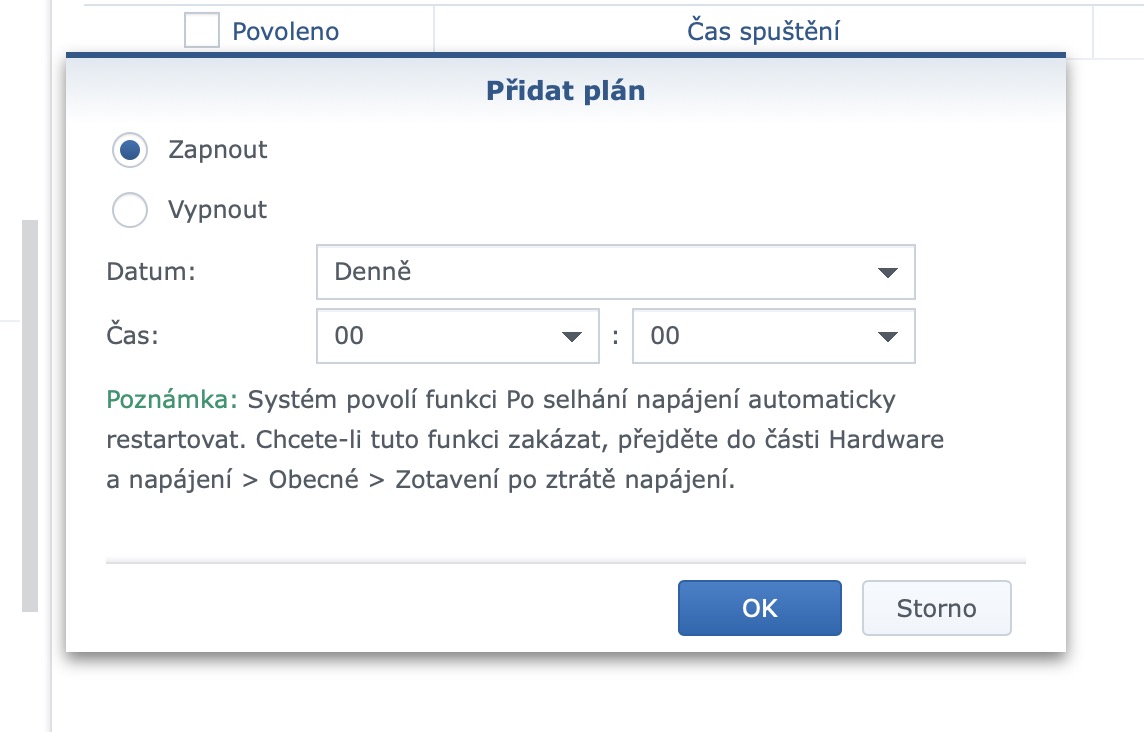
Many of you have also asked if it is possible to set the station to automatically turn on or off at a certain time in the Synology settings. The answer is again very simple - yes, you can. Just click Control Panel in the Synology environment to go to the Hardware and Power section. In the top menu, then move to the Power plan, where you can simply create commands to turn the system on or off.
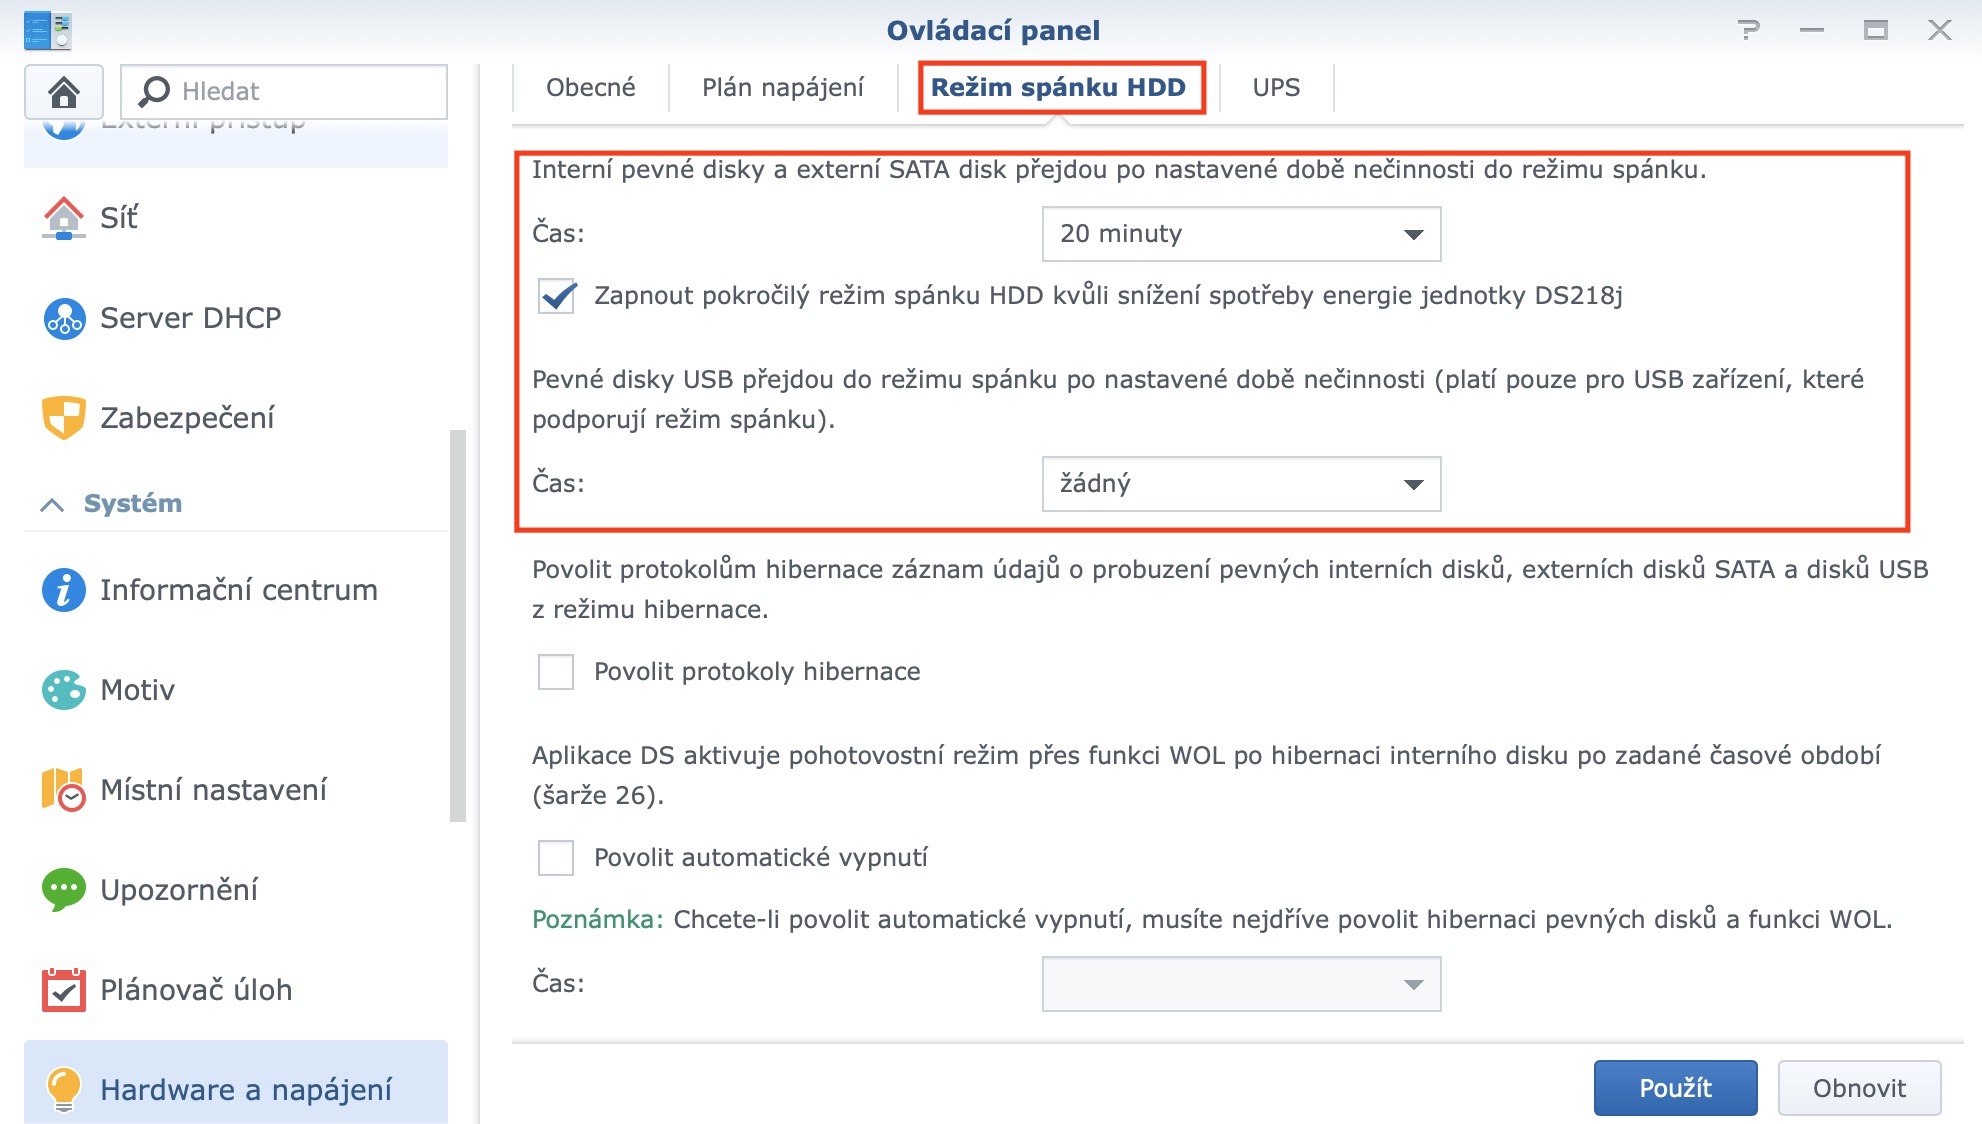
If you want to activate the automatic sleep of hard drives after inactivity, then move again to the Hardware and power section. In the top menu, however, select the HDD Sleep Mode option. Here, check the option to automatically put the disks to sleep and choose the time after which the disks should go into sleep mode in case of inactivity. You can set the same for external drives, but not all of them support this option. For example, my old ADATA external drive does not have this feature, but the WD MyPassport drive does.
How to map a drive in macOS
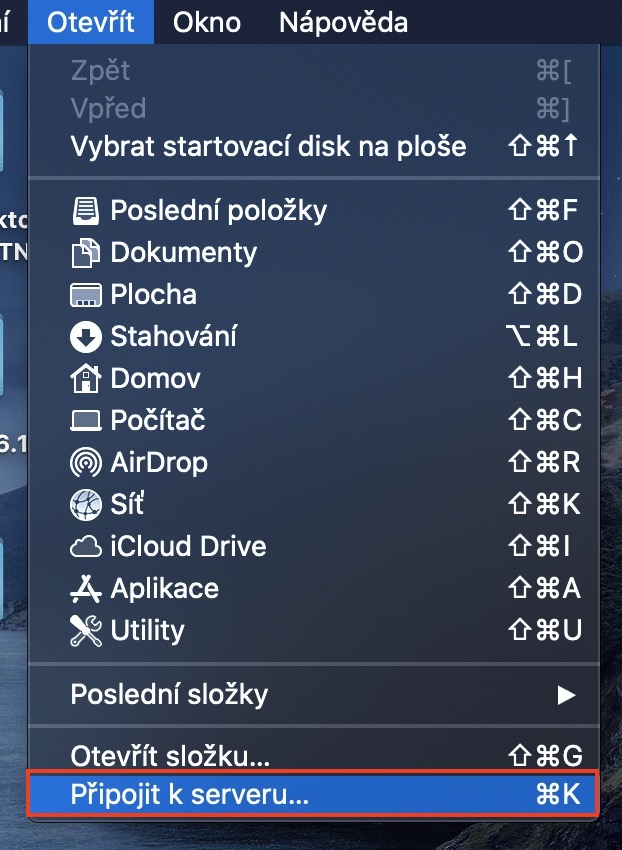
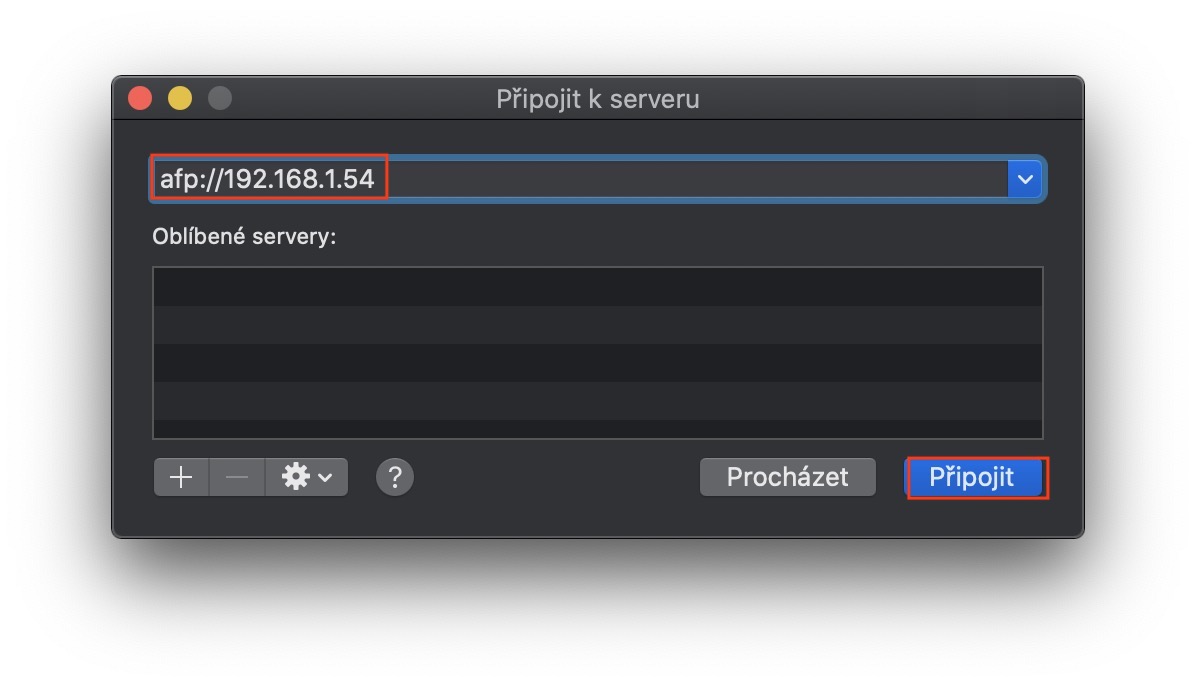
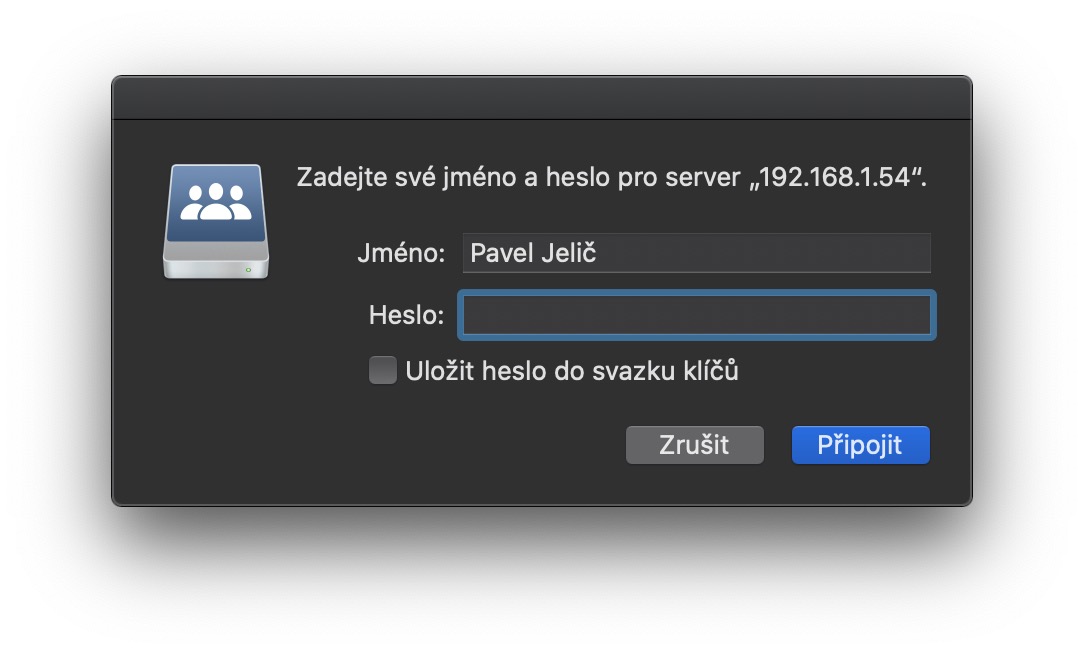
Once you have Synology set up, the next step is to record the disk. This means that you will be able to access Synology directly from the macOS environment and not be dependent on the web interface of the DSM system. In some cases, the Synology device will appear on the left side of the Finder after connecting, but this is not the rule. If the drive does not appear in the Finder, click Open in the top bar and select Connect to server from the drop-down menu. Then enter afp://XXX.XXX.XX.XX in the text box, where "X" is the IP address of your Synology. So in my case the path looks like this: afp://192.168.1.54 . Then click Connect to sign in to your account. Use the exact data you use to log in to your account in the web interface as well.
A suitable hard drive
Disks can be divided into three groups - computer, business and special NAS disks. Computer disks are, as you can tell from the name, for classic computers. These drives are not equipped with vibration protection, so they do not fit into a multi-bay NAS device. This is because vibrations from nearby drives could damage the drive. However, you can use a computer disk where it will not be accessed by many users, i.e. even to the home network. Enterprise drives provide better performance, better components used, and many also have anti-vibration protection. These disks are therefore suitable for companies where it is necessary to work with a large volume of data at once across multiple users or devices. Special NAS disks then represent an alternative optimized for use in NAS systems. They are intended for users who find PC drives insufficiently durable and enterprise drives too expensive. They often offer better durability, more balanced performance and lower power consumption than computer disks. From this, you can conclude that NAS disks are most suitable for NAS devices. However, if you are going to use the NAS in a home network or a small company where there are not many employees, then you do not have to use classic computer disks either. Among other things, I also use them at home.
Customer support
The next question, or task, was to contact customer support with some unusual question. So I did and I even used the support advice to my advantage. Specifically, I needed help with general Download Station setup, as well as port forwarding on my router. Customer support readily provided me with all of them informace, which I needed. Setting up Download Station and port forwarding afterwards was a piece of cake for me. You can access the Download Station article, in which I also provided instructions on port forwarding, using the link below.
záver
I hope this article has answered some of the questions many of you have had. As I already mentioned in the introduction, of course I could not transfer all the questions into this article, because there were really many of them. However, I have chosen the most common and interesting ones in my opinion. If you have any other questions, be sure to write them in the comments. It is quite possible that it will appear in one of the next parts of the First Steps with Synology series.
