You might think that you need an expensive smartphone with a 108MPx camera to take good photos. Of course, the number of megapixels matters, but not absolutely. With the right combination of functions and techniques, you can take very good pictures even on a cheap phone. Here are 5 tricks and tips to achieve it.
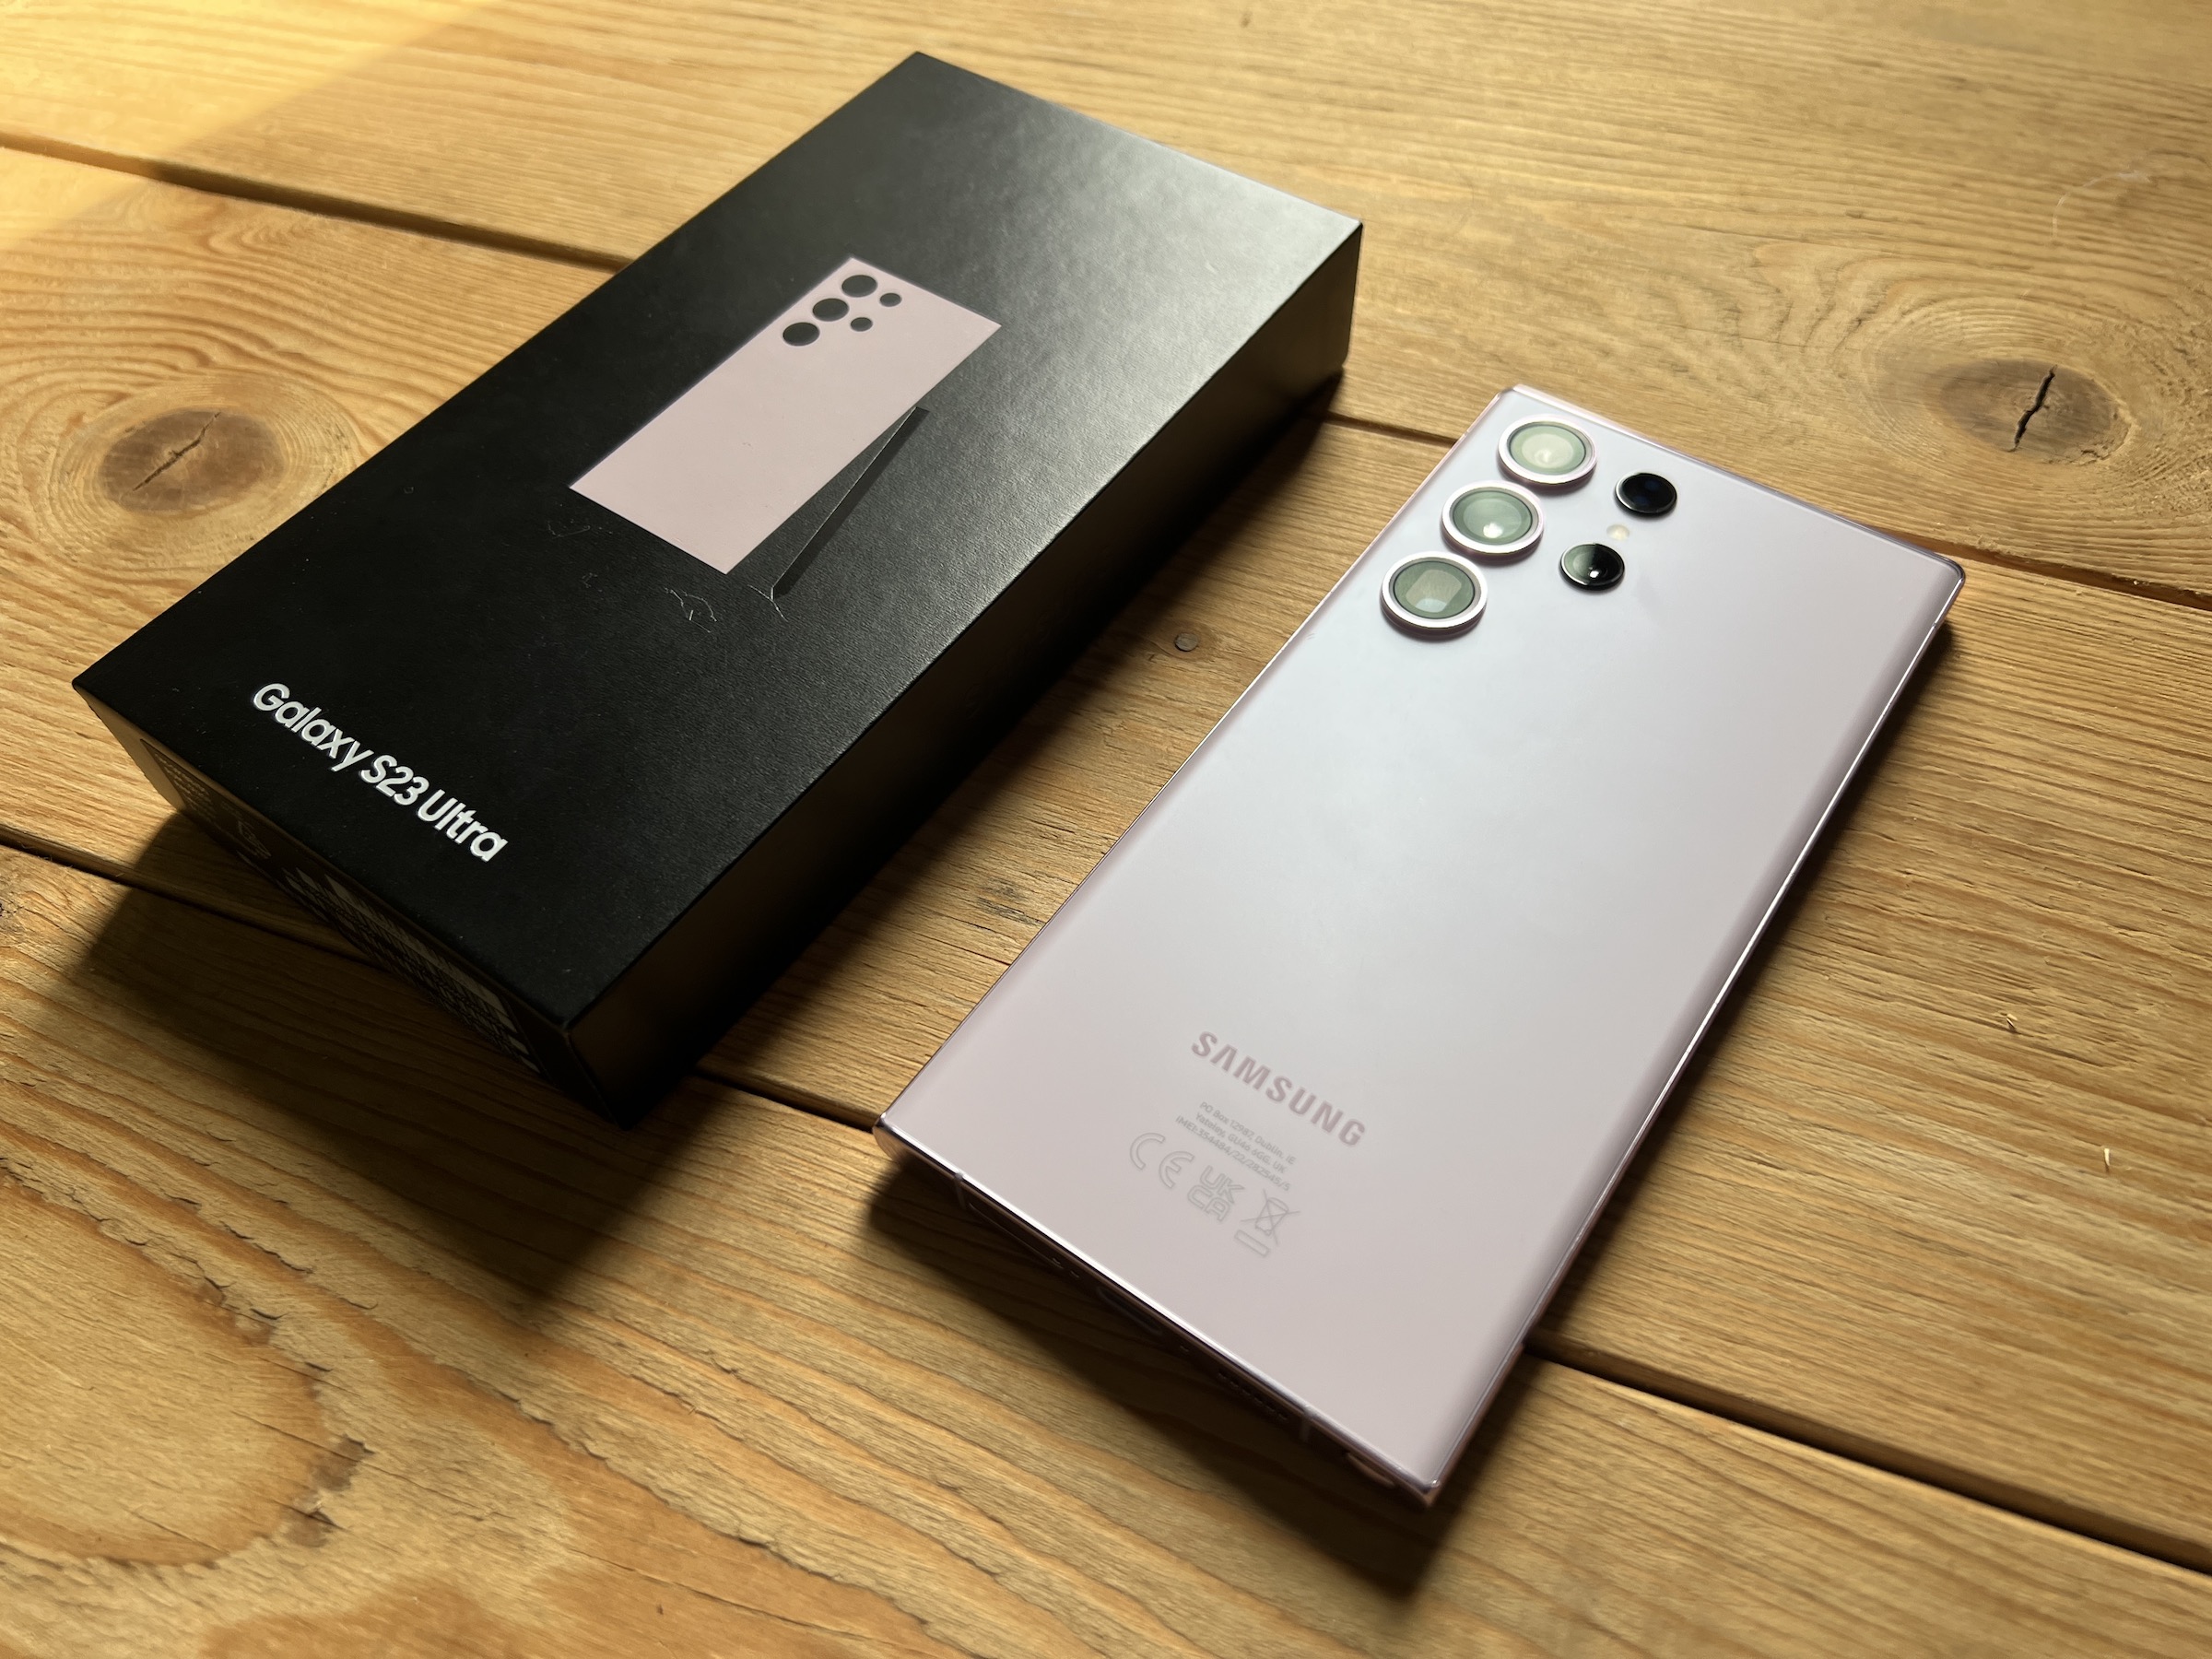
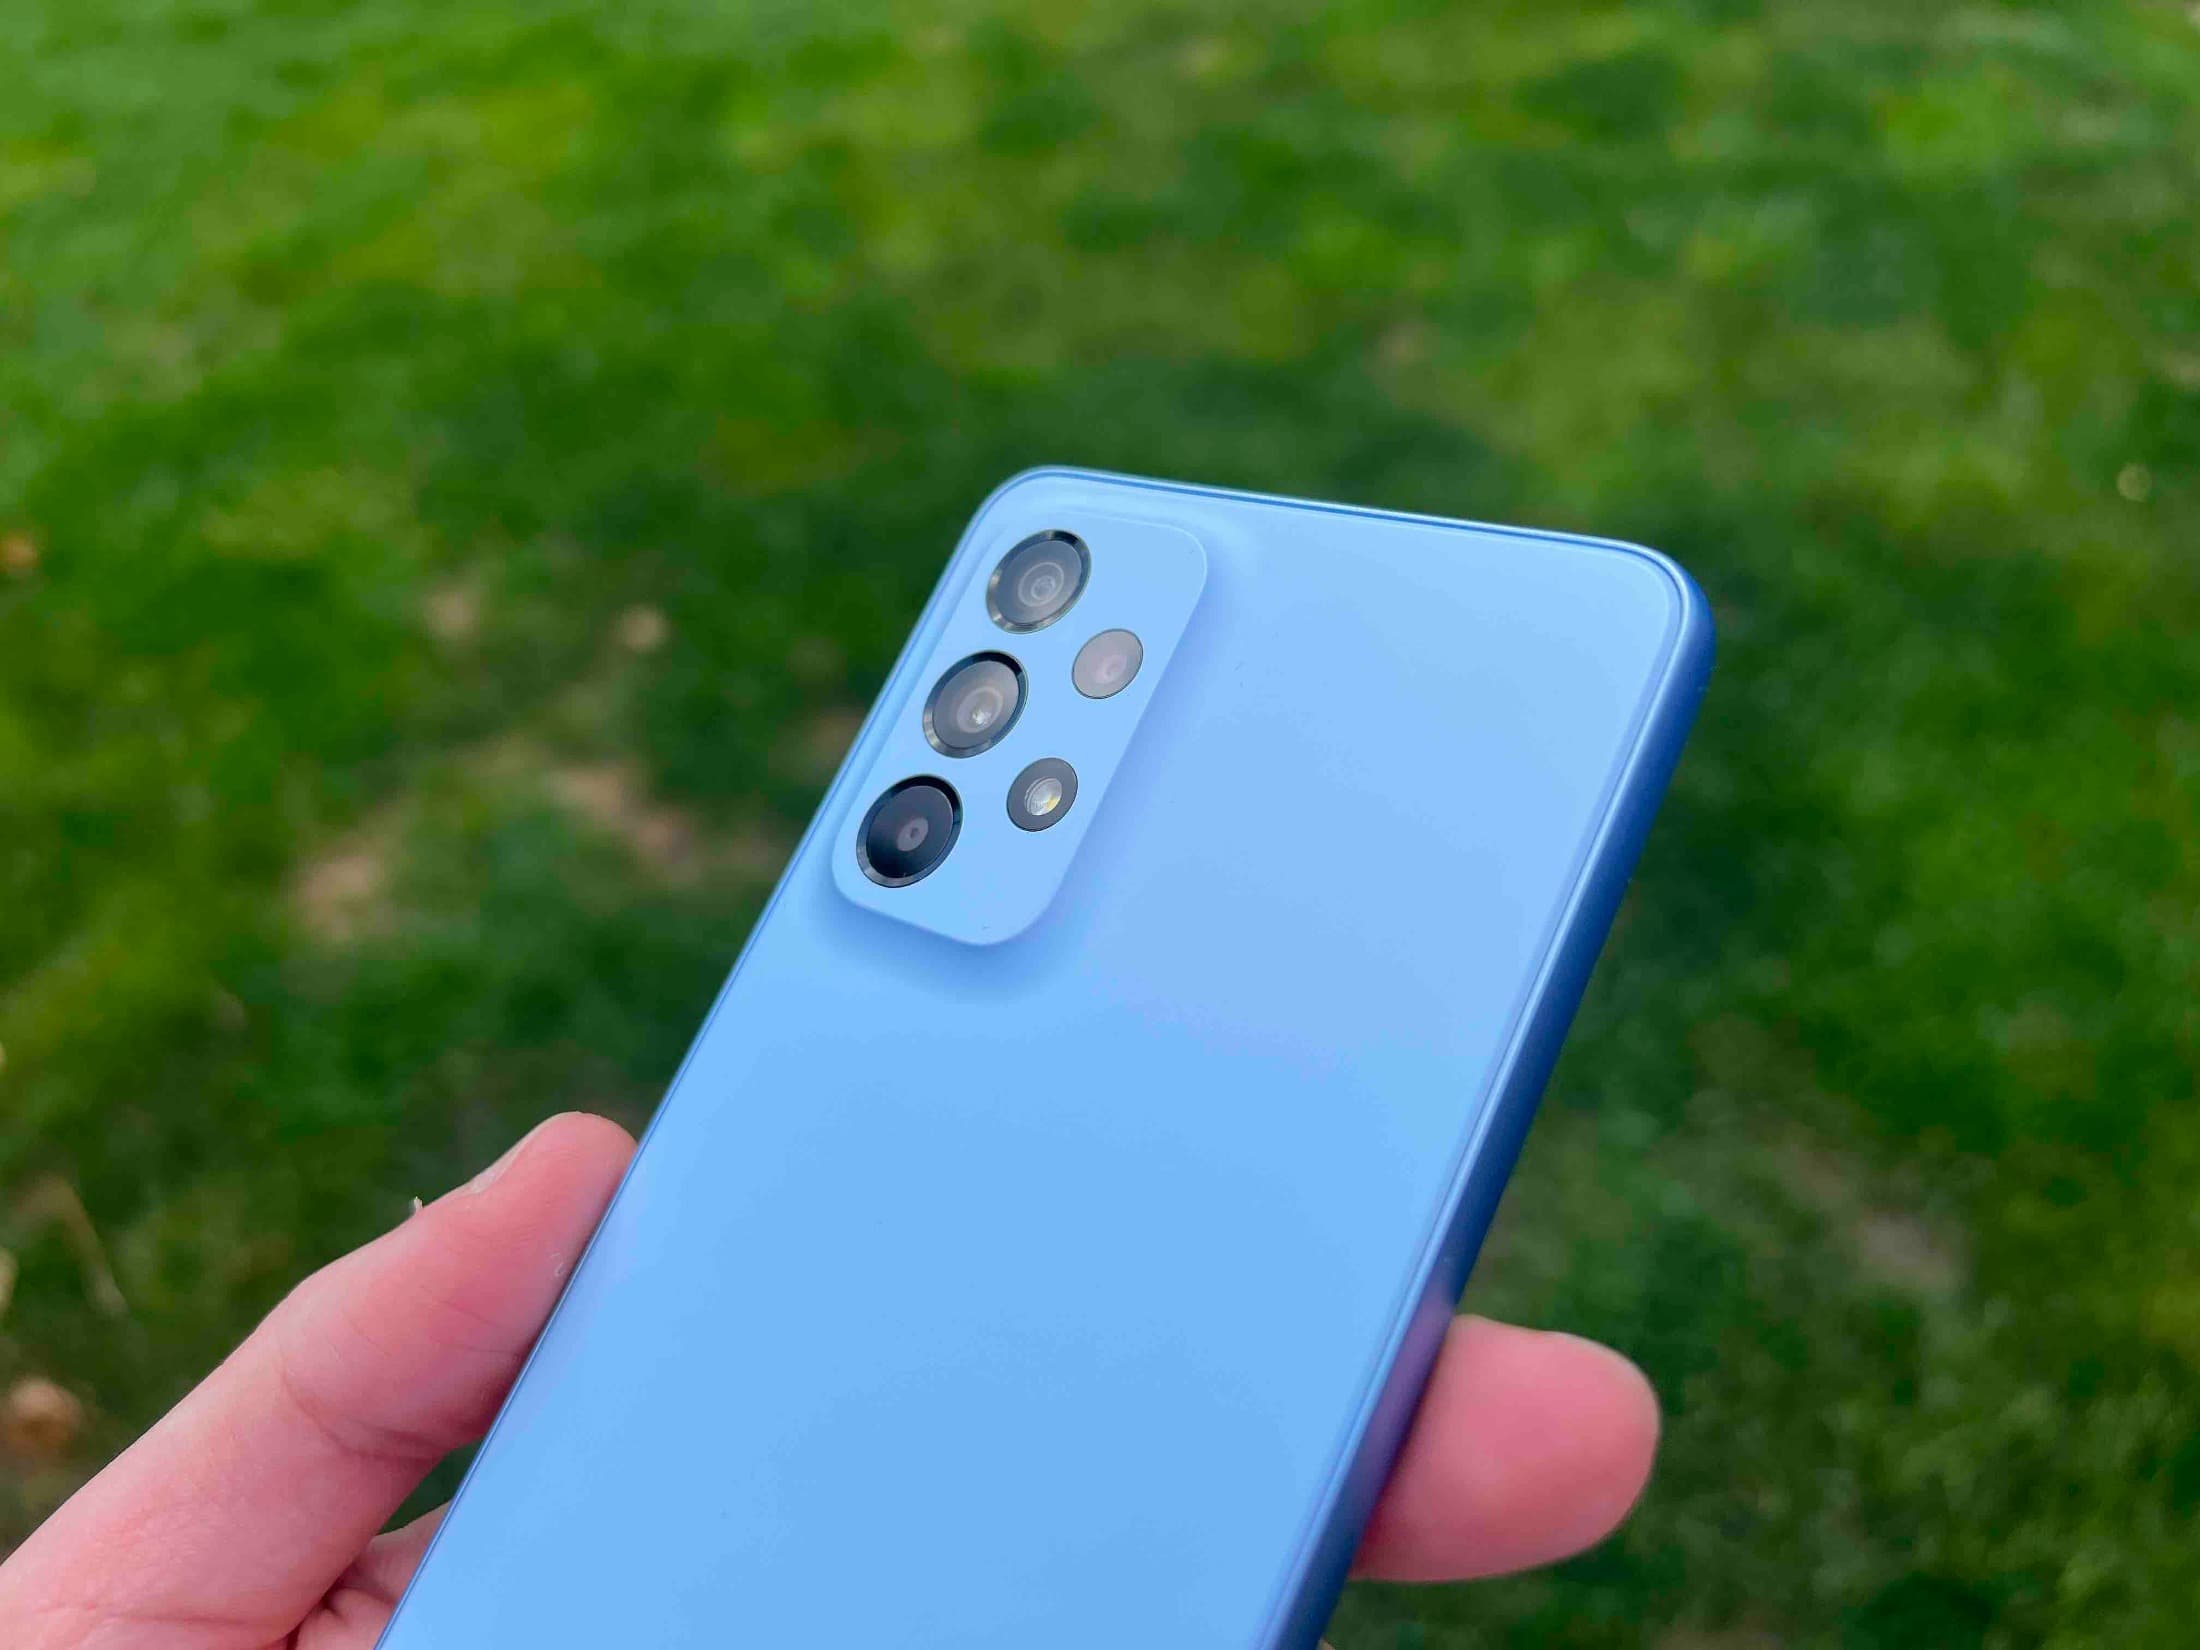
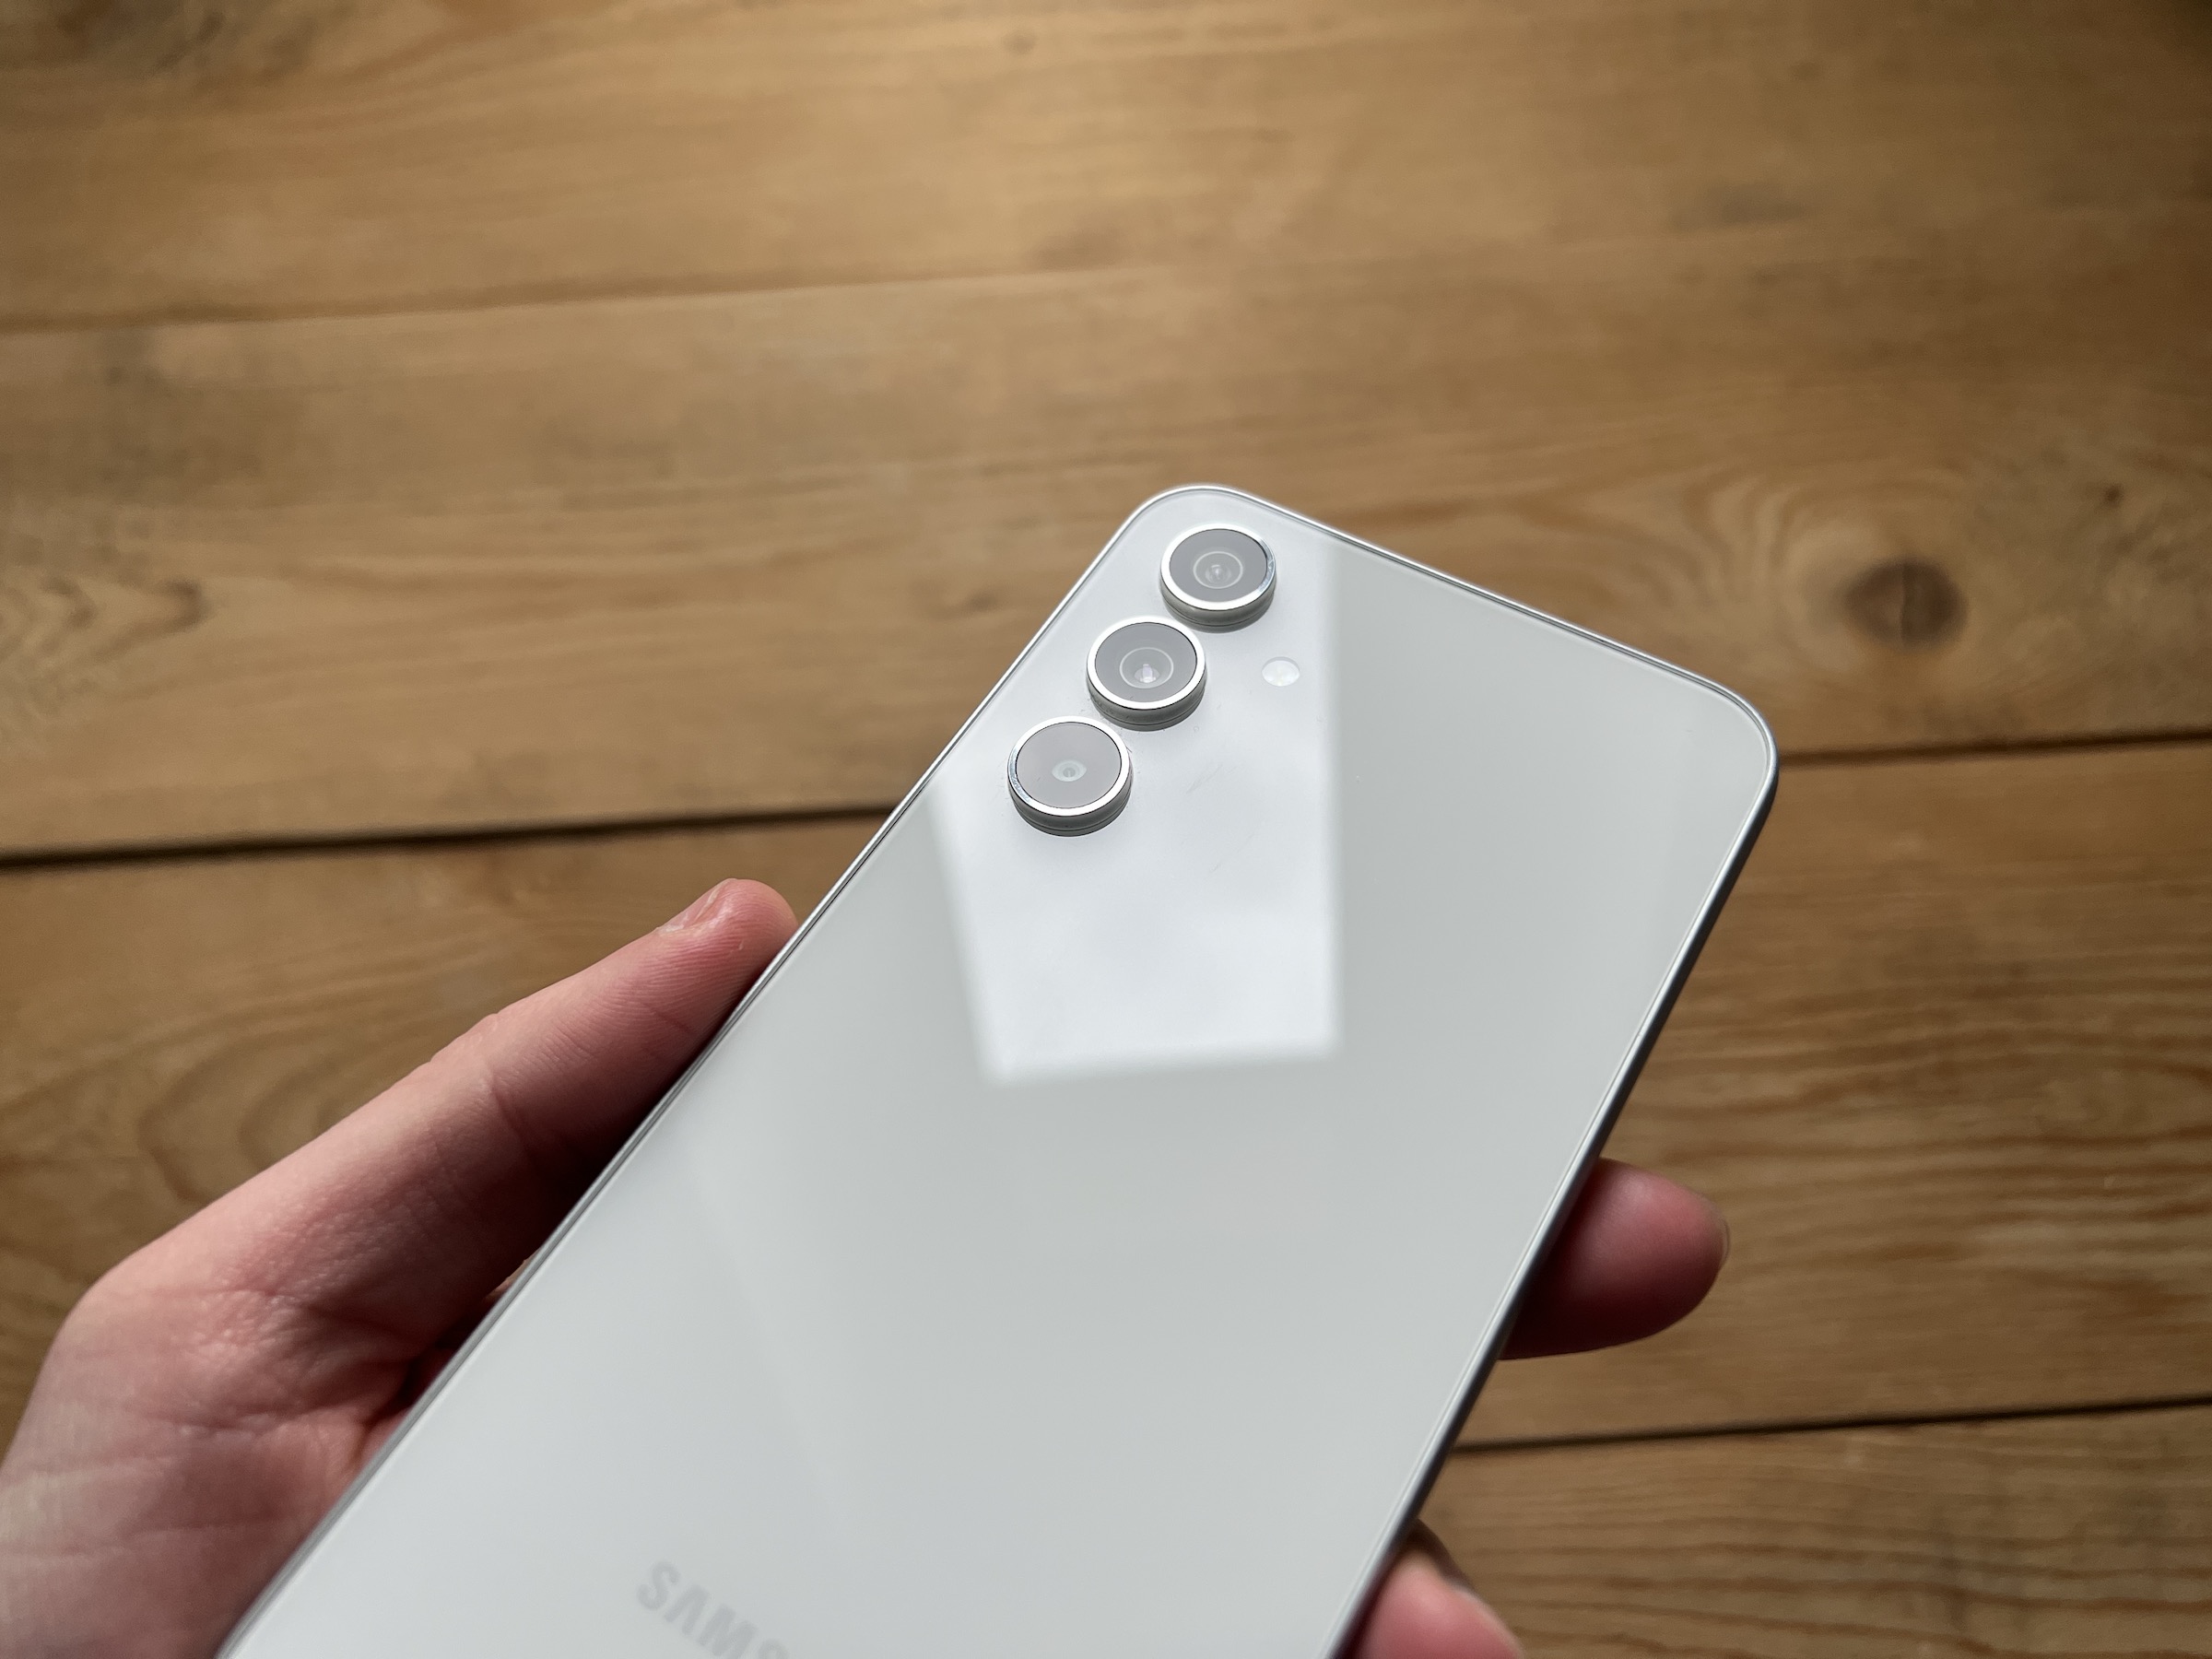
Clean the camera lens
This step is often overlooked, but it should be your top priority. Over time, dust collects on your phone and can cover the camera lens. Smudges and smudges can cause photos to look blurry. You can solve this problem very easily - by wiping the lens with a microfiber cloth. Microfiber has thinner fibers that create gentle friction against the camera lens without scratching it. Tissues can leave residue and smudges that make matters worse, so avoid them.
Adjust focus and exposure
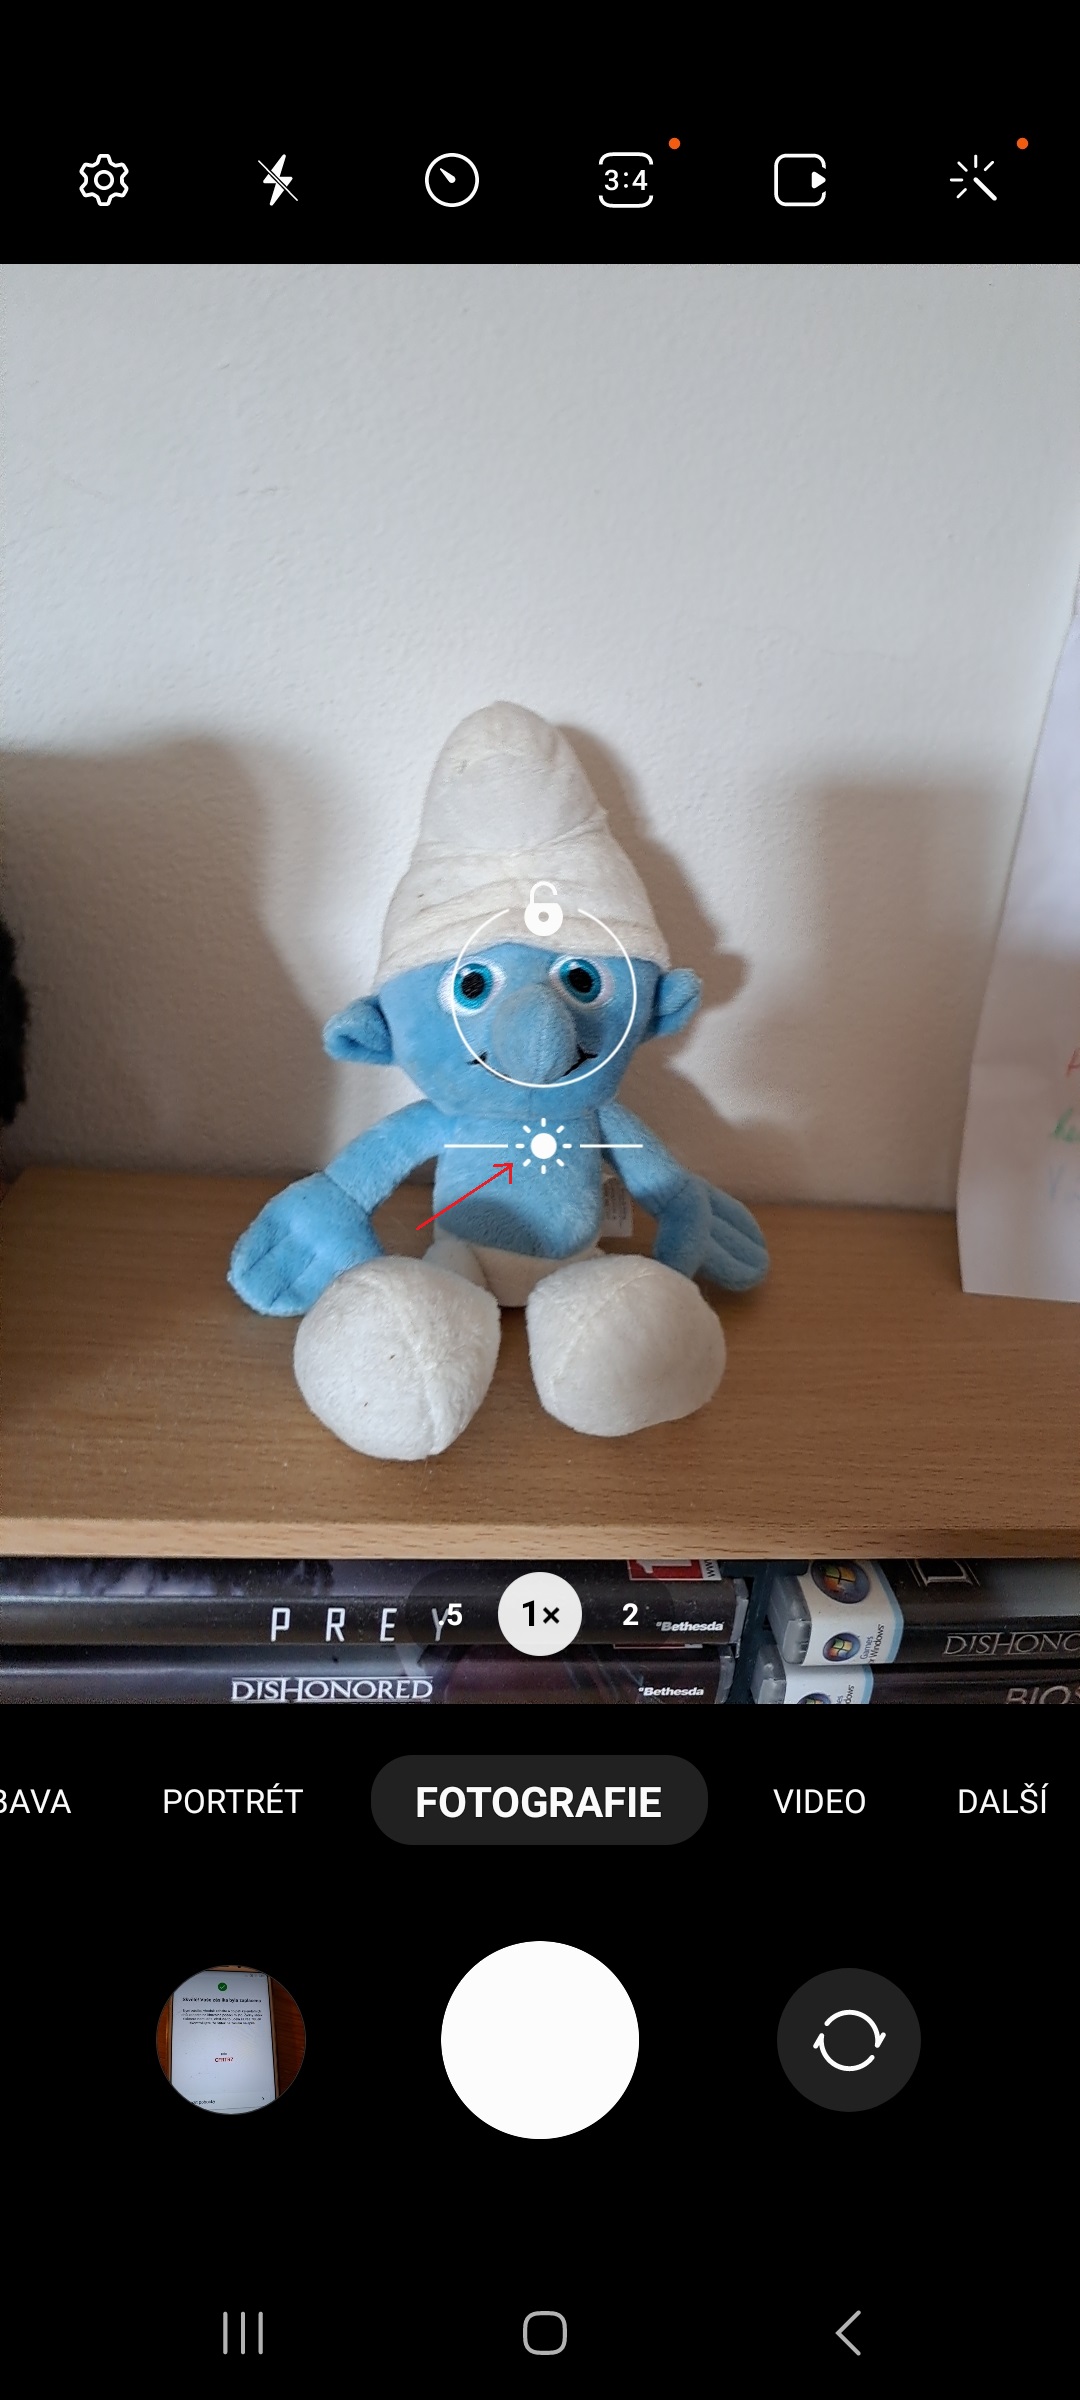
When you tap a spot on the screen in the camera app, this action will focus the camera lens on that area. This way, you have a better chance of capturing a close-up shot than if you were to rely on autofocus. While this option is great, its automatic design can be a problem. It focuses in particular on areas of high contrast, meaning that if your subject doesn't appear there, the sensor doesn't attach importance to it.
With manual focus, you define where the lens should look, which is very useful when there are moving objects in the scene. In such a case, it is useful to have good lighting. If good lighting is not available, the camera will allow you to increase the exposure. Camera exposure refers to the amount of light entering the sensor. The more you expose the sensor, the brighter your photos will be. However, this setting is very dependent on how you adjust it, otherwise you can end up with overexposed or underexposed images. Overexposure occurs when the white parts of the image are too bright and the camera cannot capture the details. Underexposure is the opposite case where the photo is too dark.
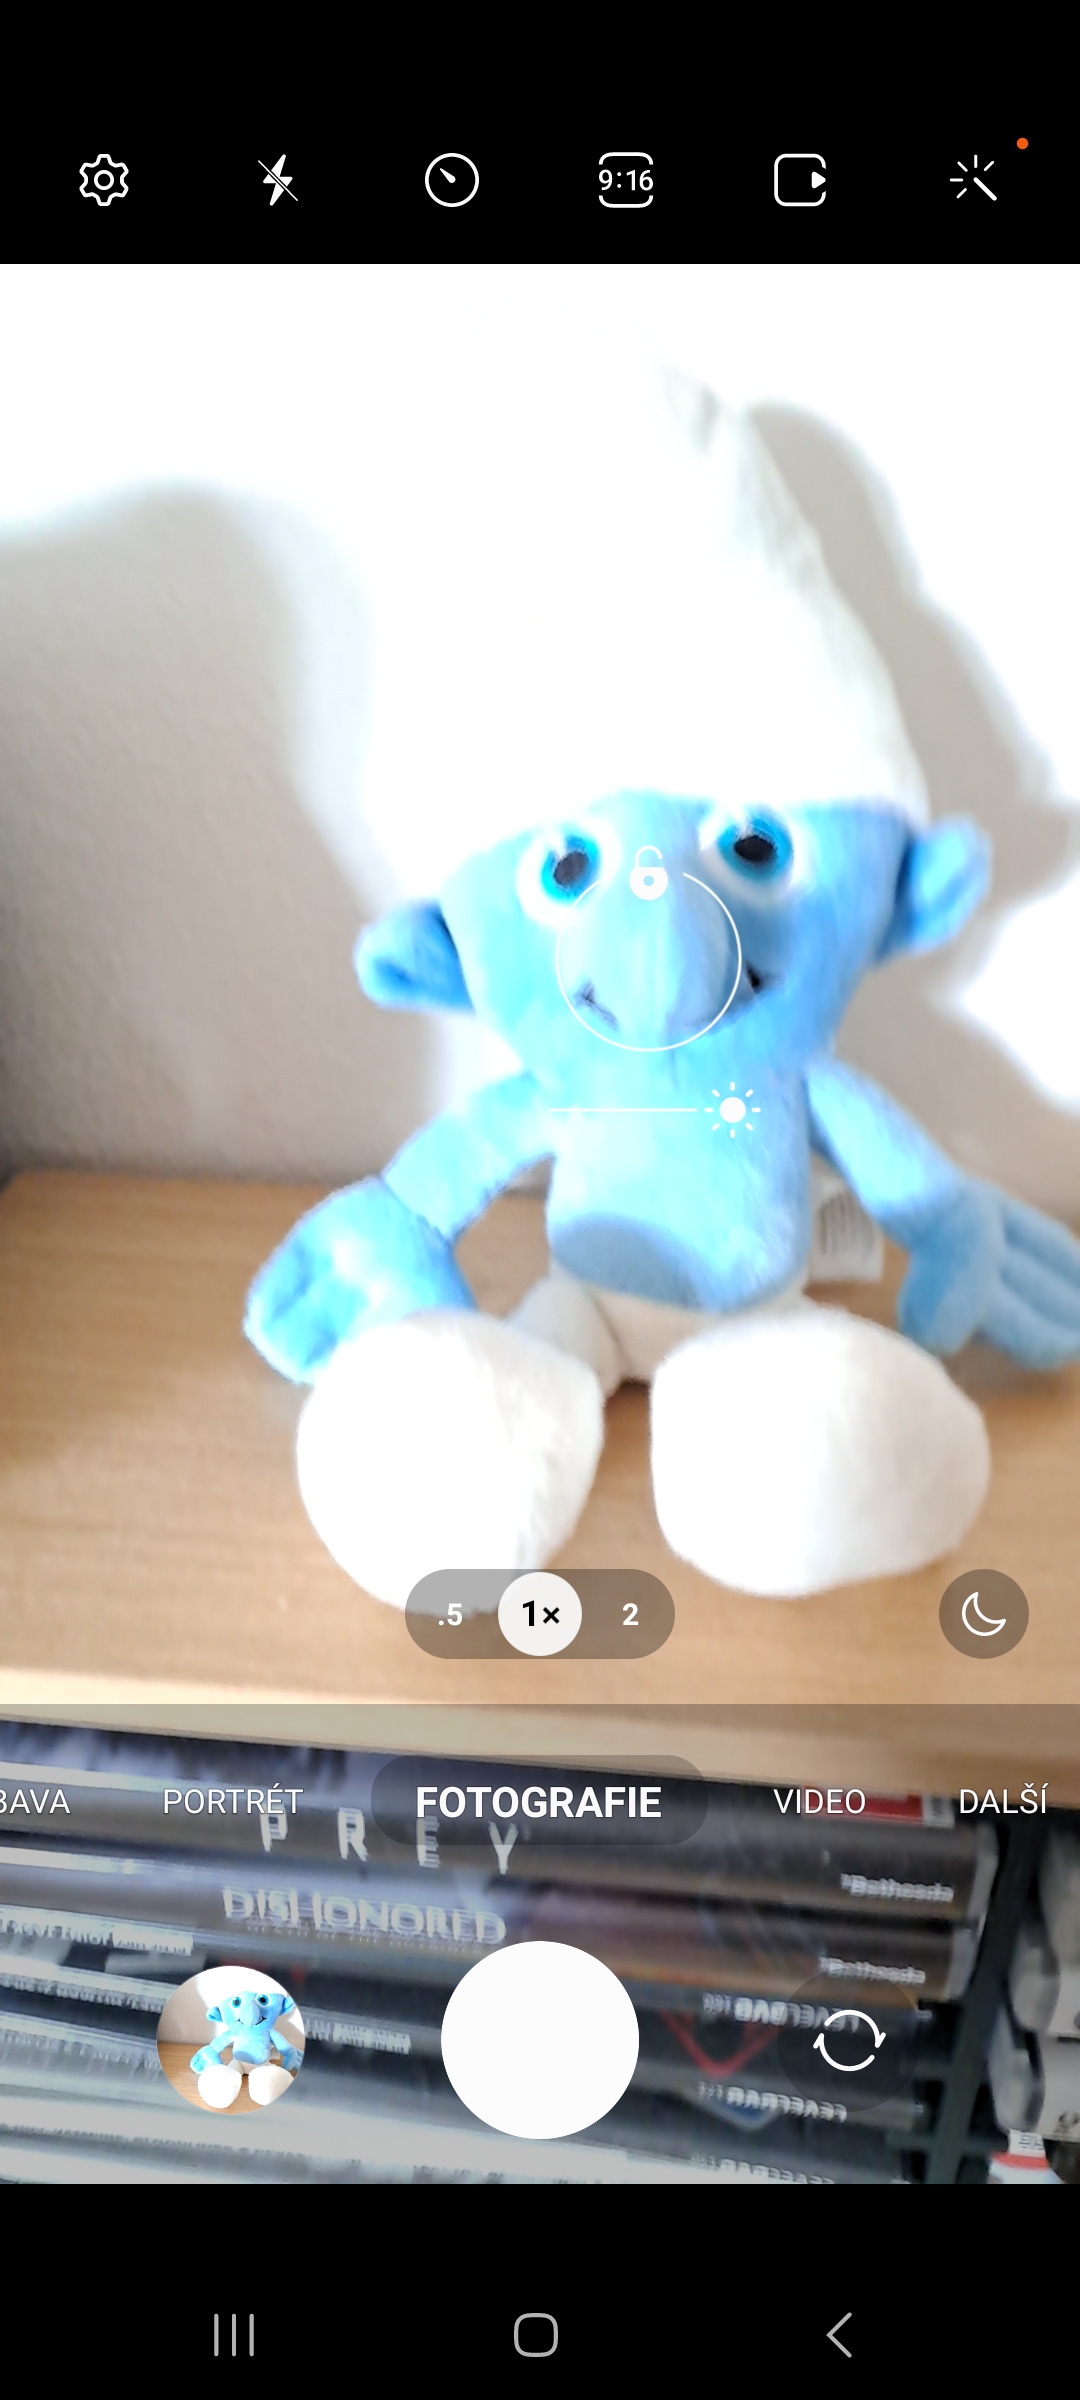
If you want to use manual focus on your phone, tap a spot on the screen to focus the camera lens on it. A slider appears next to the focus ring. Drag the sun icon to adjust the exposure. A padlock icon keeps the focus on a specific location. The lock will remain until you tap it (or another part of the screen).
Use natural light
Camera exposure and flash settings help brighten images, but they are more of a helper than a full replacement for natural lighting. Although sunlight represents harsh lighting conditions from this point of view, you can manipulate it to achieve the desired results. Timing is most important. If you need to take photos outside, do so during the following hours:
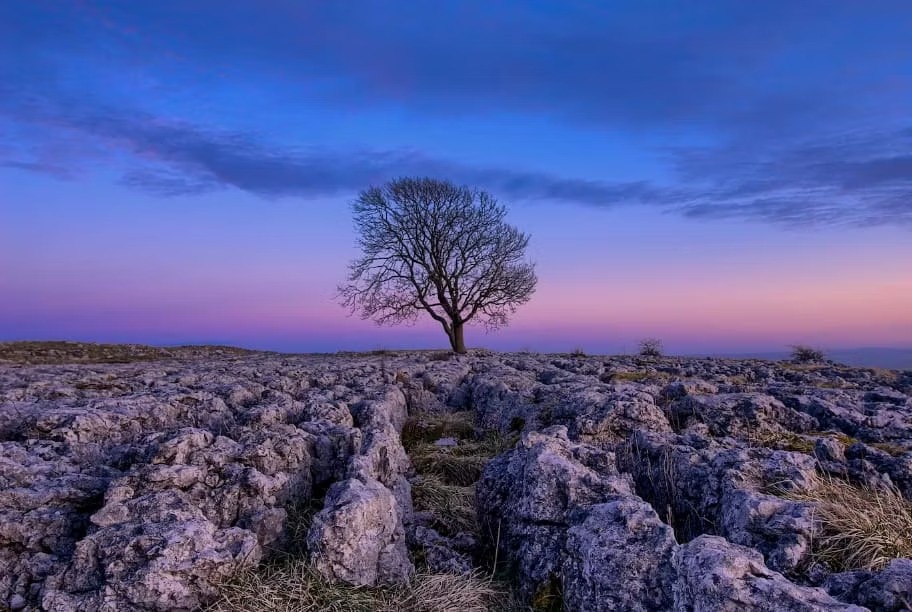
- Golden (Magic) Hour – occurs 60 minutes before sunset and after sunrise. It creates a warm golden hue that is great for creating silhouettes.
- Noon – in the afternoon at 12 o'clock and after that when the sun is clear. An ideal part of the day for capturing landscape or natural objects such as lakes or rivers.
- Blue hour – occurs 20-30 minutes after sunset and before sunrise. It creates a cool blue hue that is perfect for photographing city skylines.
Adjust the aspect ratio
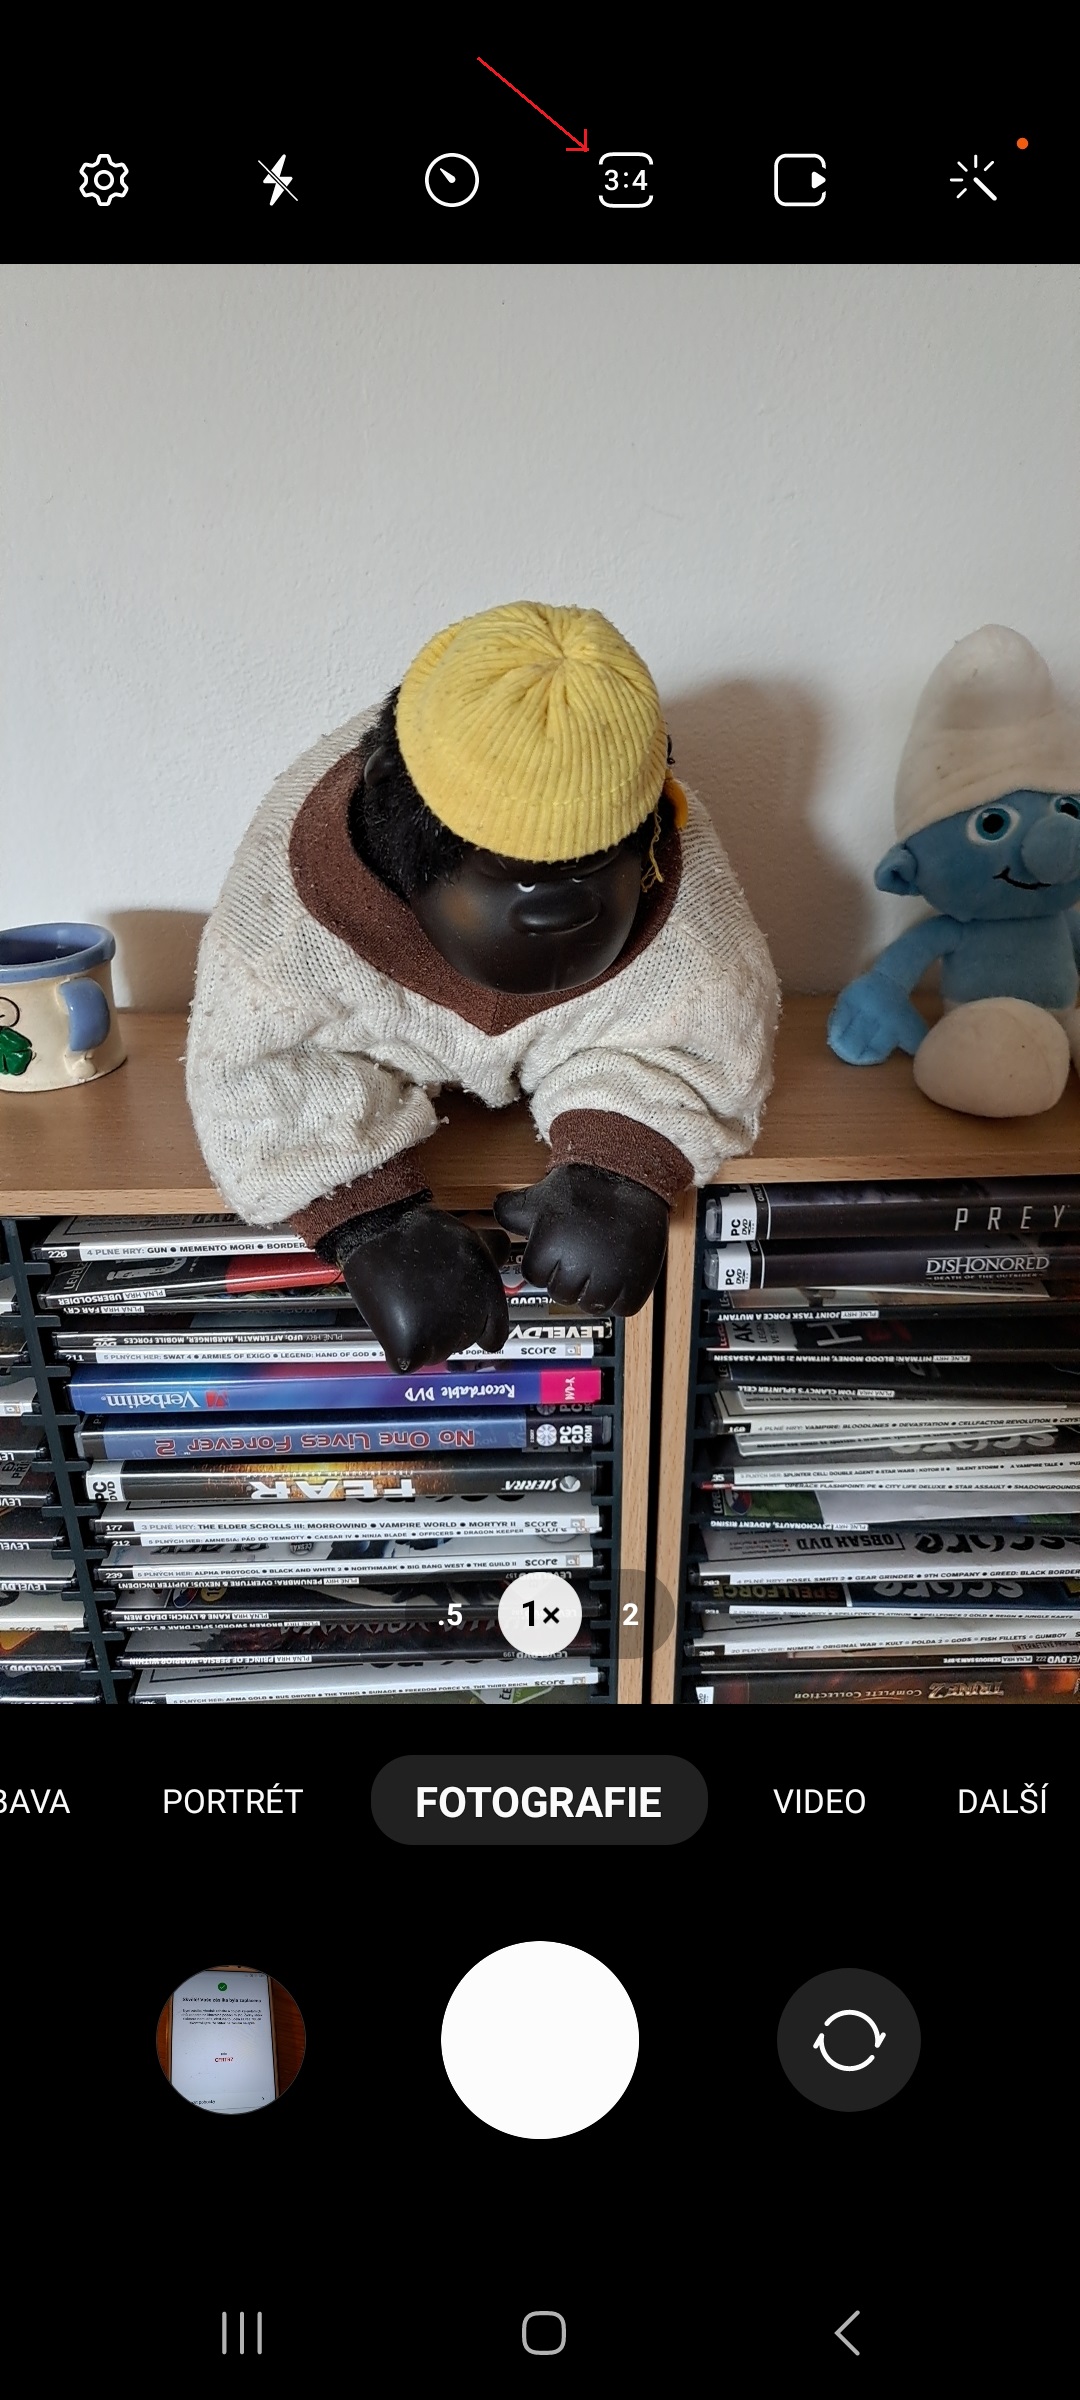
Aspect ratios in the camera app determine how large your photos will appear. The first number usually represents the width, while the second represents the height. By default, your camera app uses 9:16, the vertical form of the popular 16:9 format, for viewing landscape images on monitors, TVs, and computers. It's the perfect size for taking photos and videos on phones. However, the aspect ratio does not consist of the maximum number of megapixels of your phone.
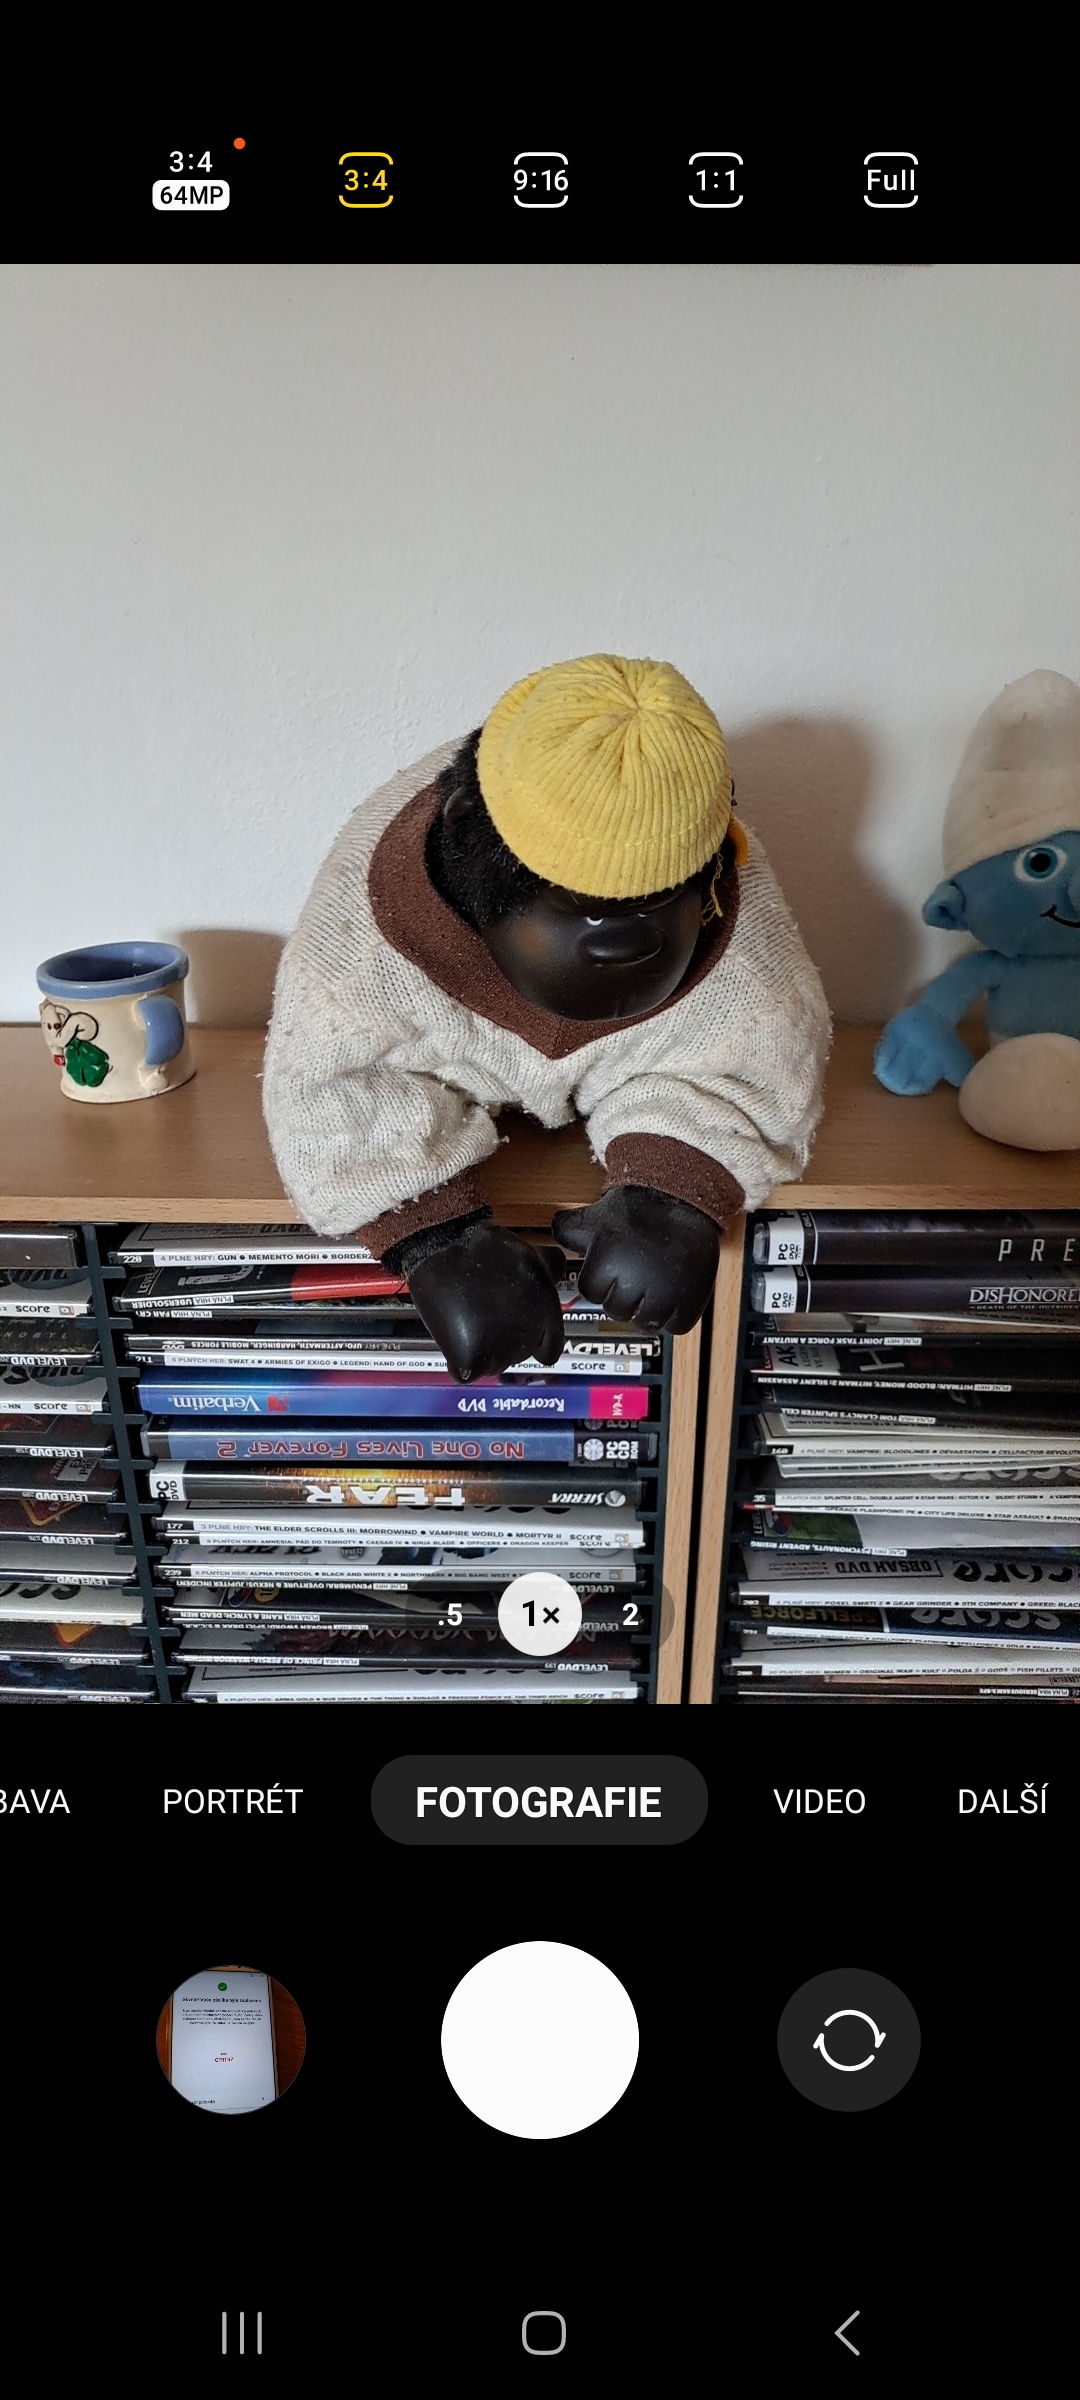
On the other hand, a ratio of 4:3 or 3:4 uses the entire rectangular area of the sensor and therefore uses the maximum number of pixels. These ratios are particularly suitable for photographs that will appear in print media. The downside is sacrificing some features like zooming, taking burst photos, and choosing the flash option you want. In addition, the images taken this way also look smaller.
Depending on the phone model or operating system, change the aspect ratio in the camera application. Telephones Galaxy have a button at the top of the app, while other devices may require you to swipe up or enter the app's settings.
Don't zoom in, get closer
Digital SLRs have optical lenses that can be adjusted forwards and backwards to magnify distant objects. Your smartphone doesn't – it uses a digital lens instead. Smartphone designs are too flat and restrictive to allow the lens to move back and forth as many times as needed for optimal optical zoom.
The closer your phone's camera focuses on the subject, the more the lens will crop the image to enlarge it. This process makes the subject look pixelated and blurry. If possible, move closer to the subject. If not, take a shot from far away and crop it yourself. Photos will thus lose less quality.
You could be interested in


Everyone knows that shooting 16:9 is the biggest bullshit. Only 4:3 you smartass. Who spawned this bullshit.
Believe it or not, everyone definitely doesn't. You'd even be surprised how many people shoot in 16:9 because the scene ideally takes up the entire screen.