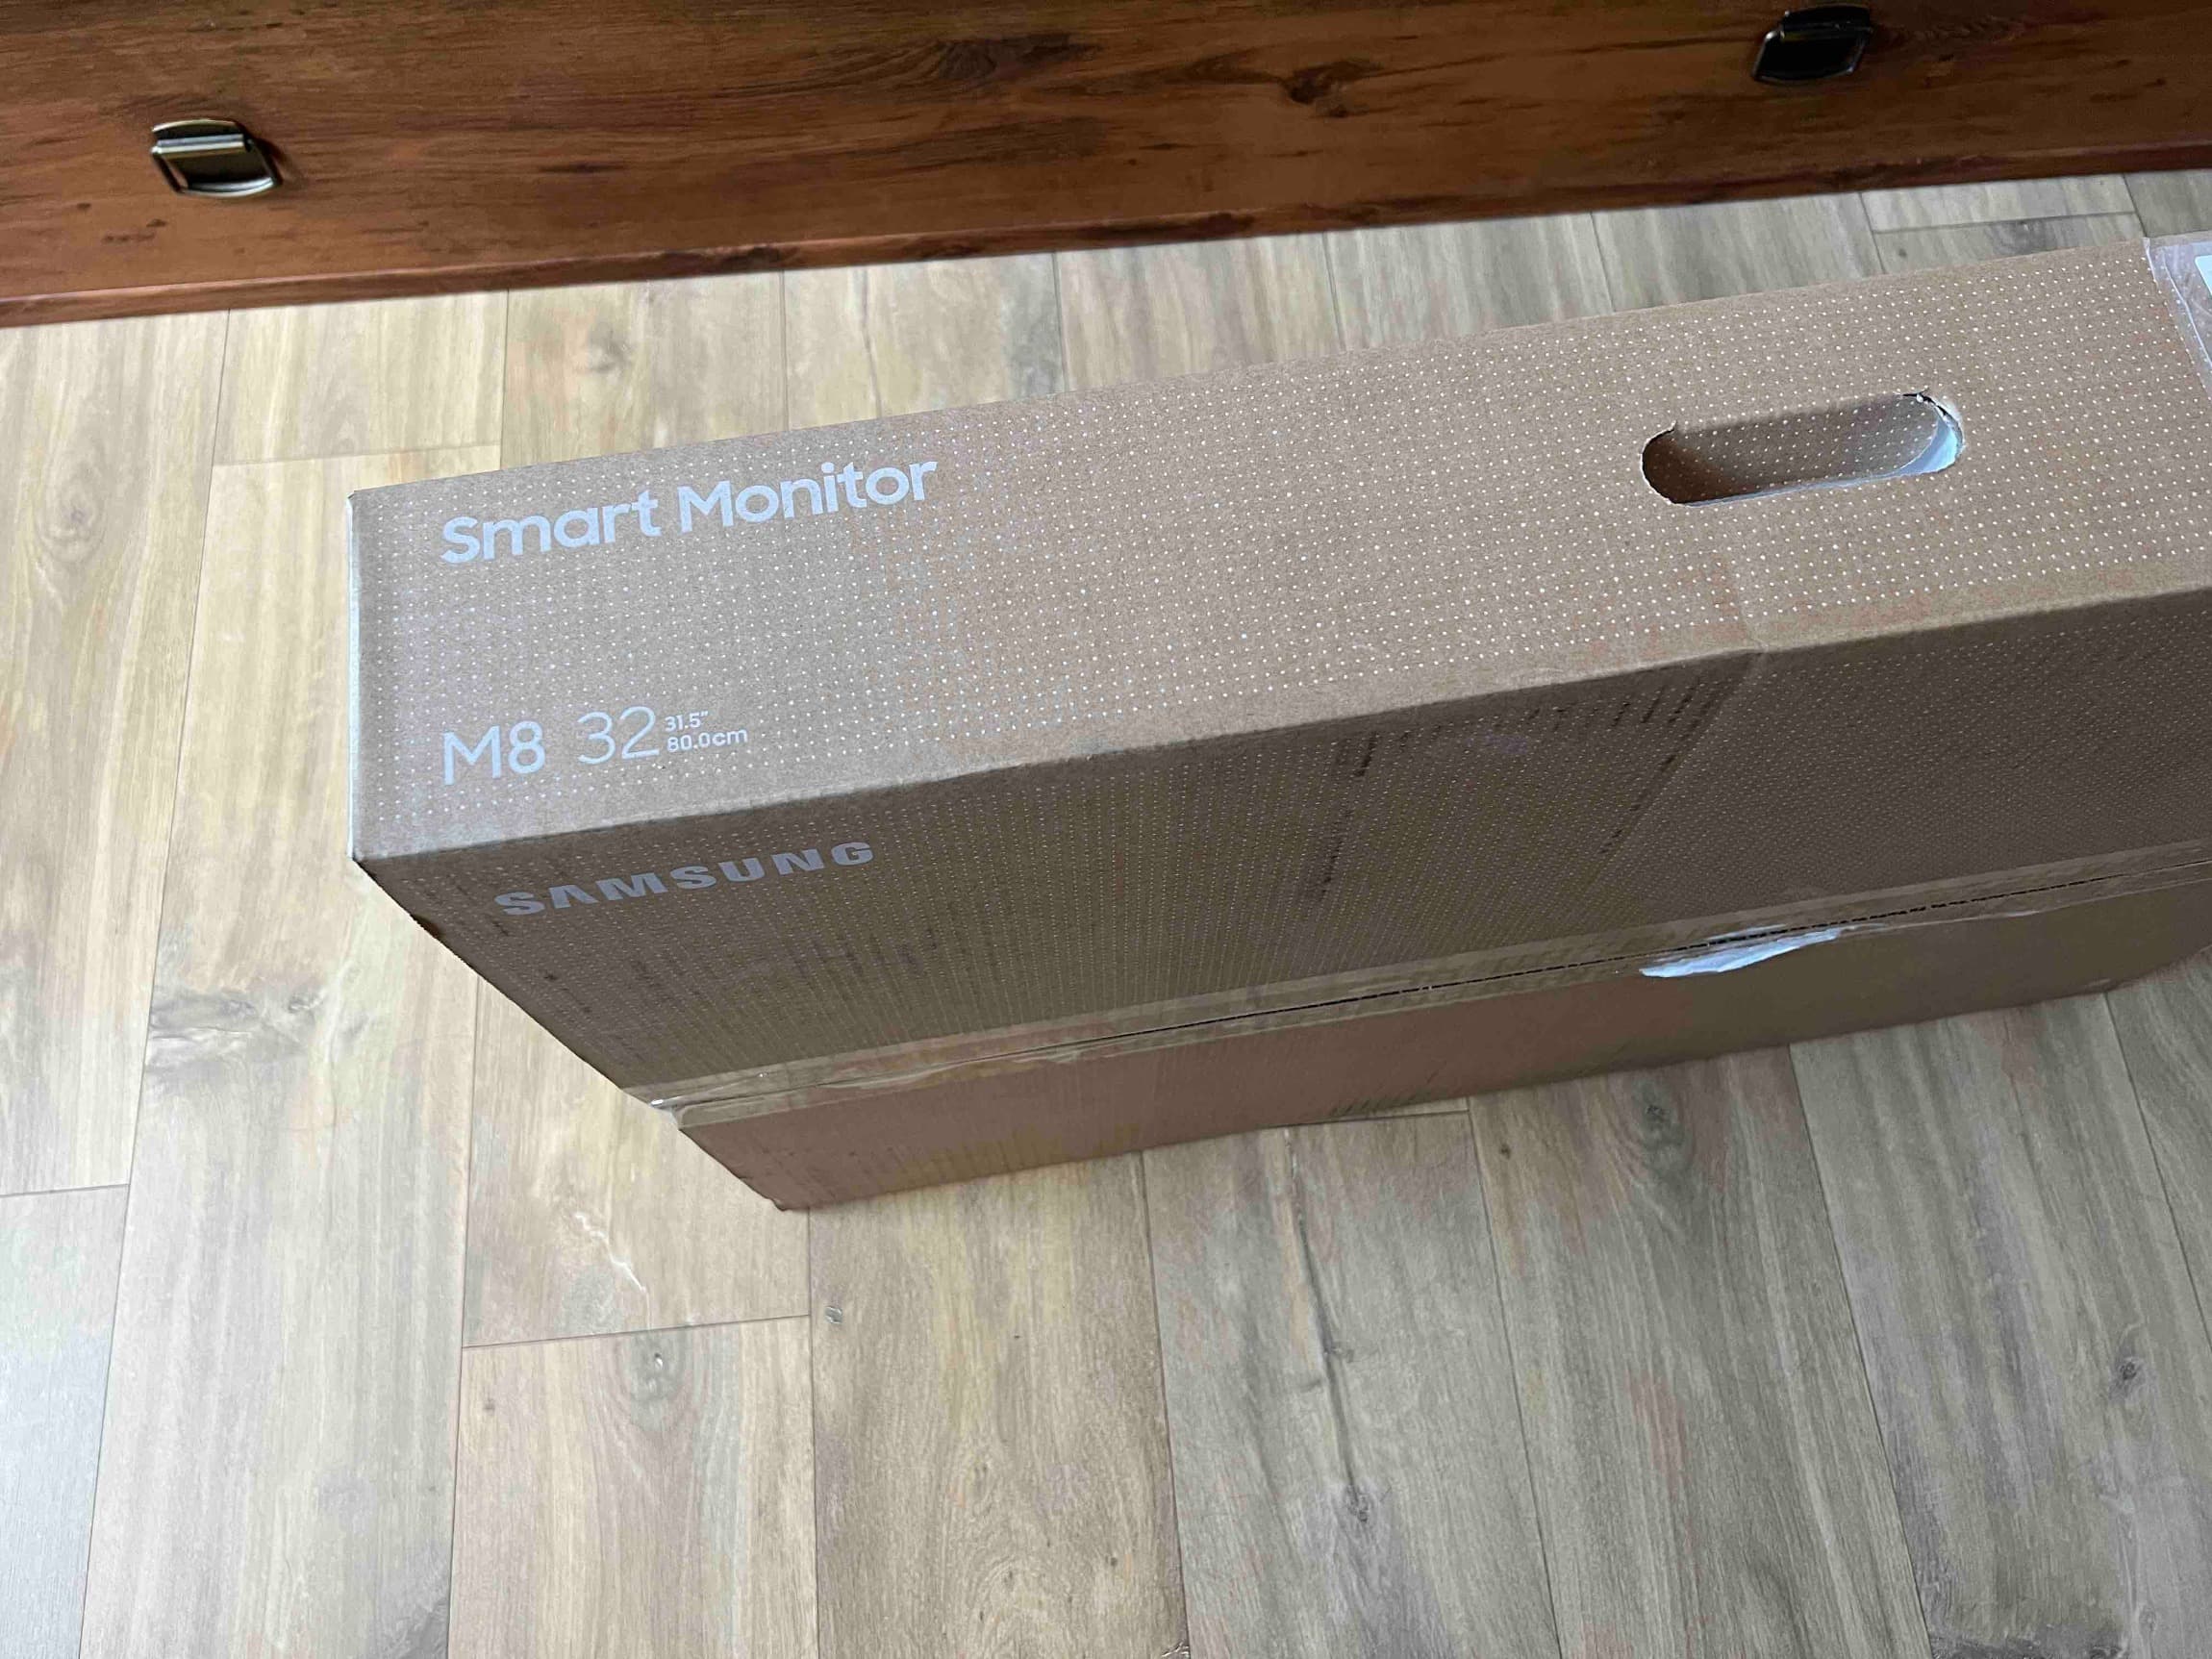
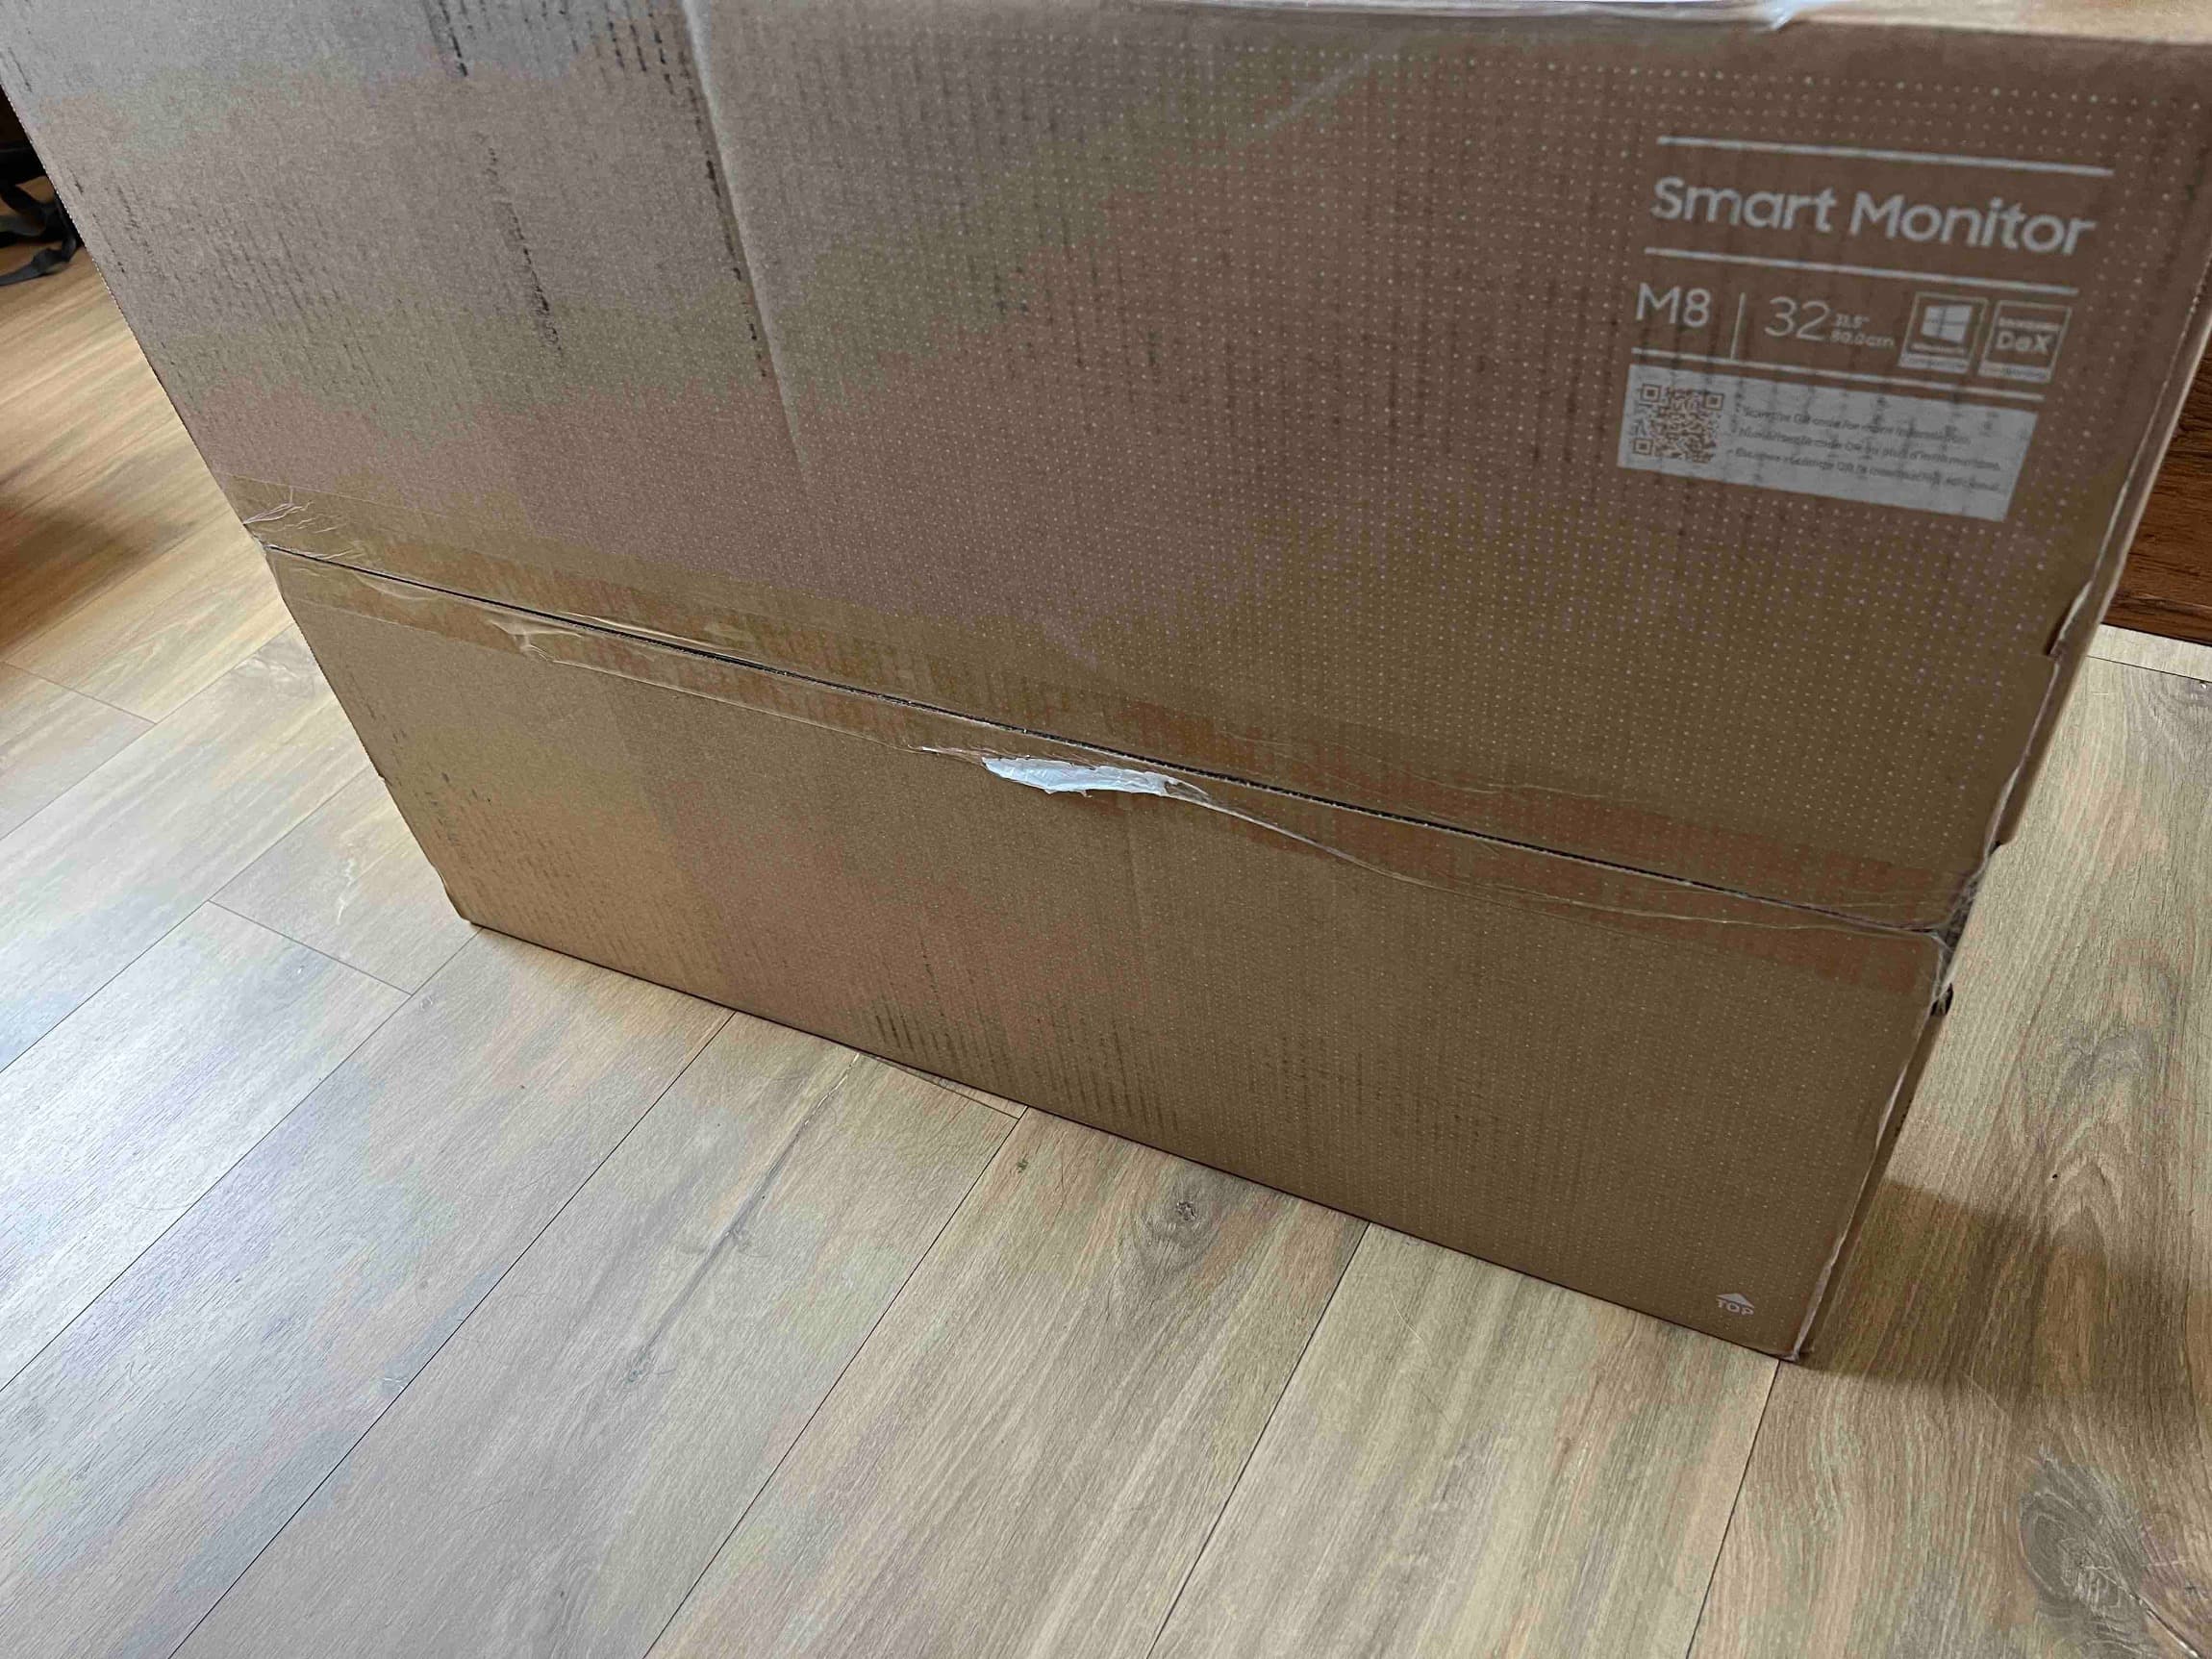
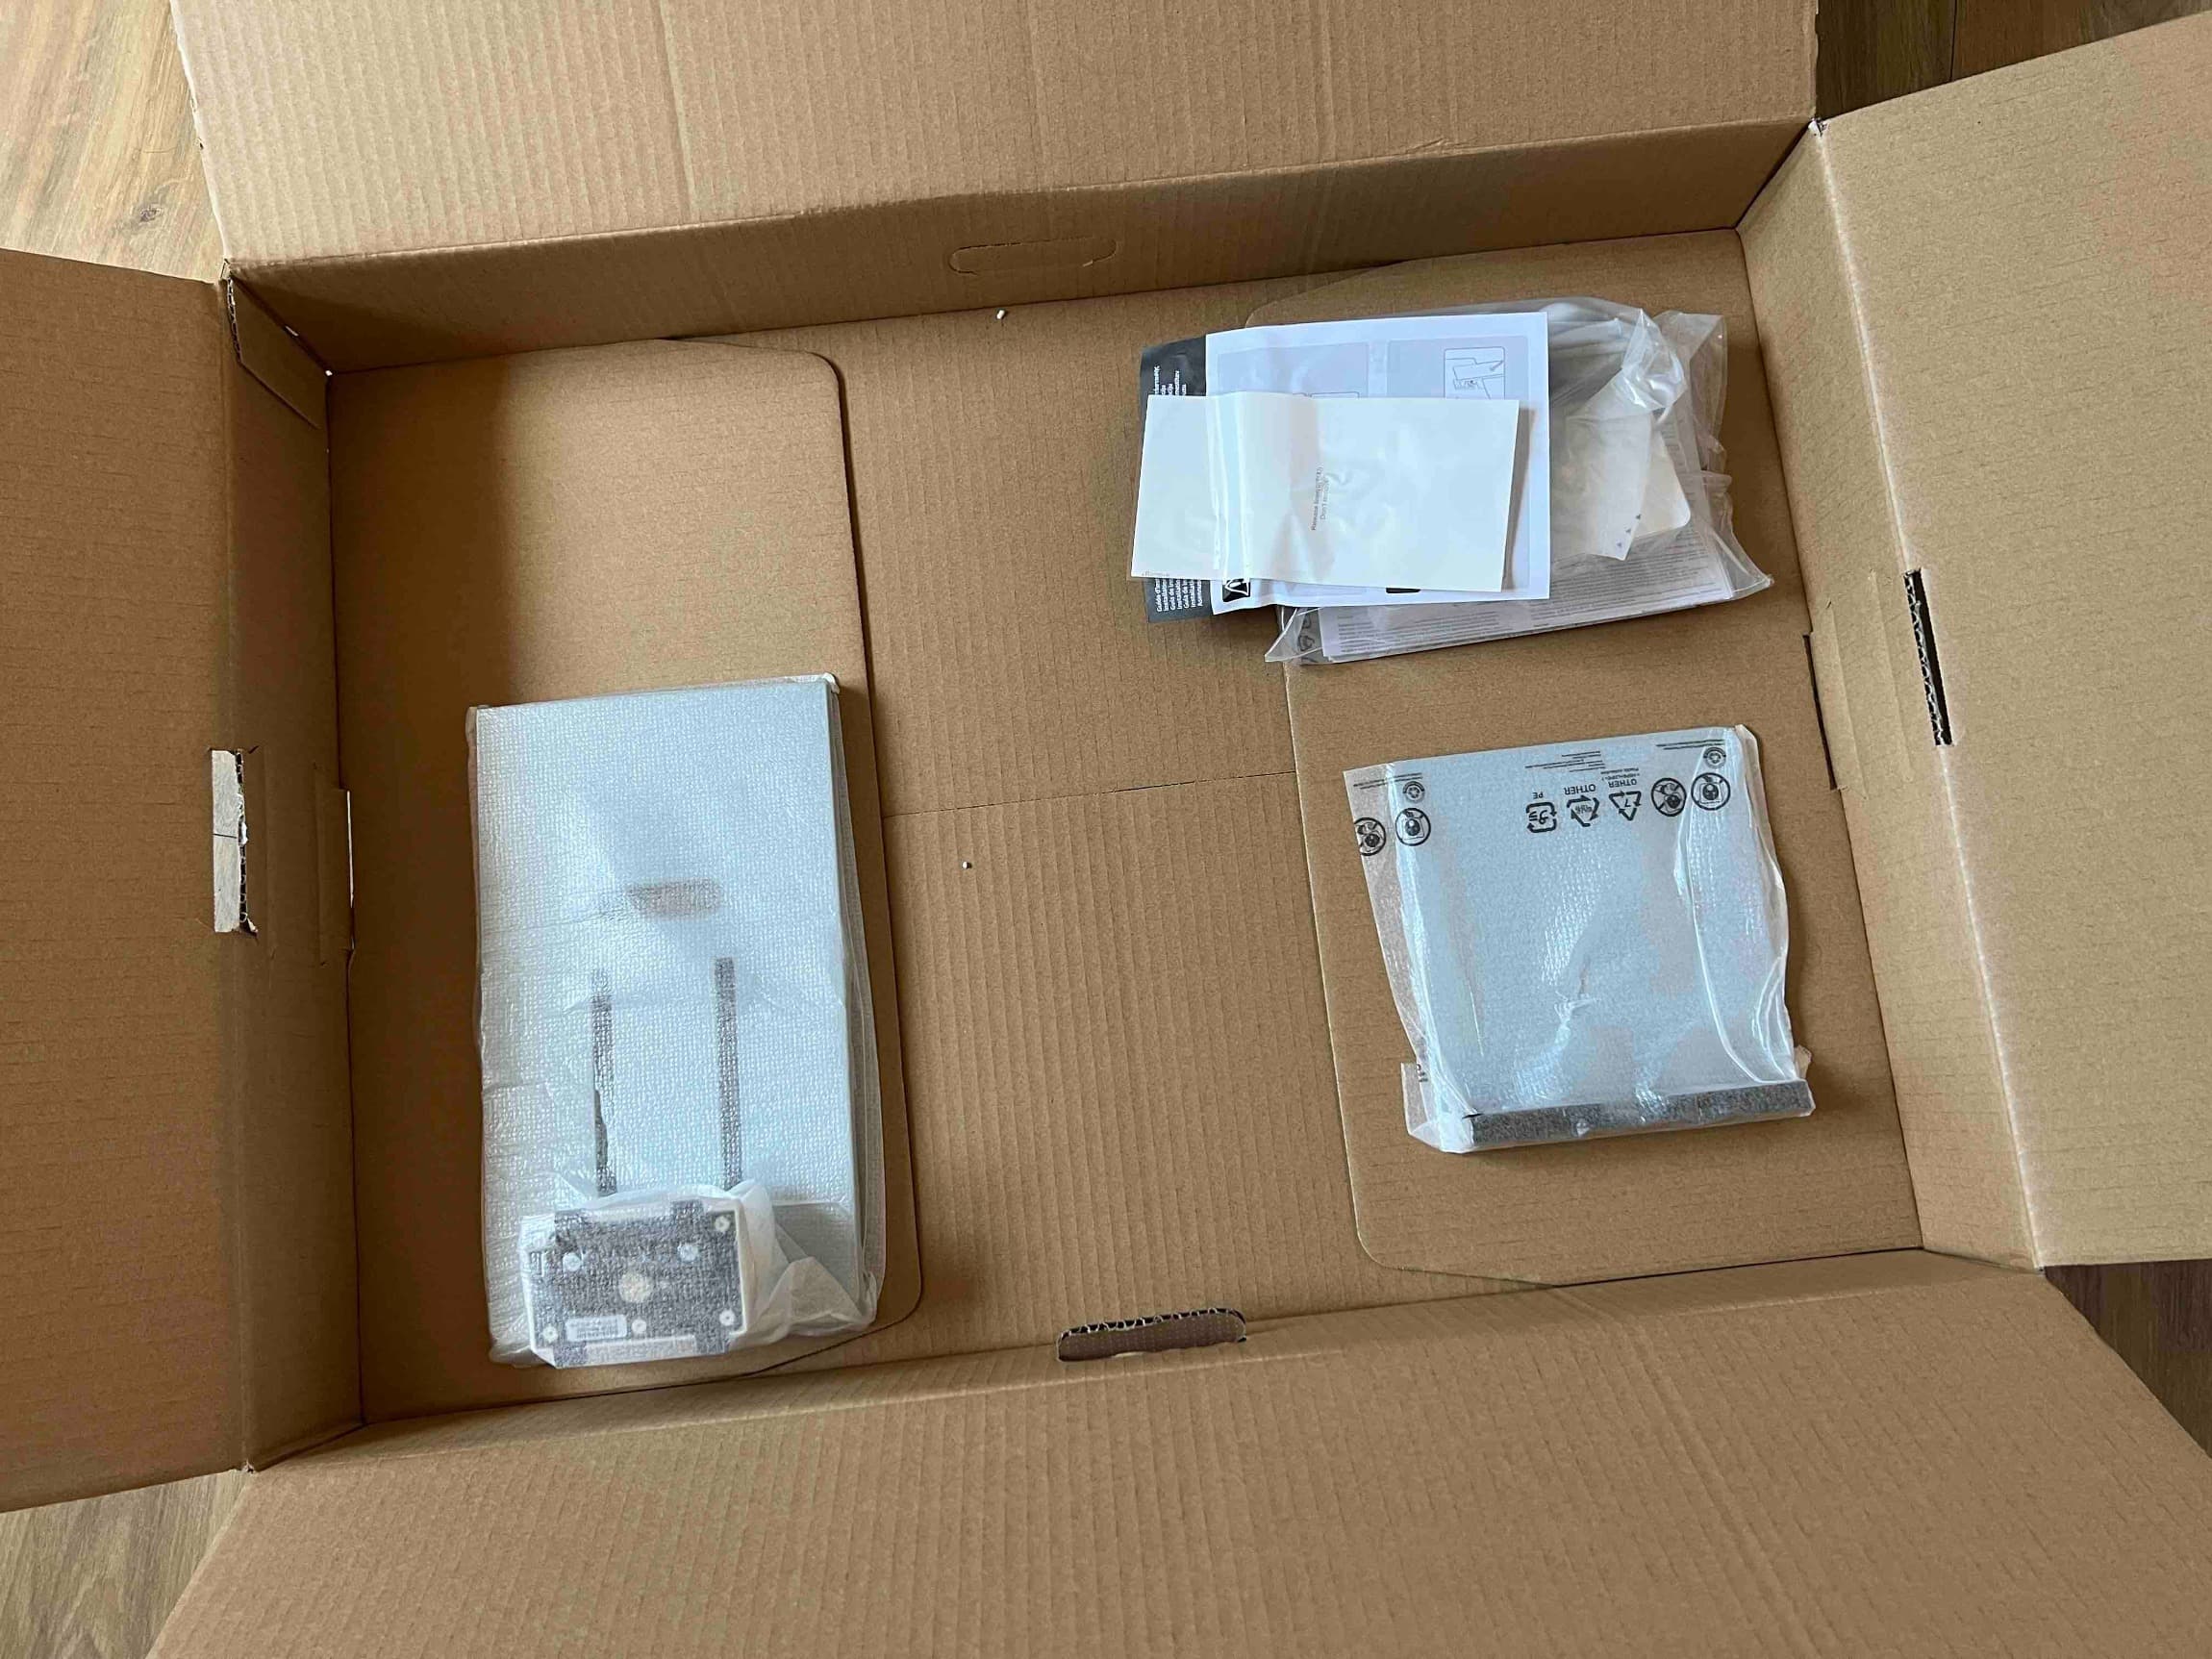
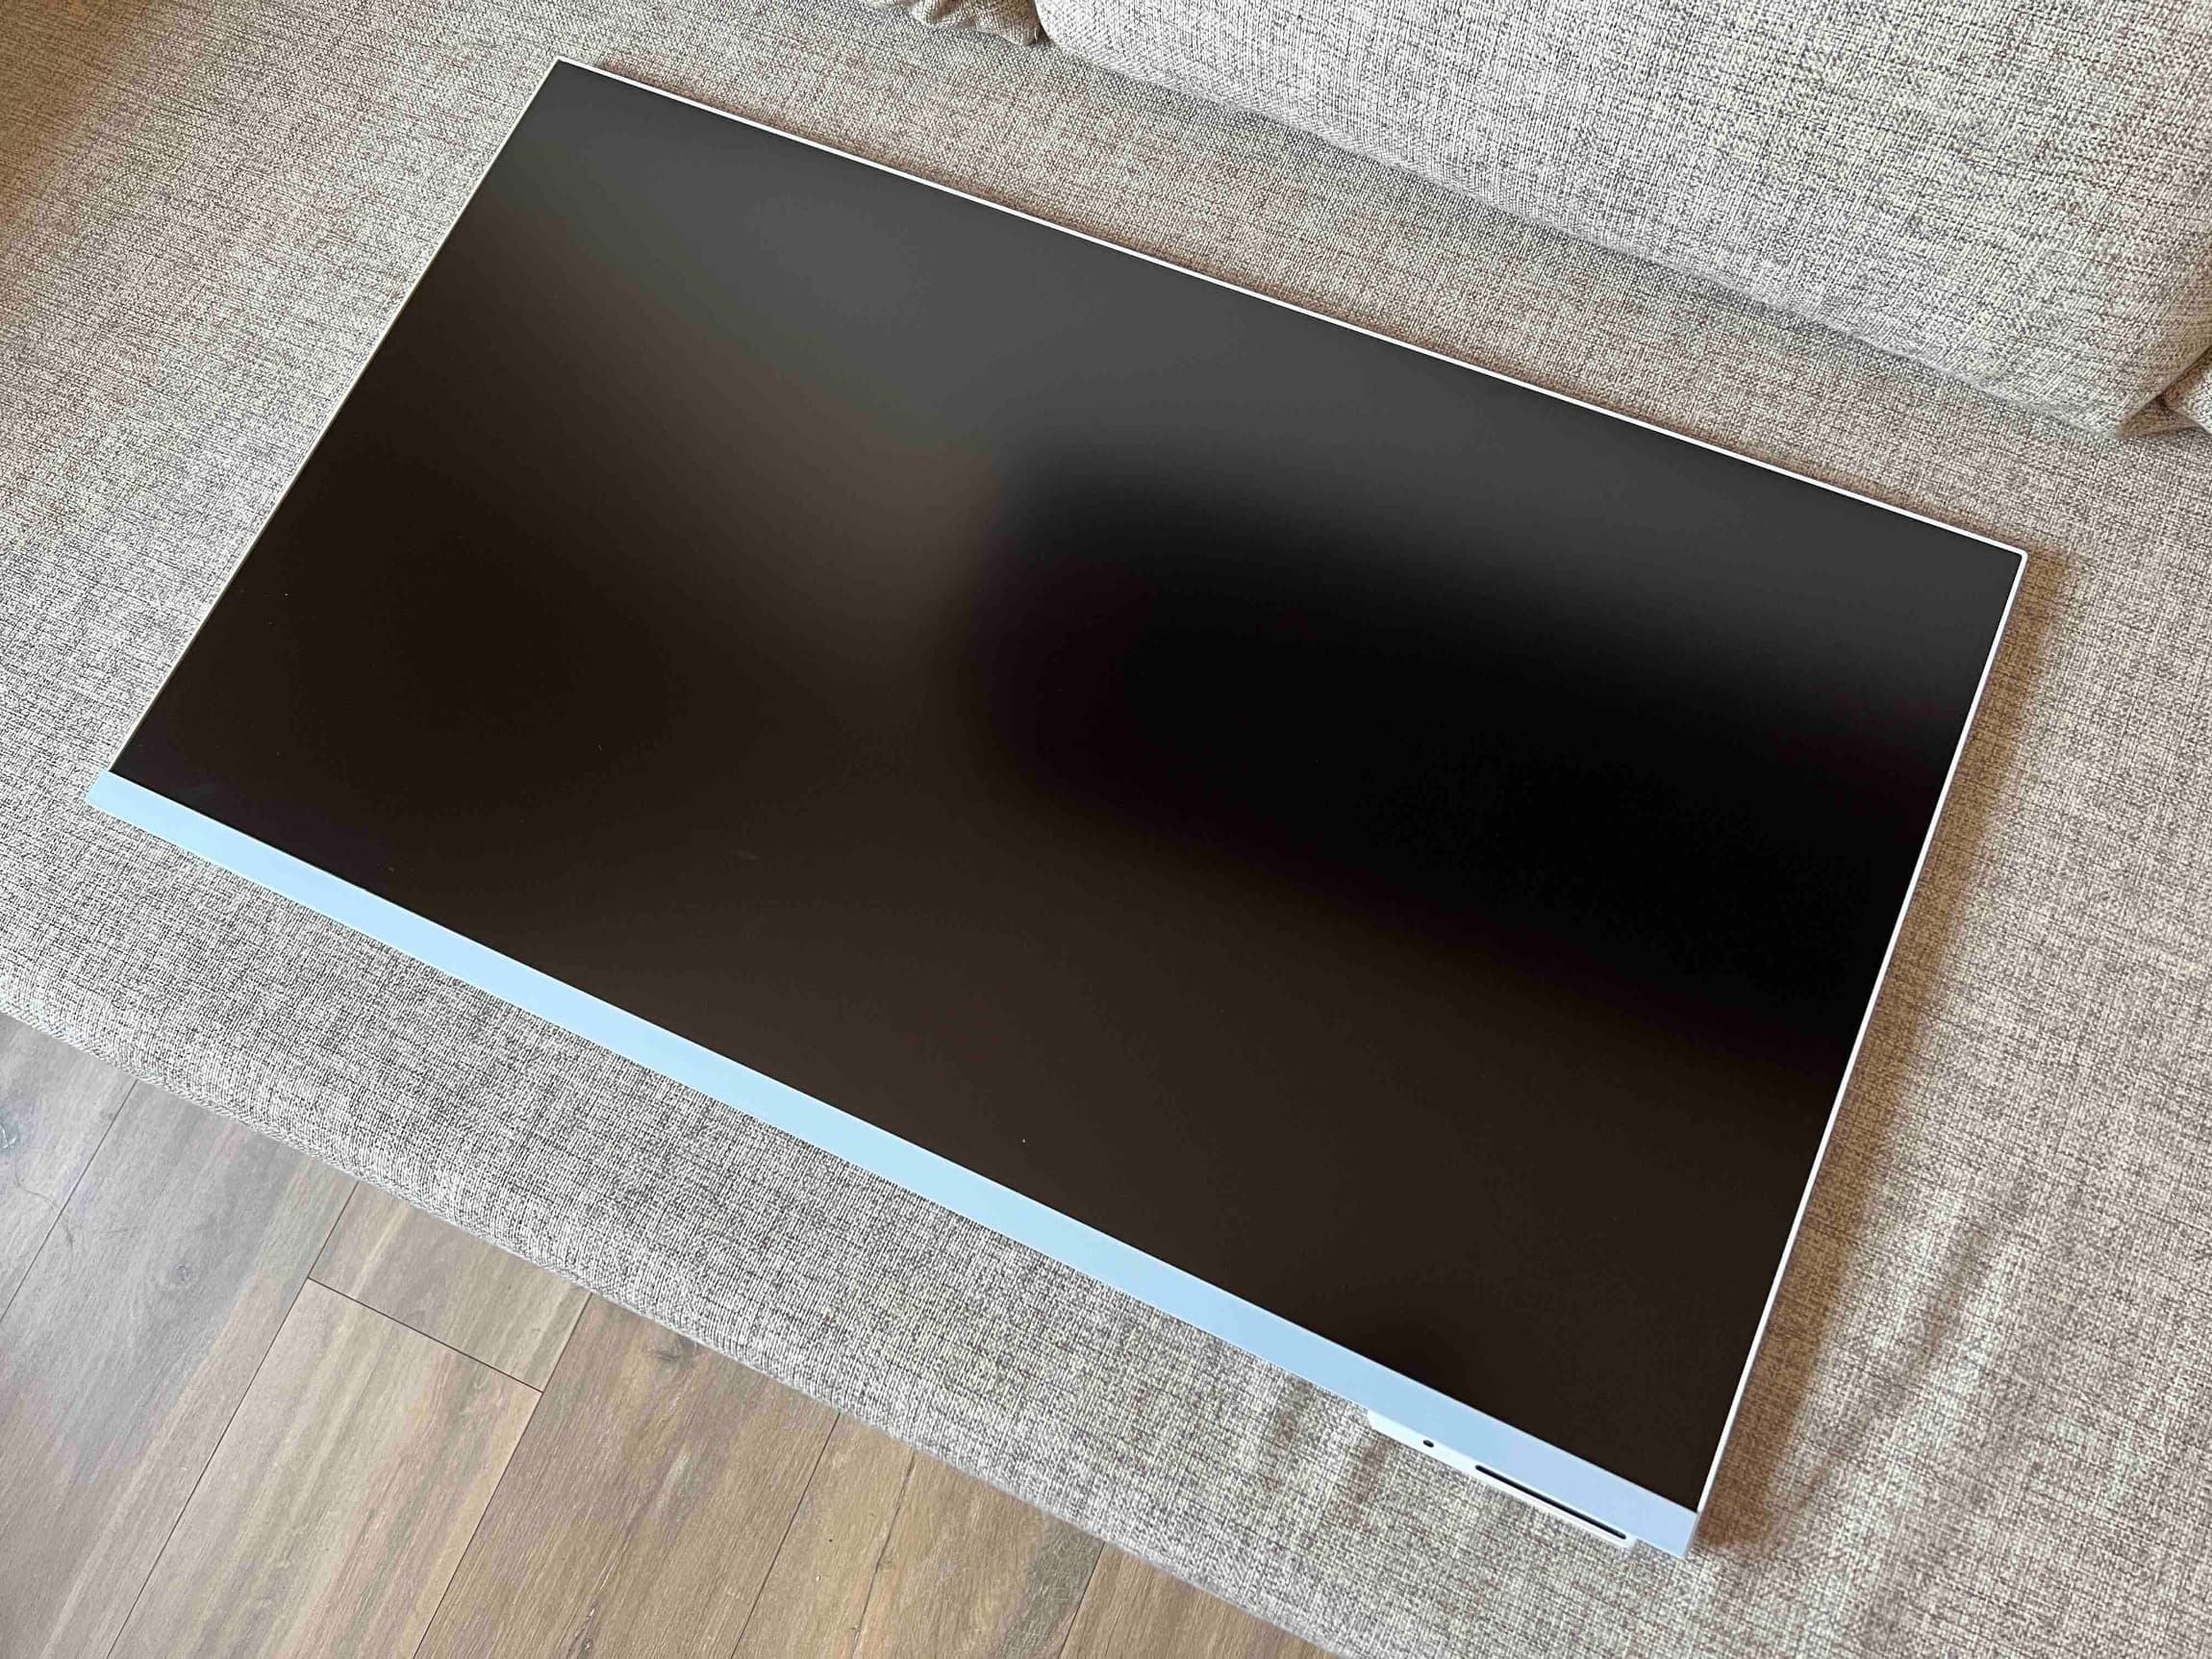
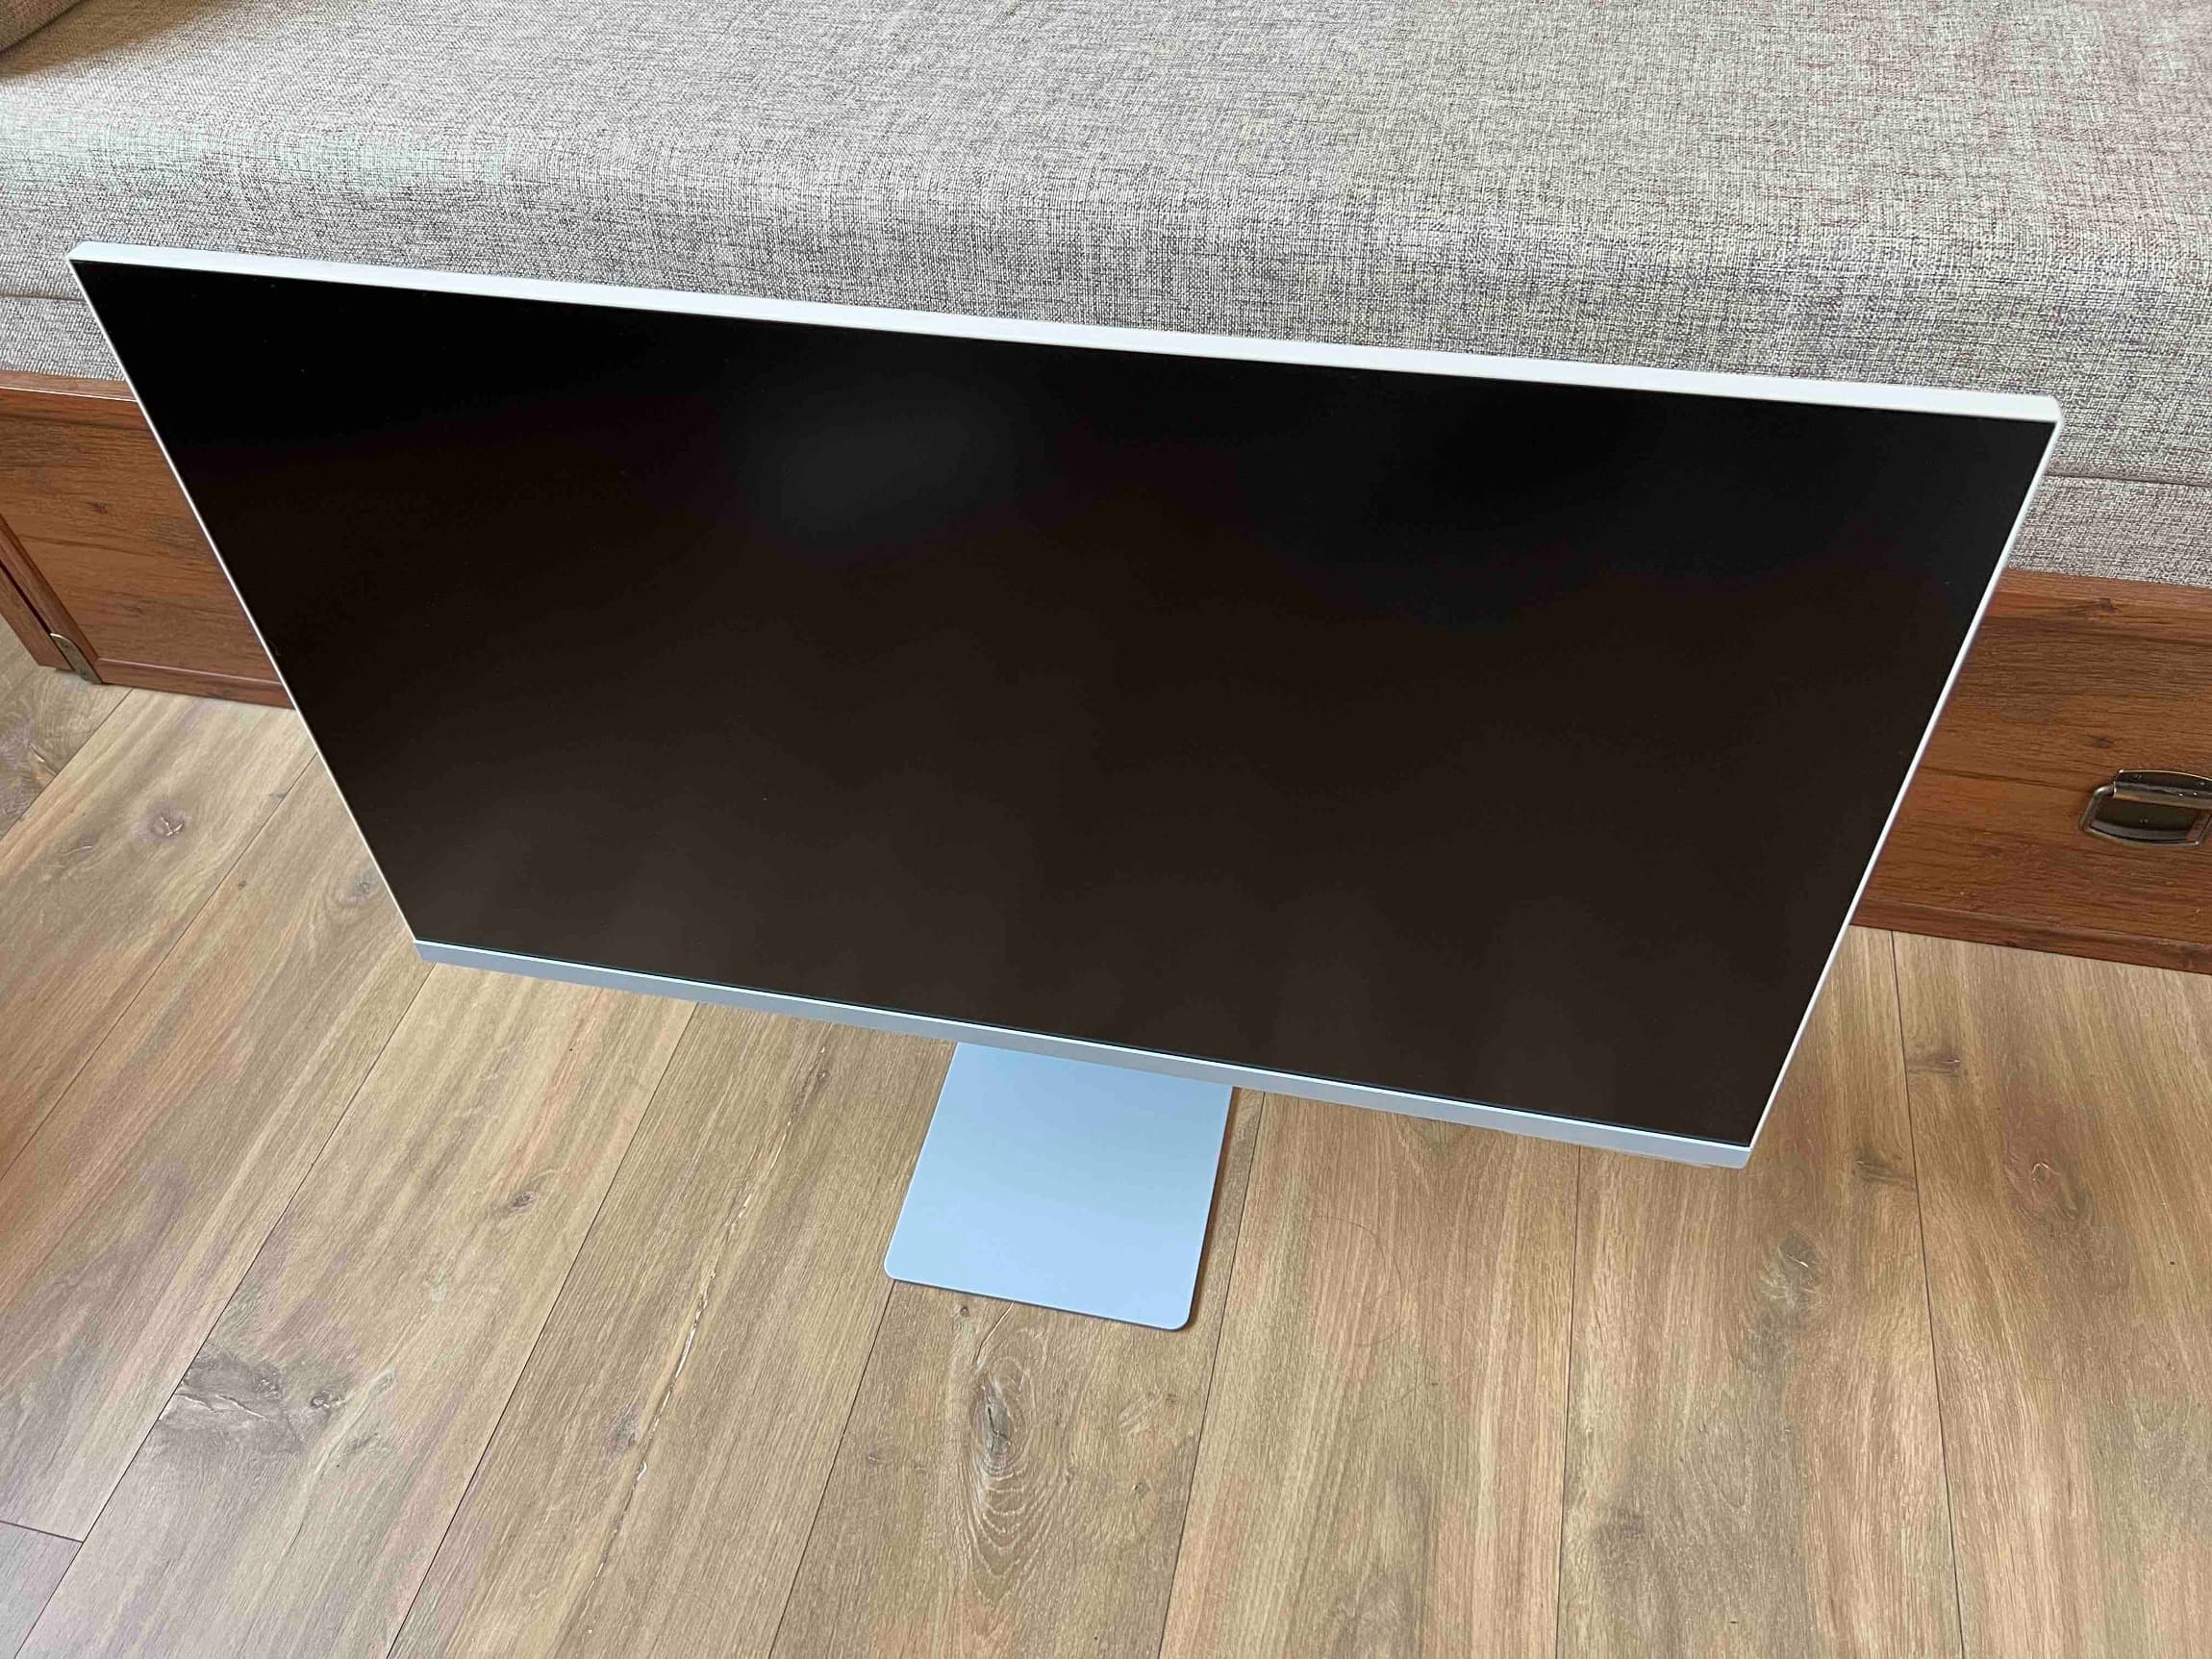
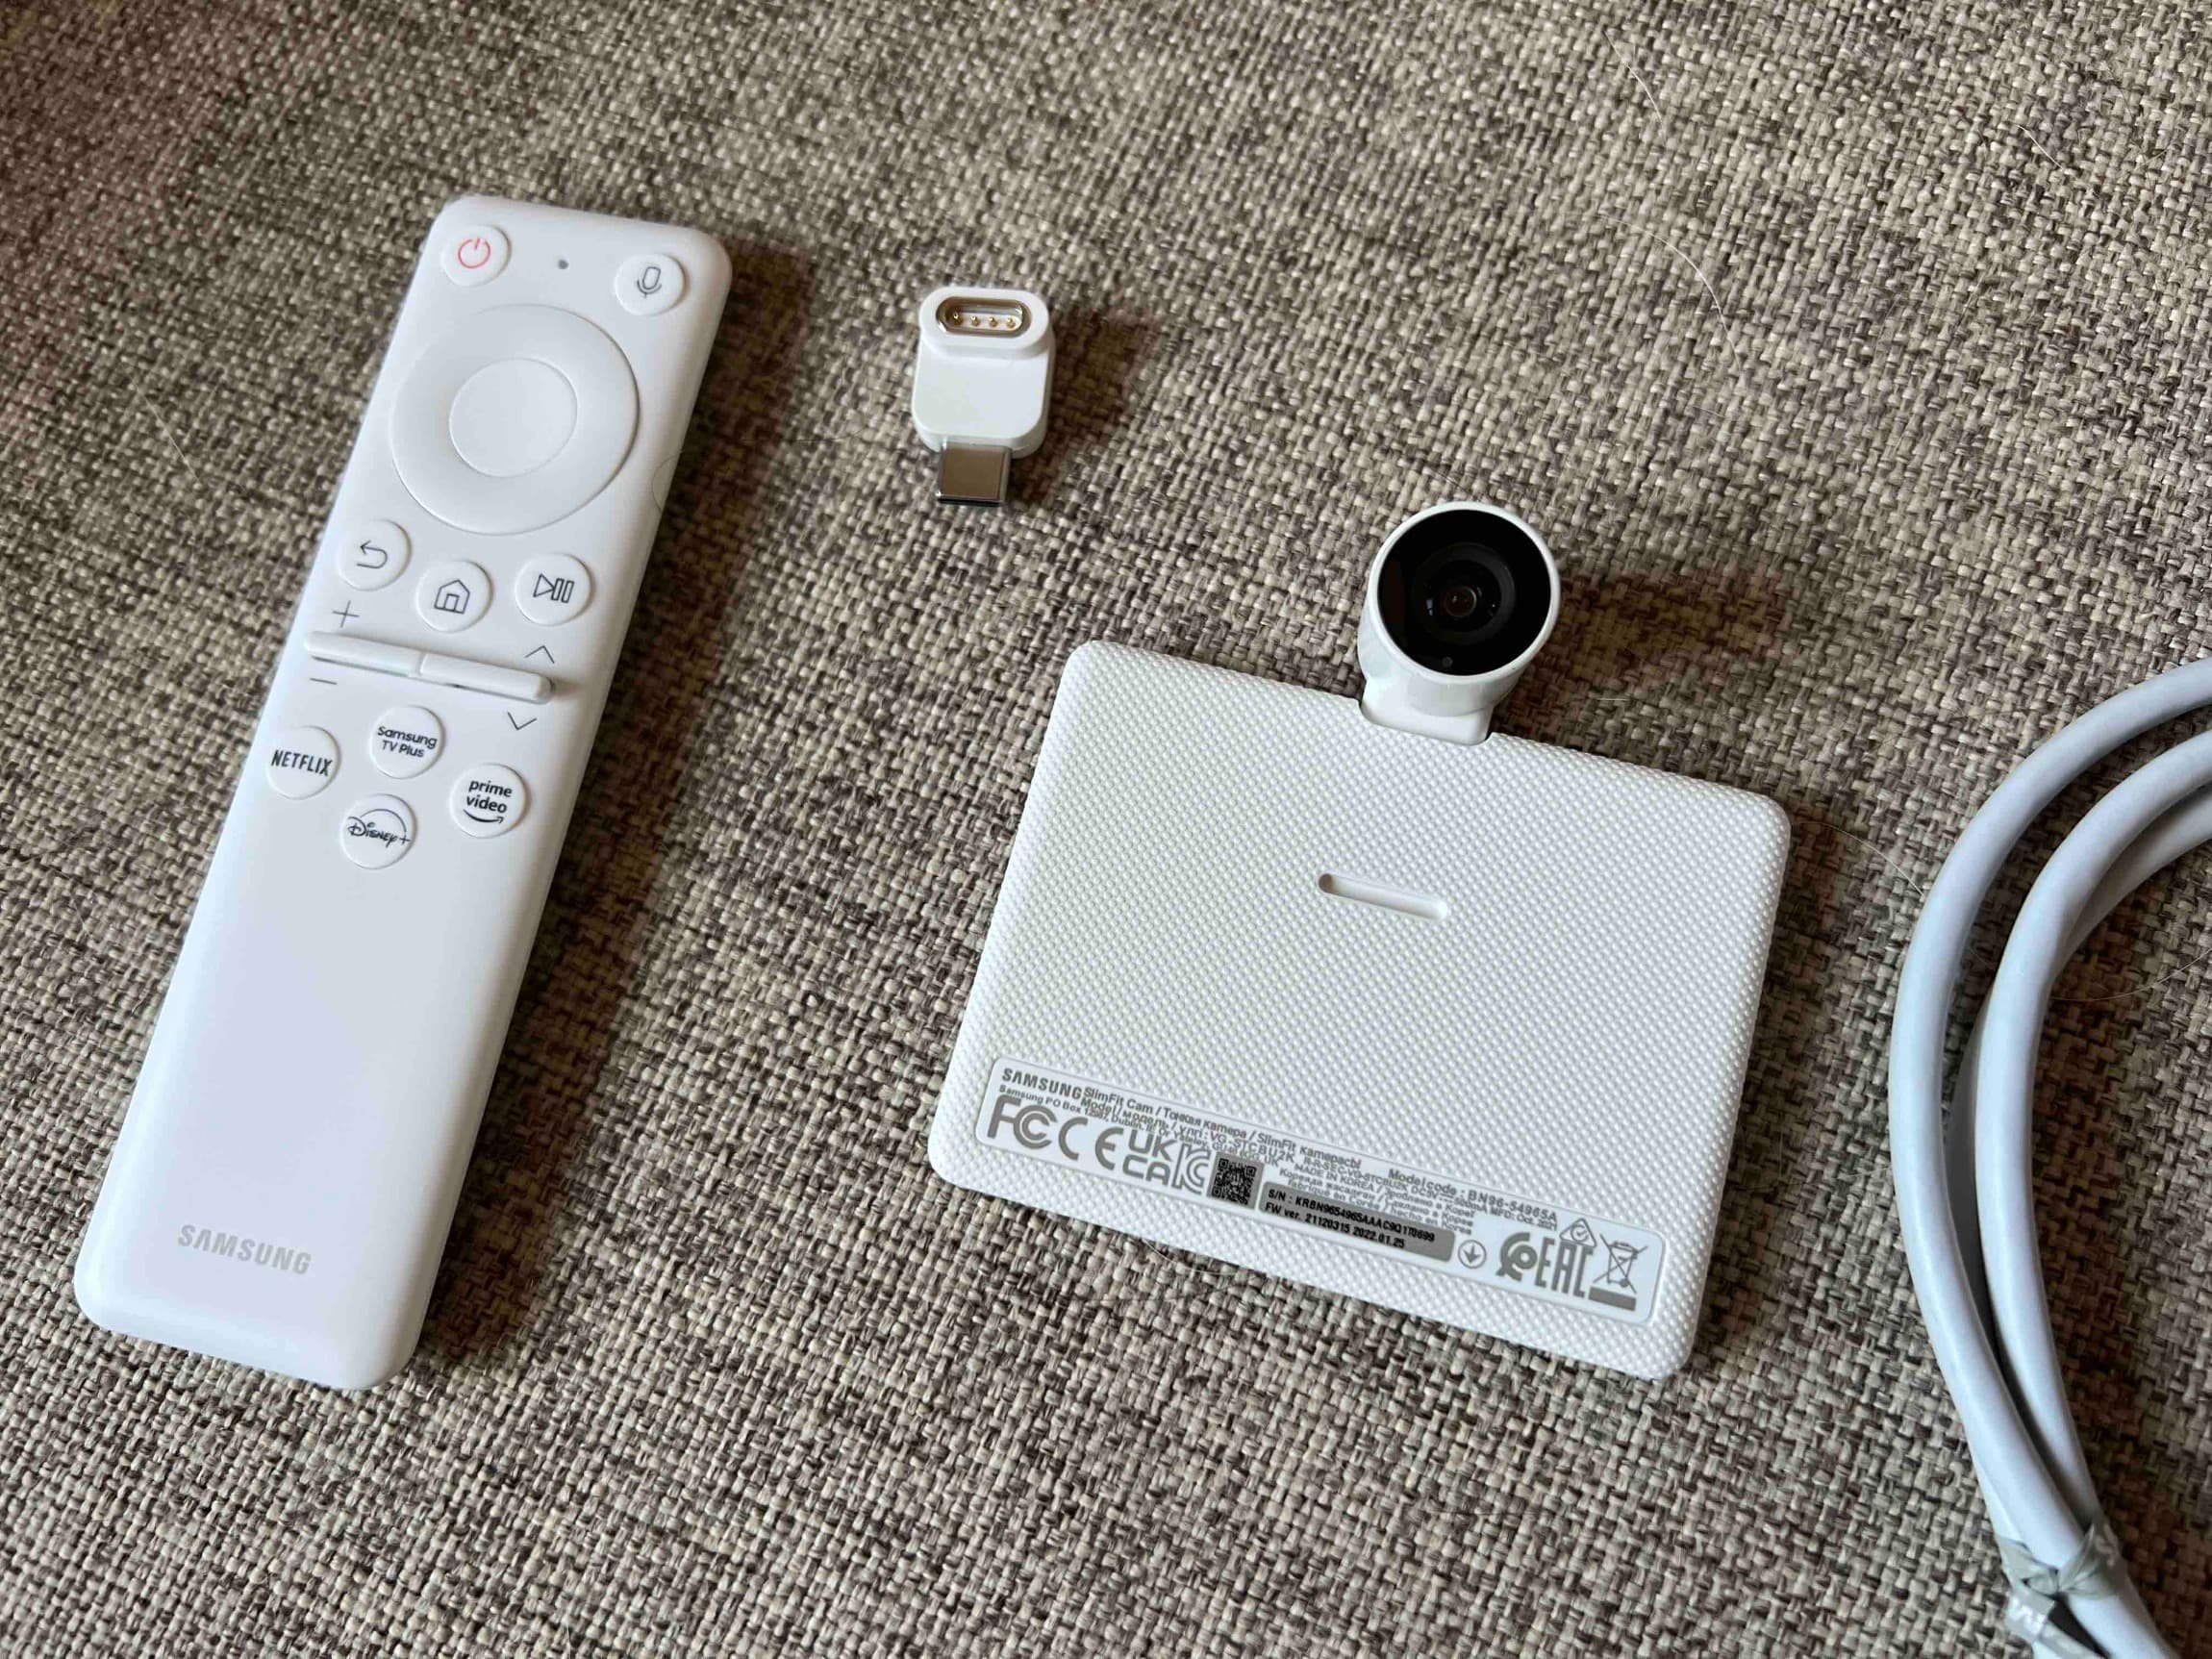
It's been a while since the introduction of Samsung's new smart display. However, its availability wasn't great, and that's why it only came to us for the test now. So take a look at the contents of the package and how to connect the Samsung Smart Monitor M8 for the first time.
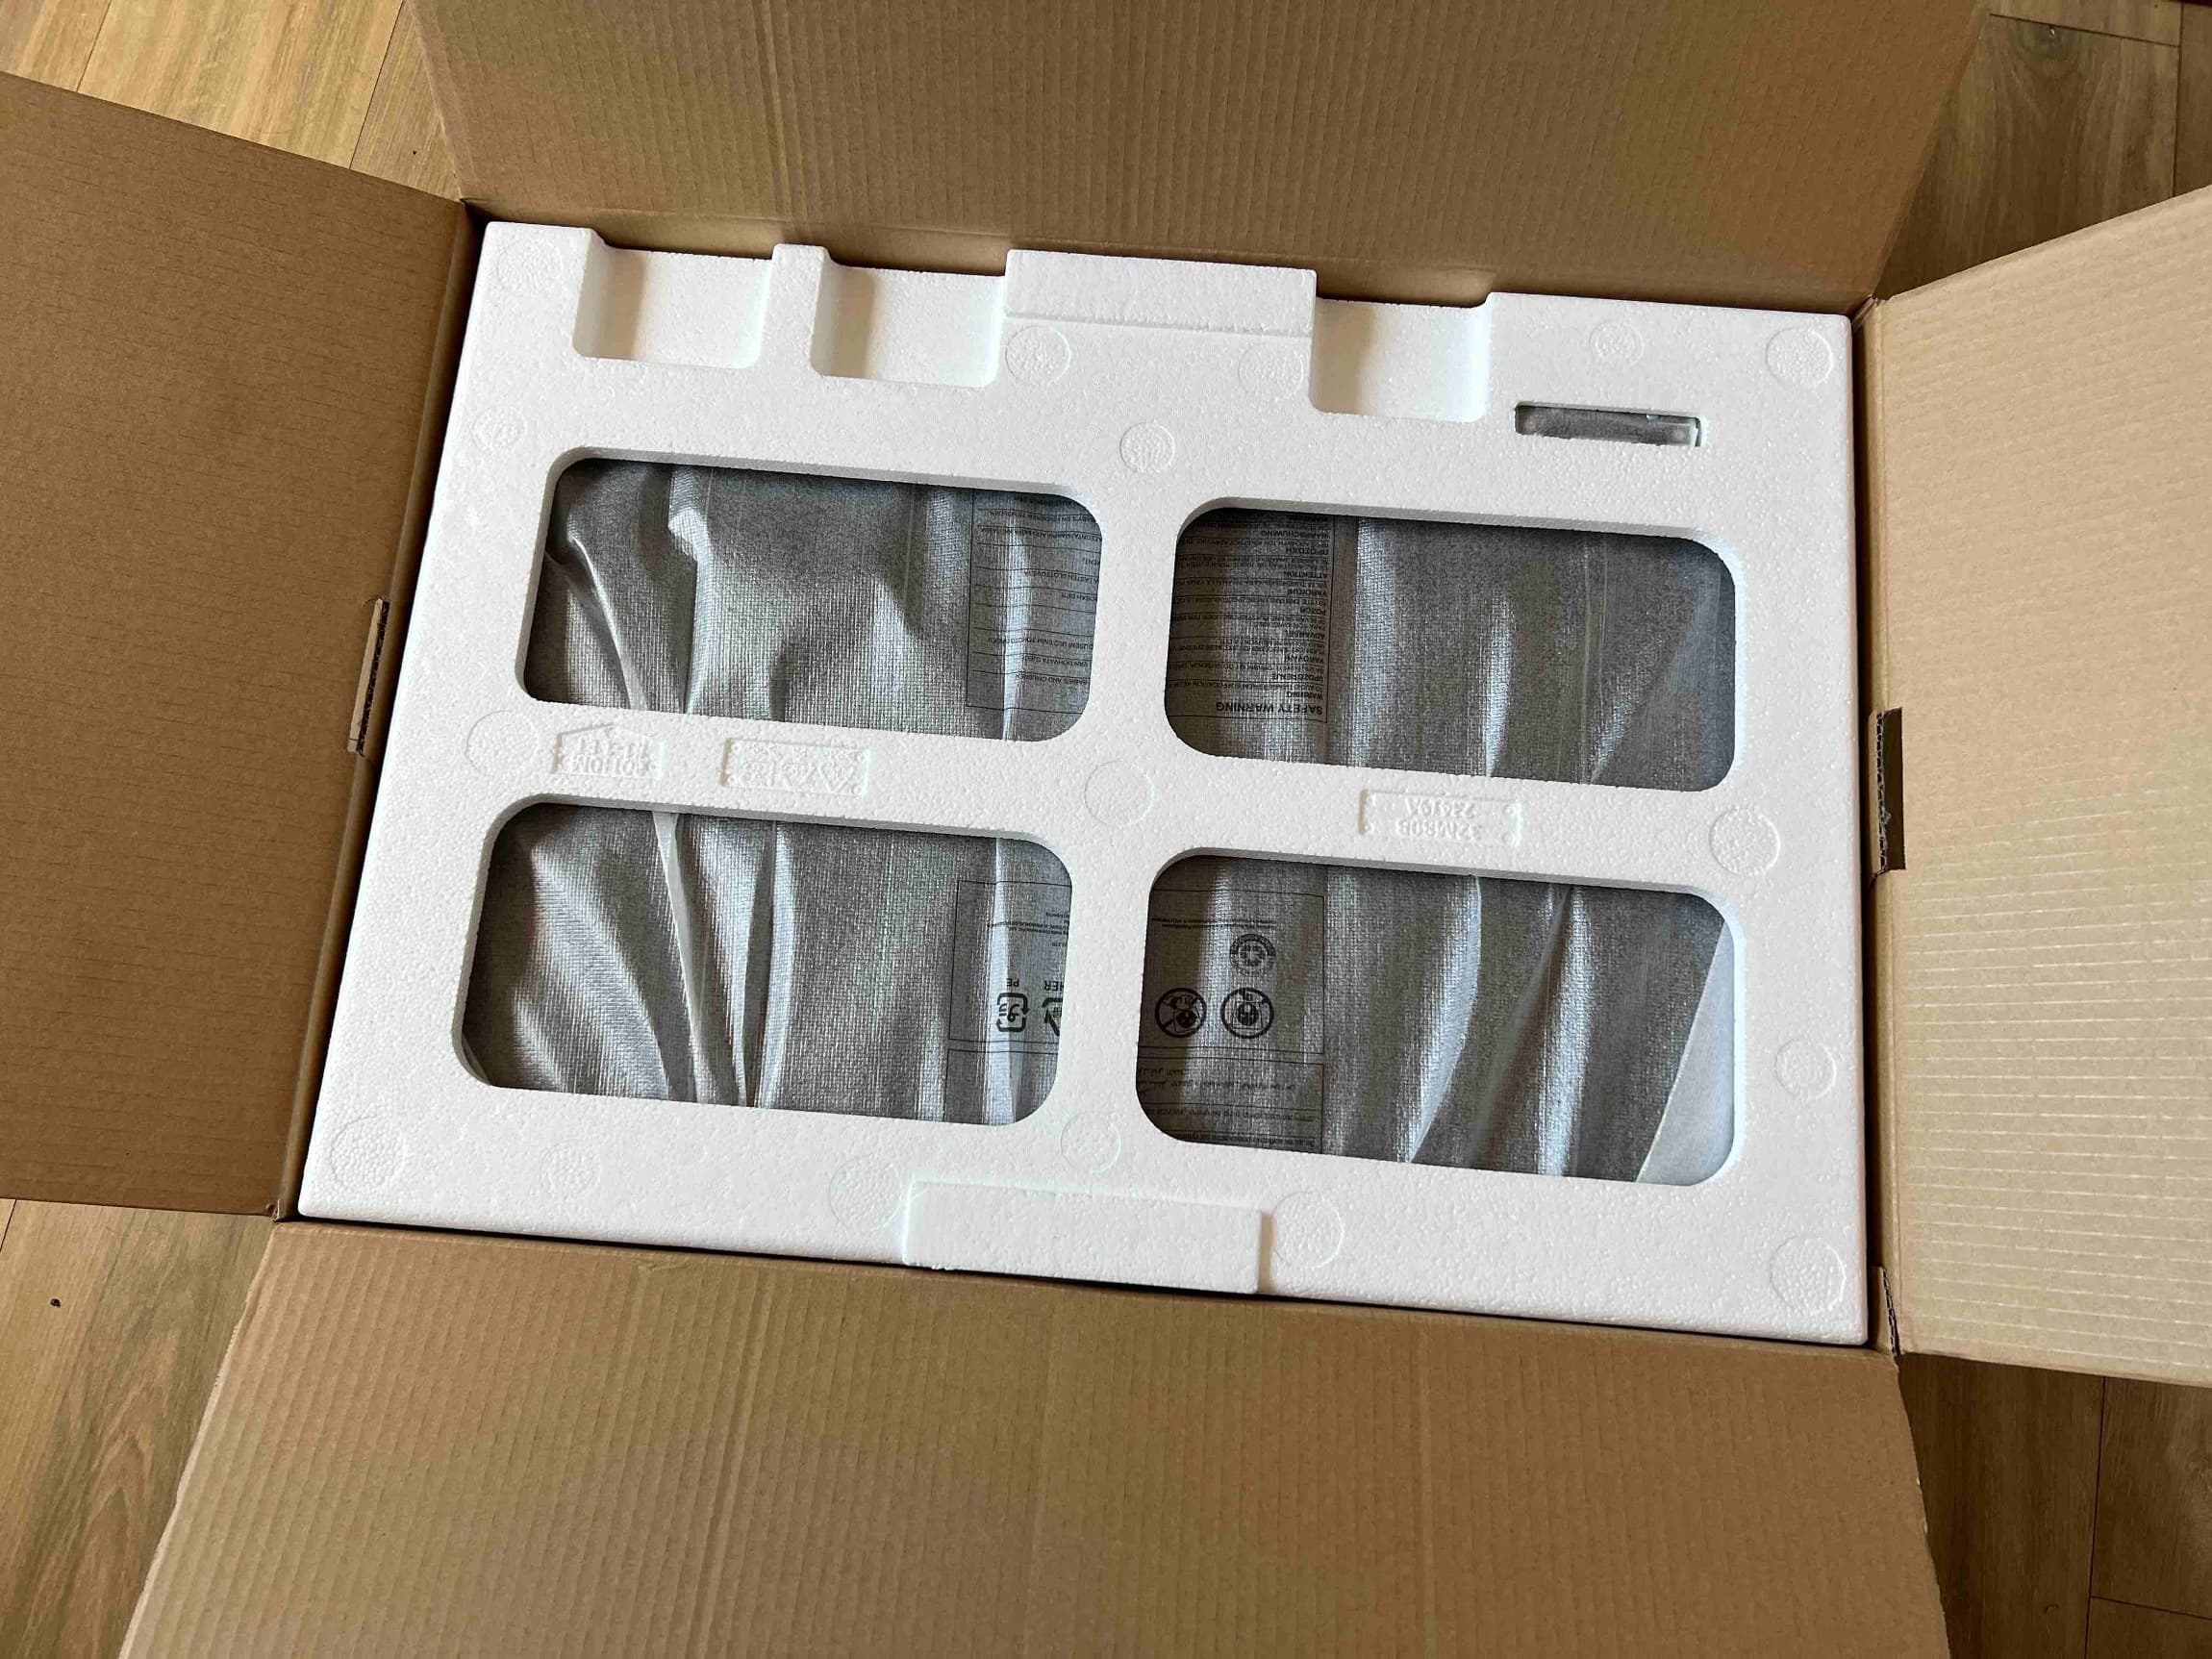
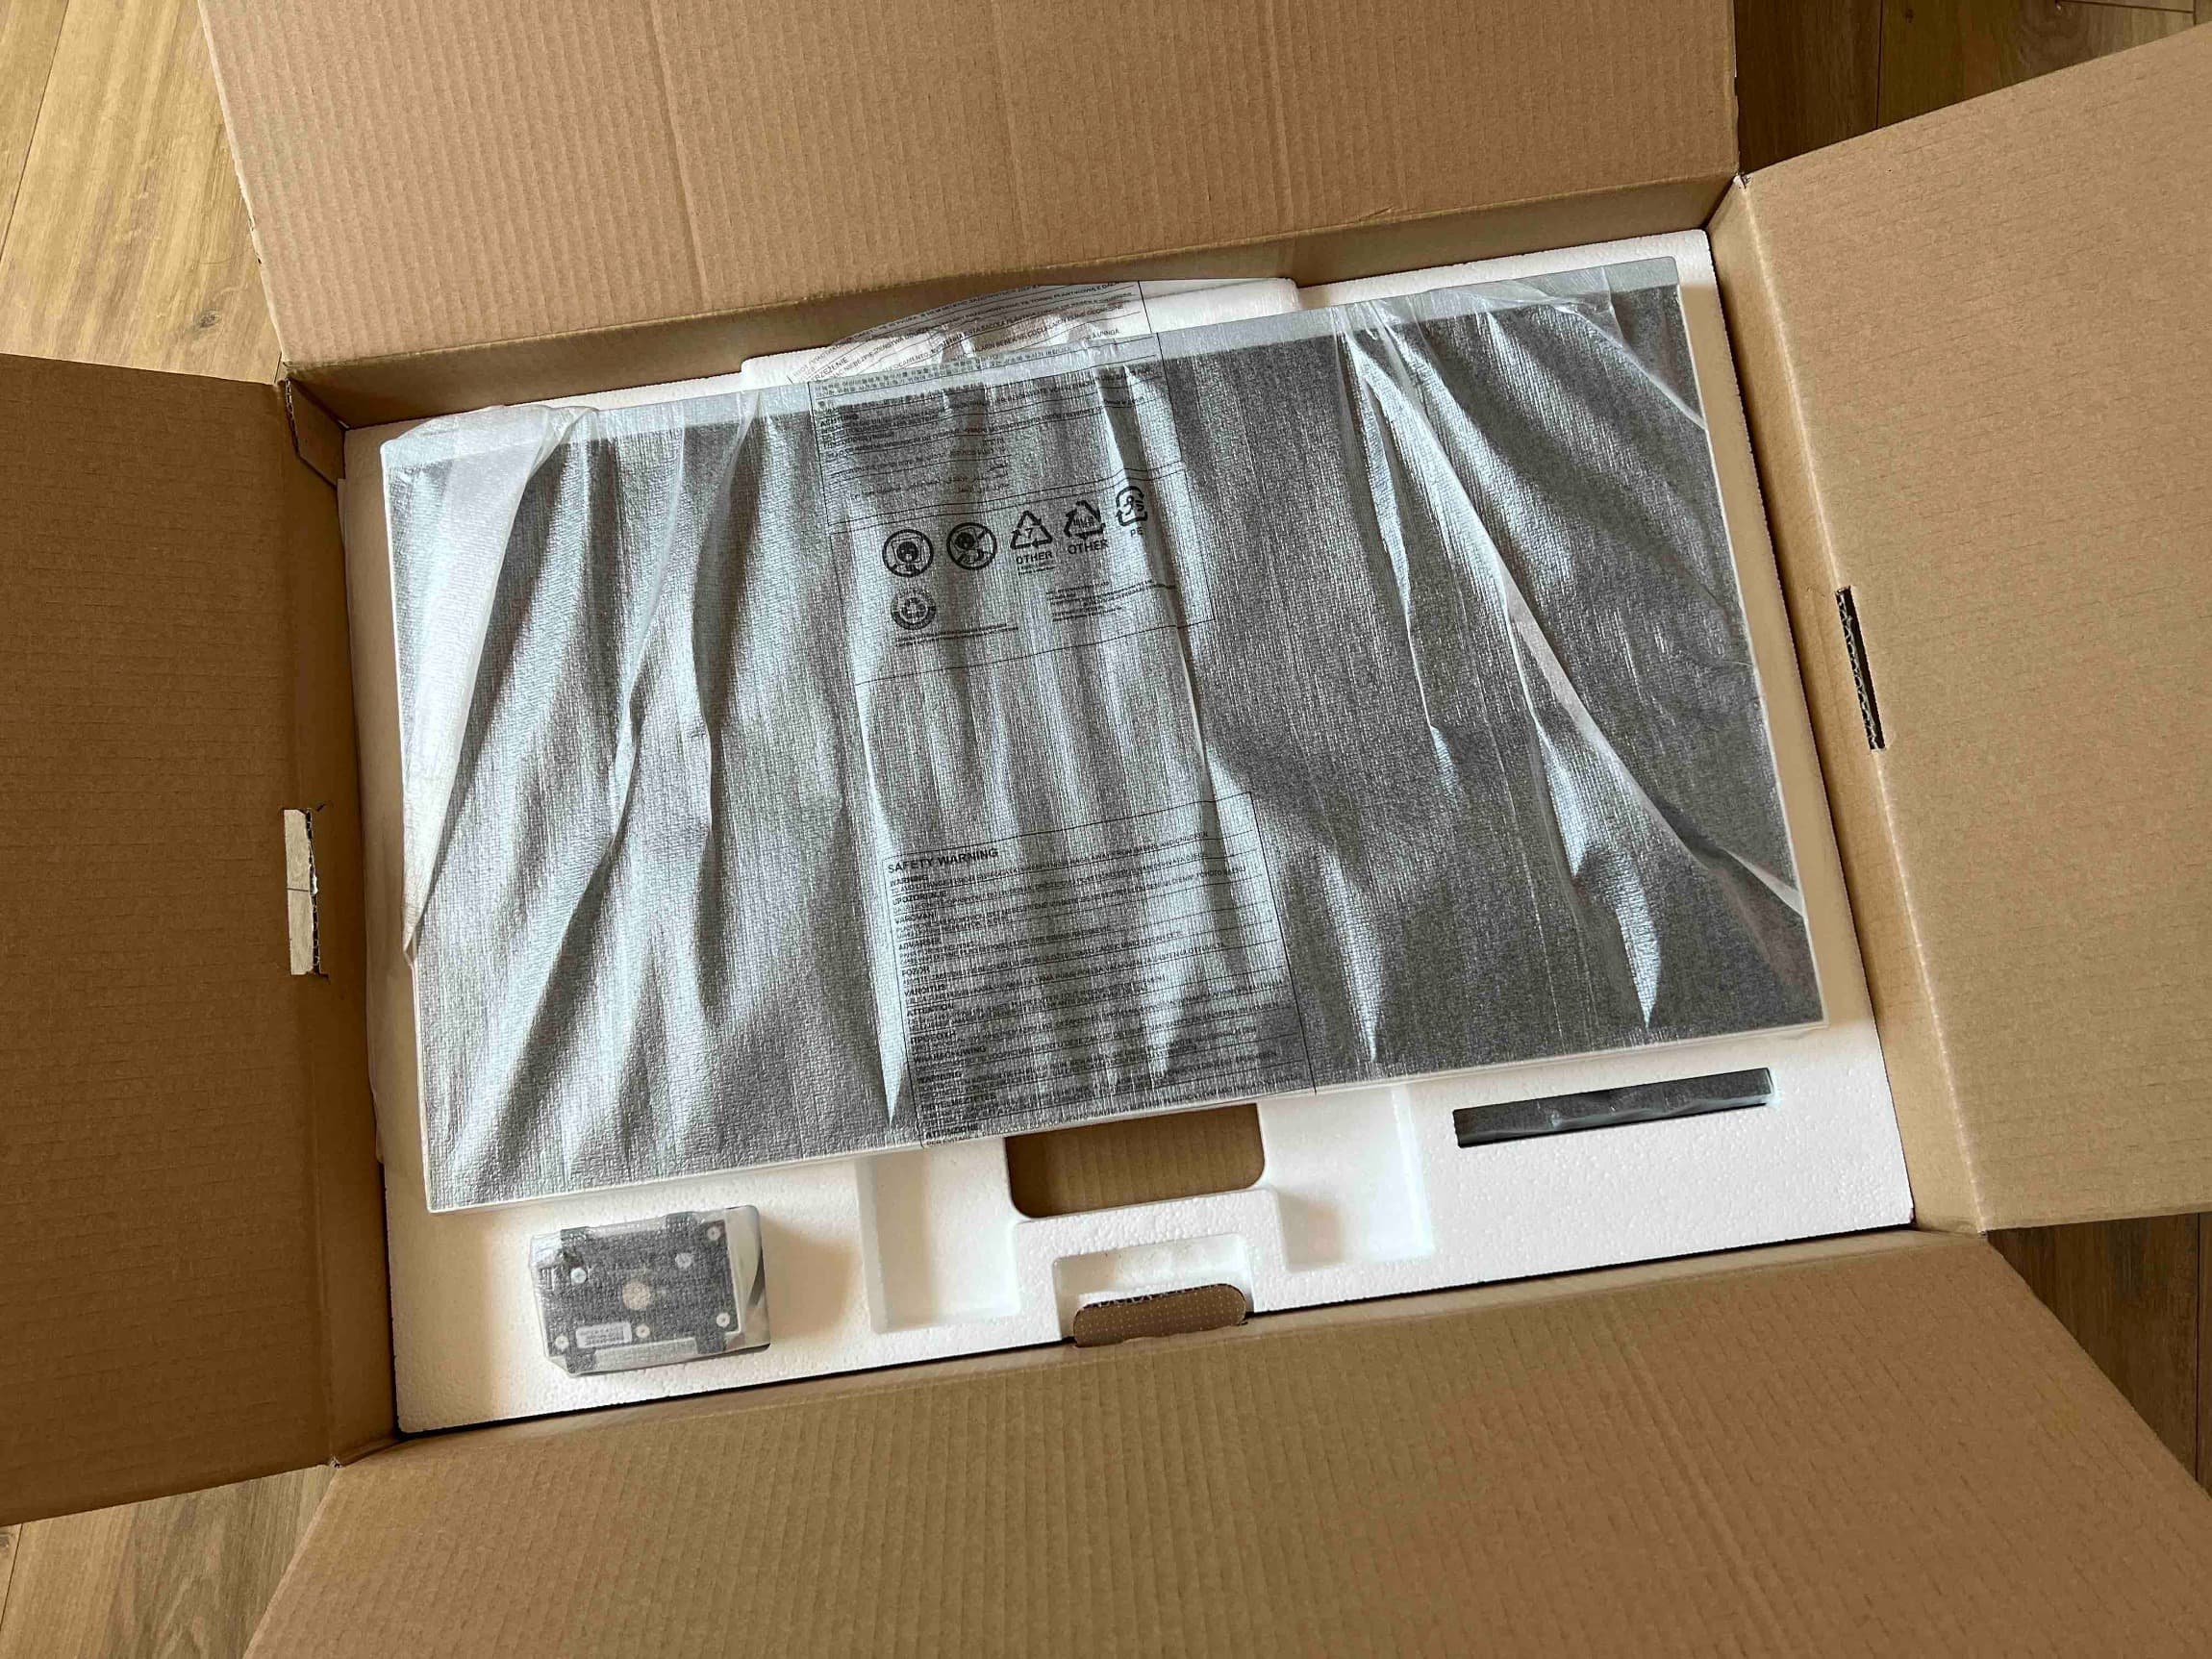
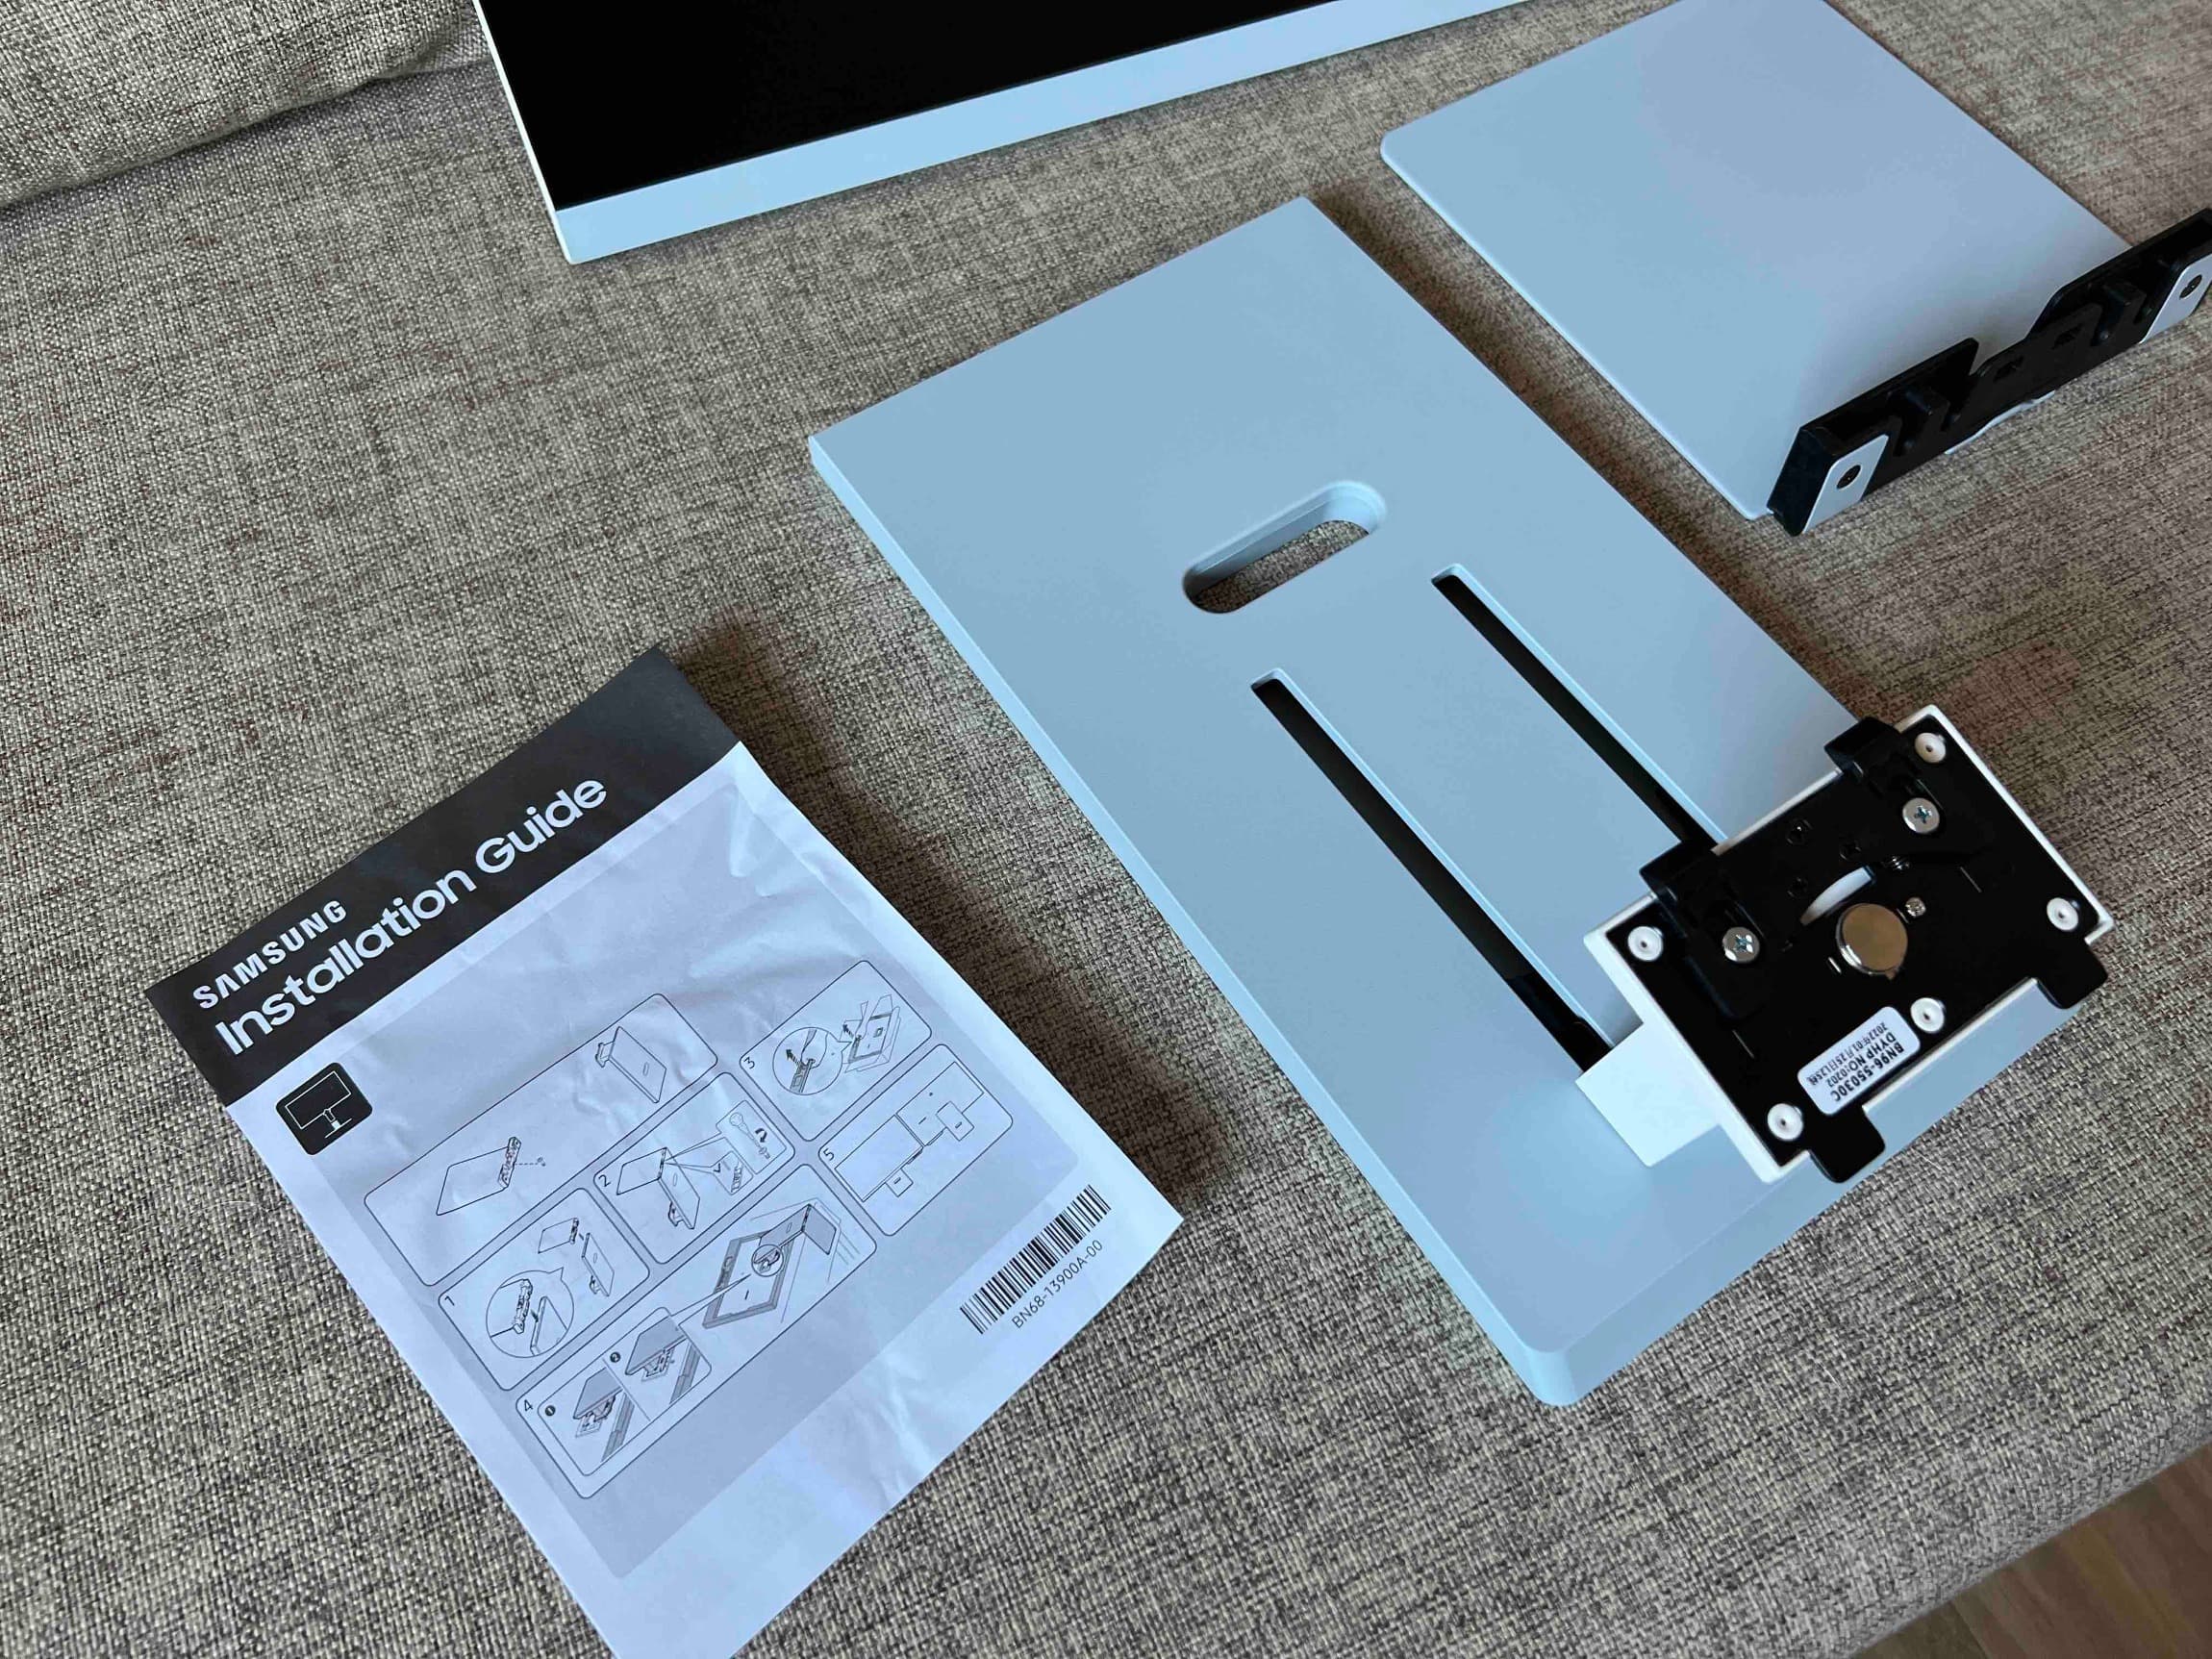
Due to the large dimensions of the monitor, the box itself is of course quite large. After opening it, the first polystyrene lining peeks out at you, after removing it you can get to the monitor itself wrapped in foil. After removing the other lining, you can get to the structure of the stand, cables and manuals.
You could be interested in
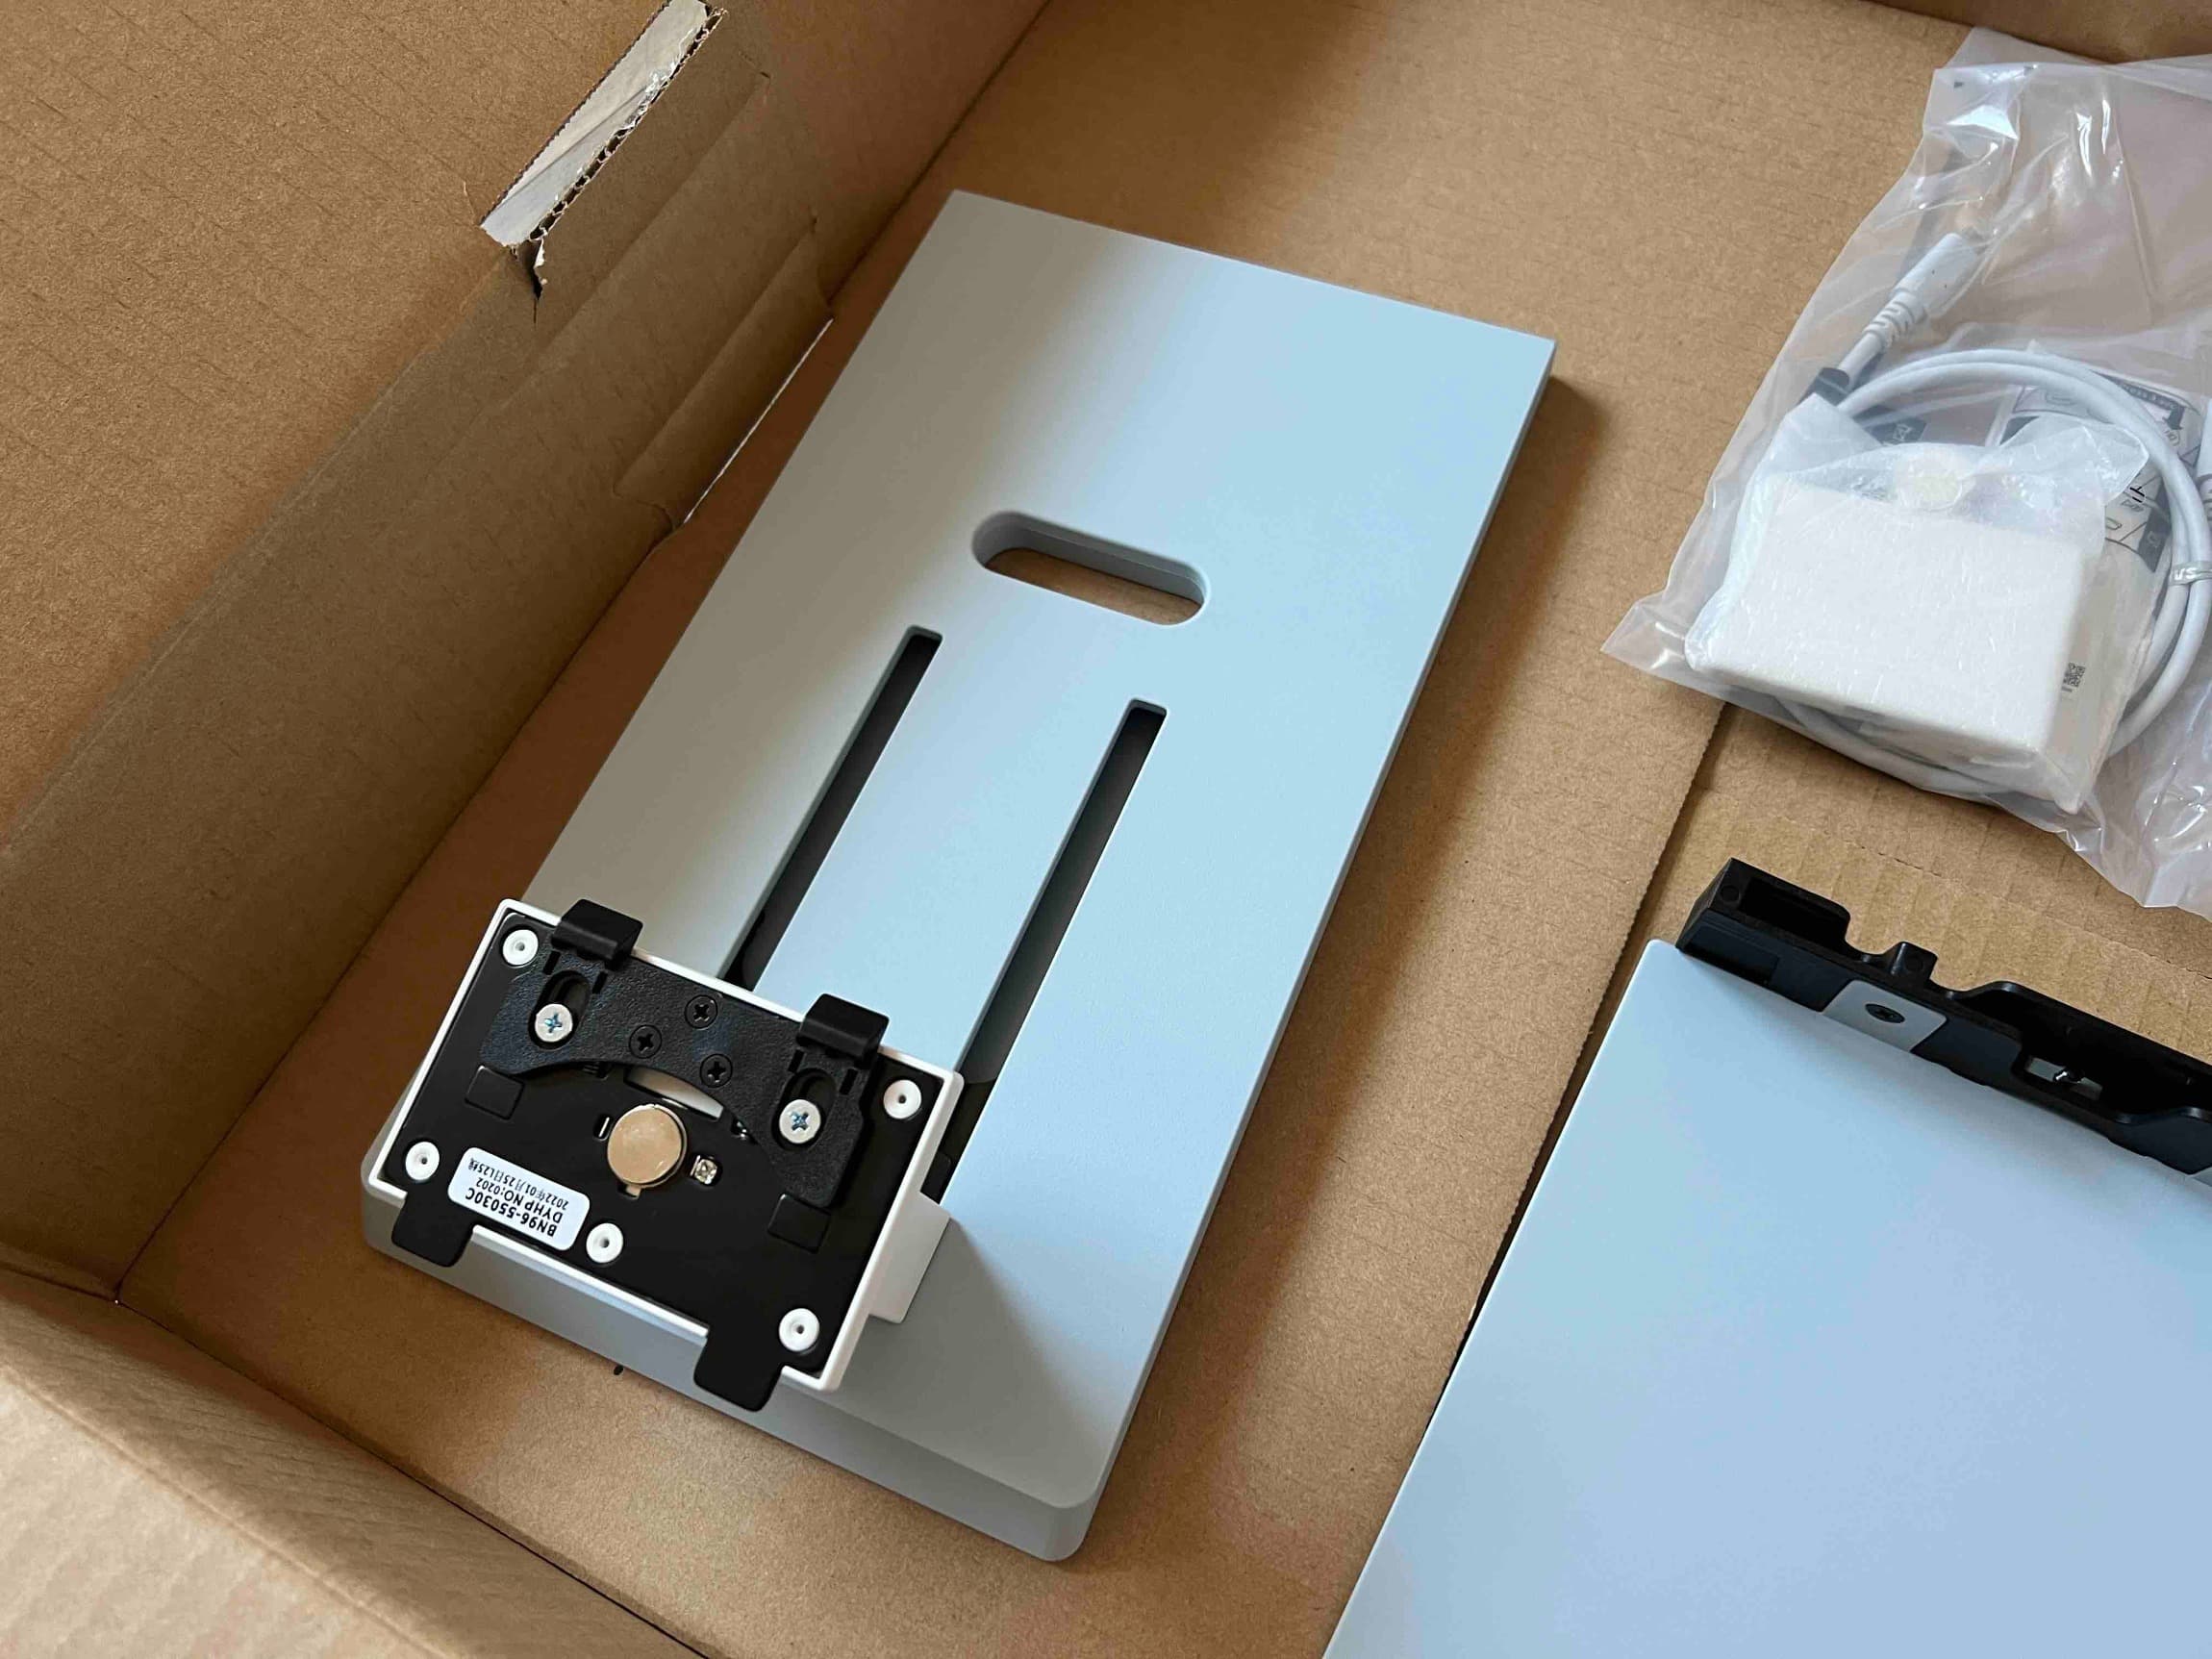
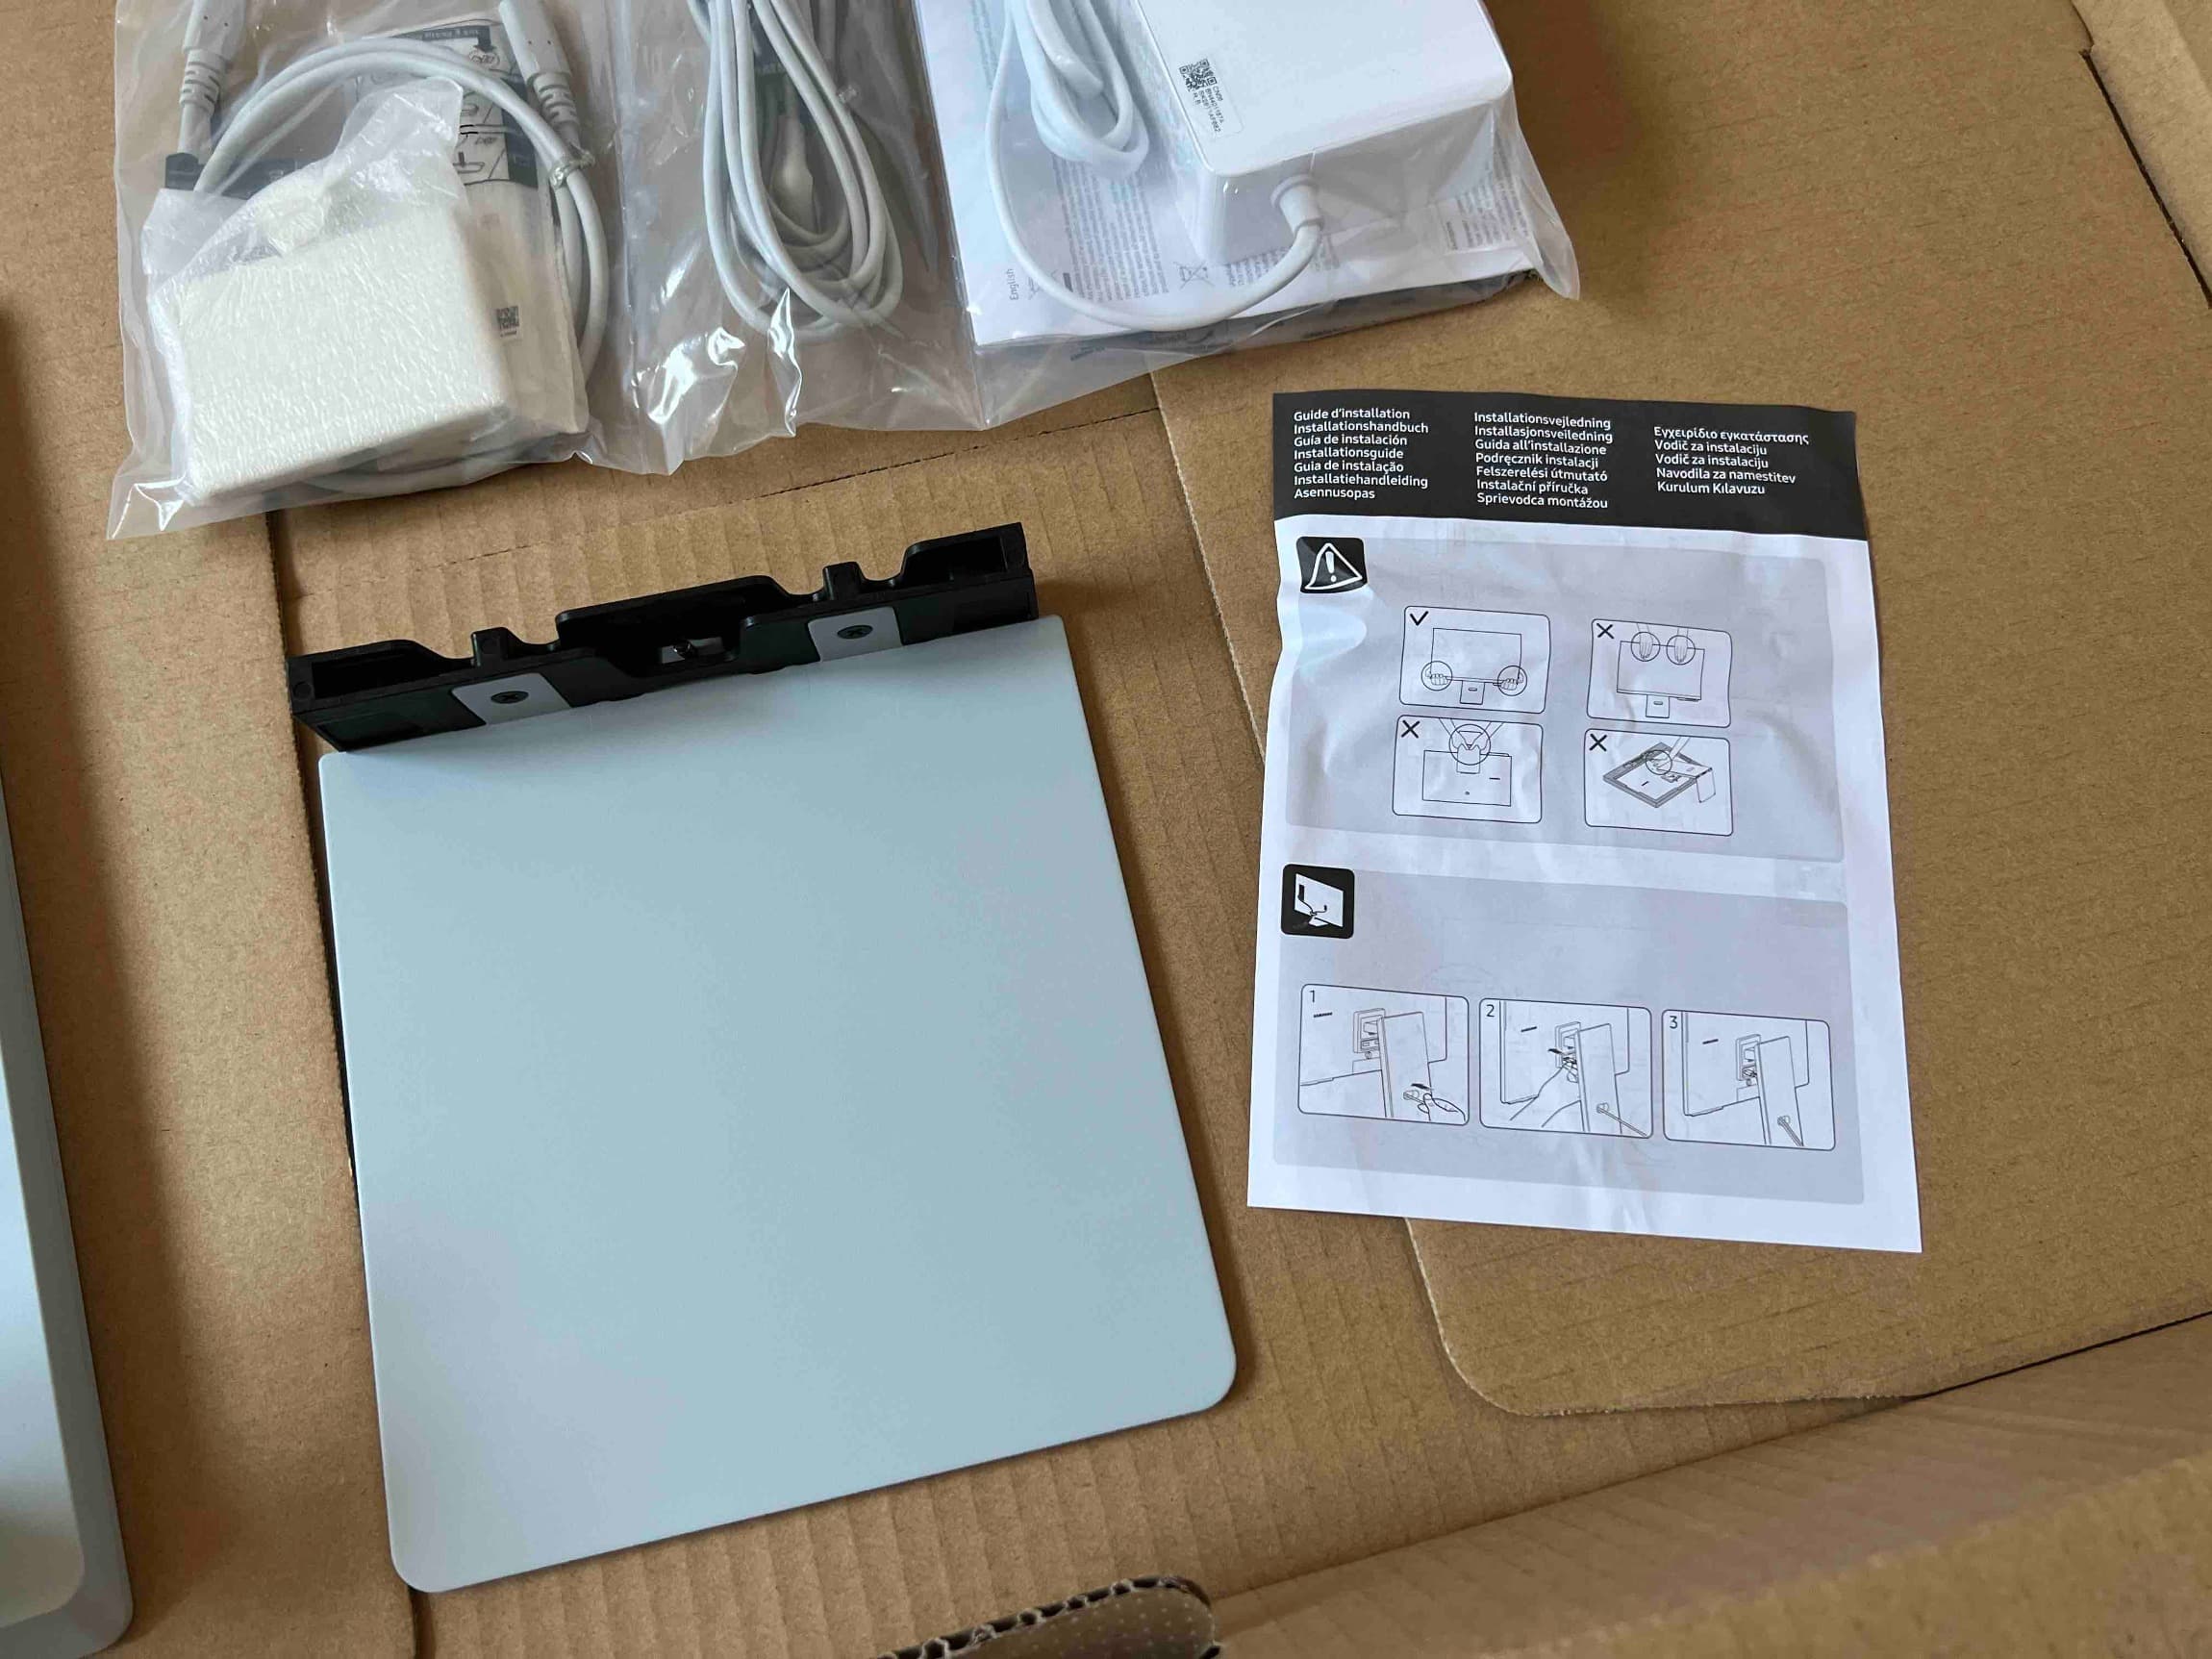
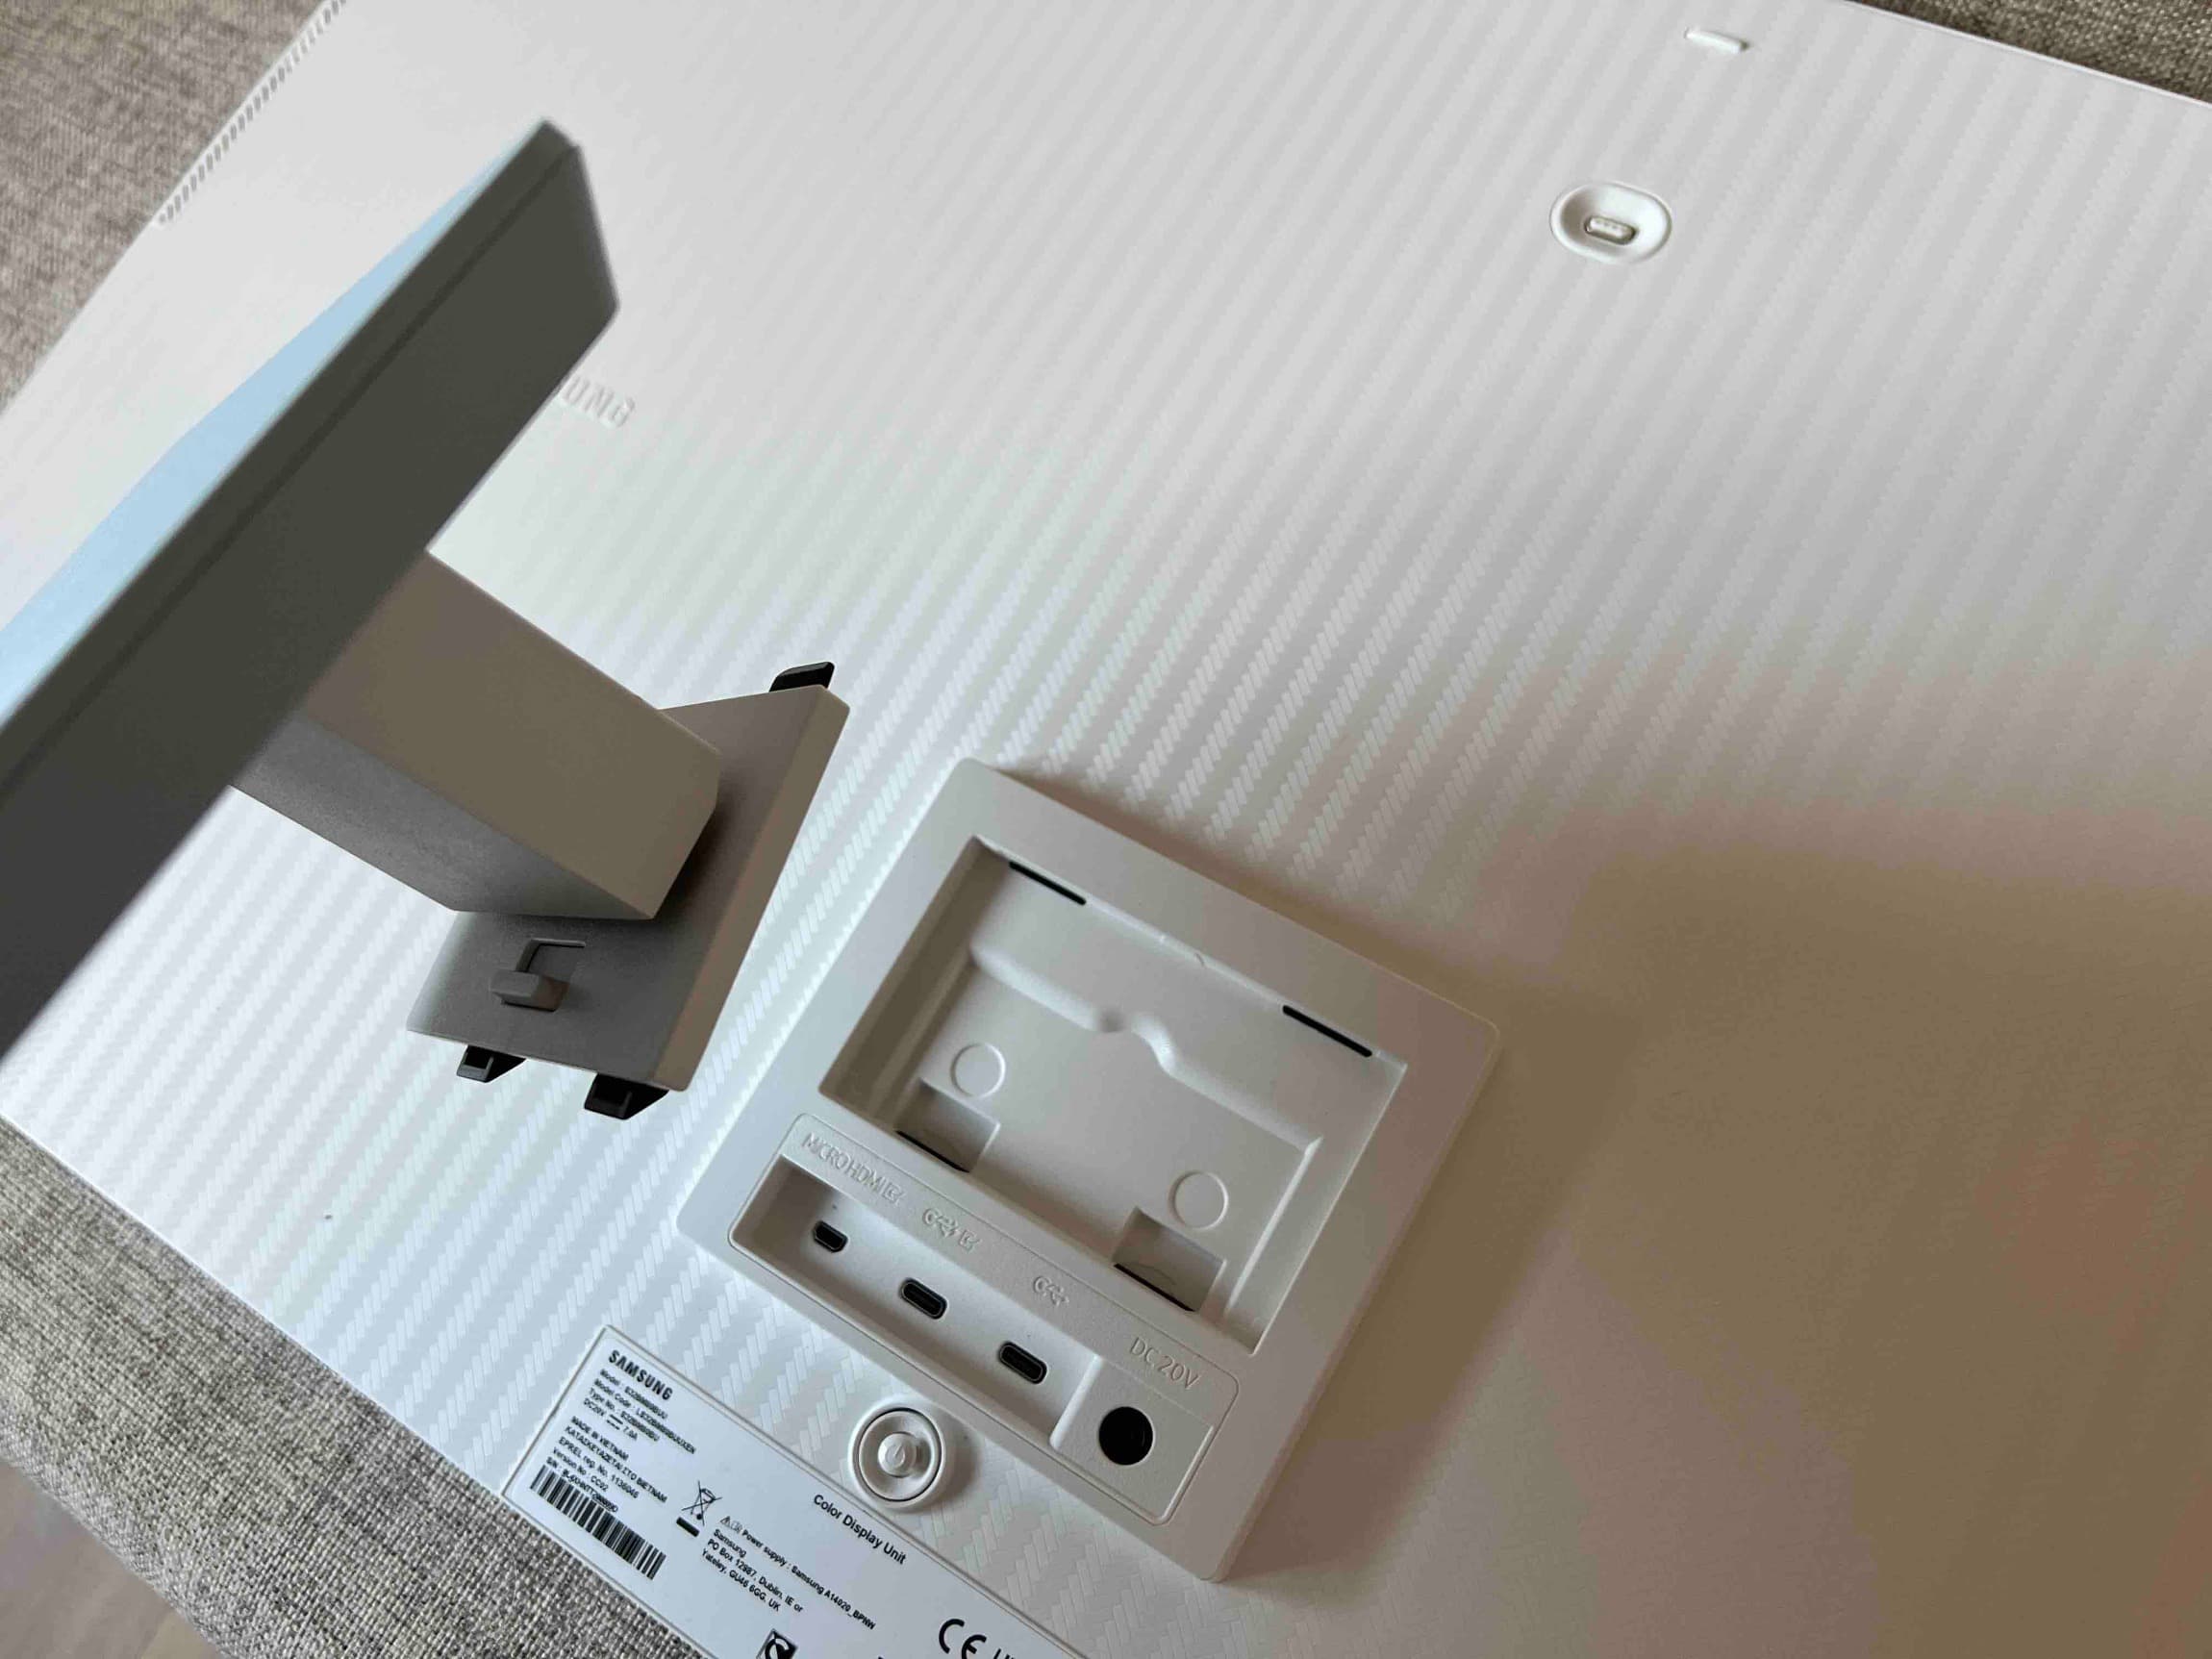
The stand consists of two parts, where it is necessary to screw them together. So it won't work without your own tools, because no screwdriver is included. The individual parts fit together perfectly and you just screw them together. The stand then simply snaps into the monitor. First, insert the upper feet and then press the foot against the display. That's all, it's simple and fast, just handling the monitor is a bit clumsy, because you don't want to smudge it with fingerprints right away. Unfortunately, the glass is not covered with any foil. Only the lower colored chin and edges are covered with it.
Familiar design
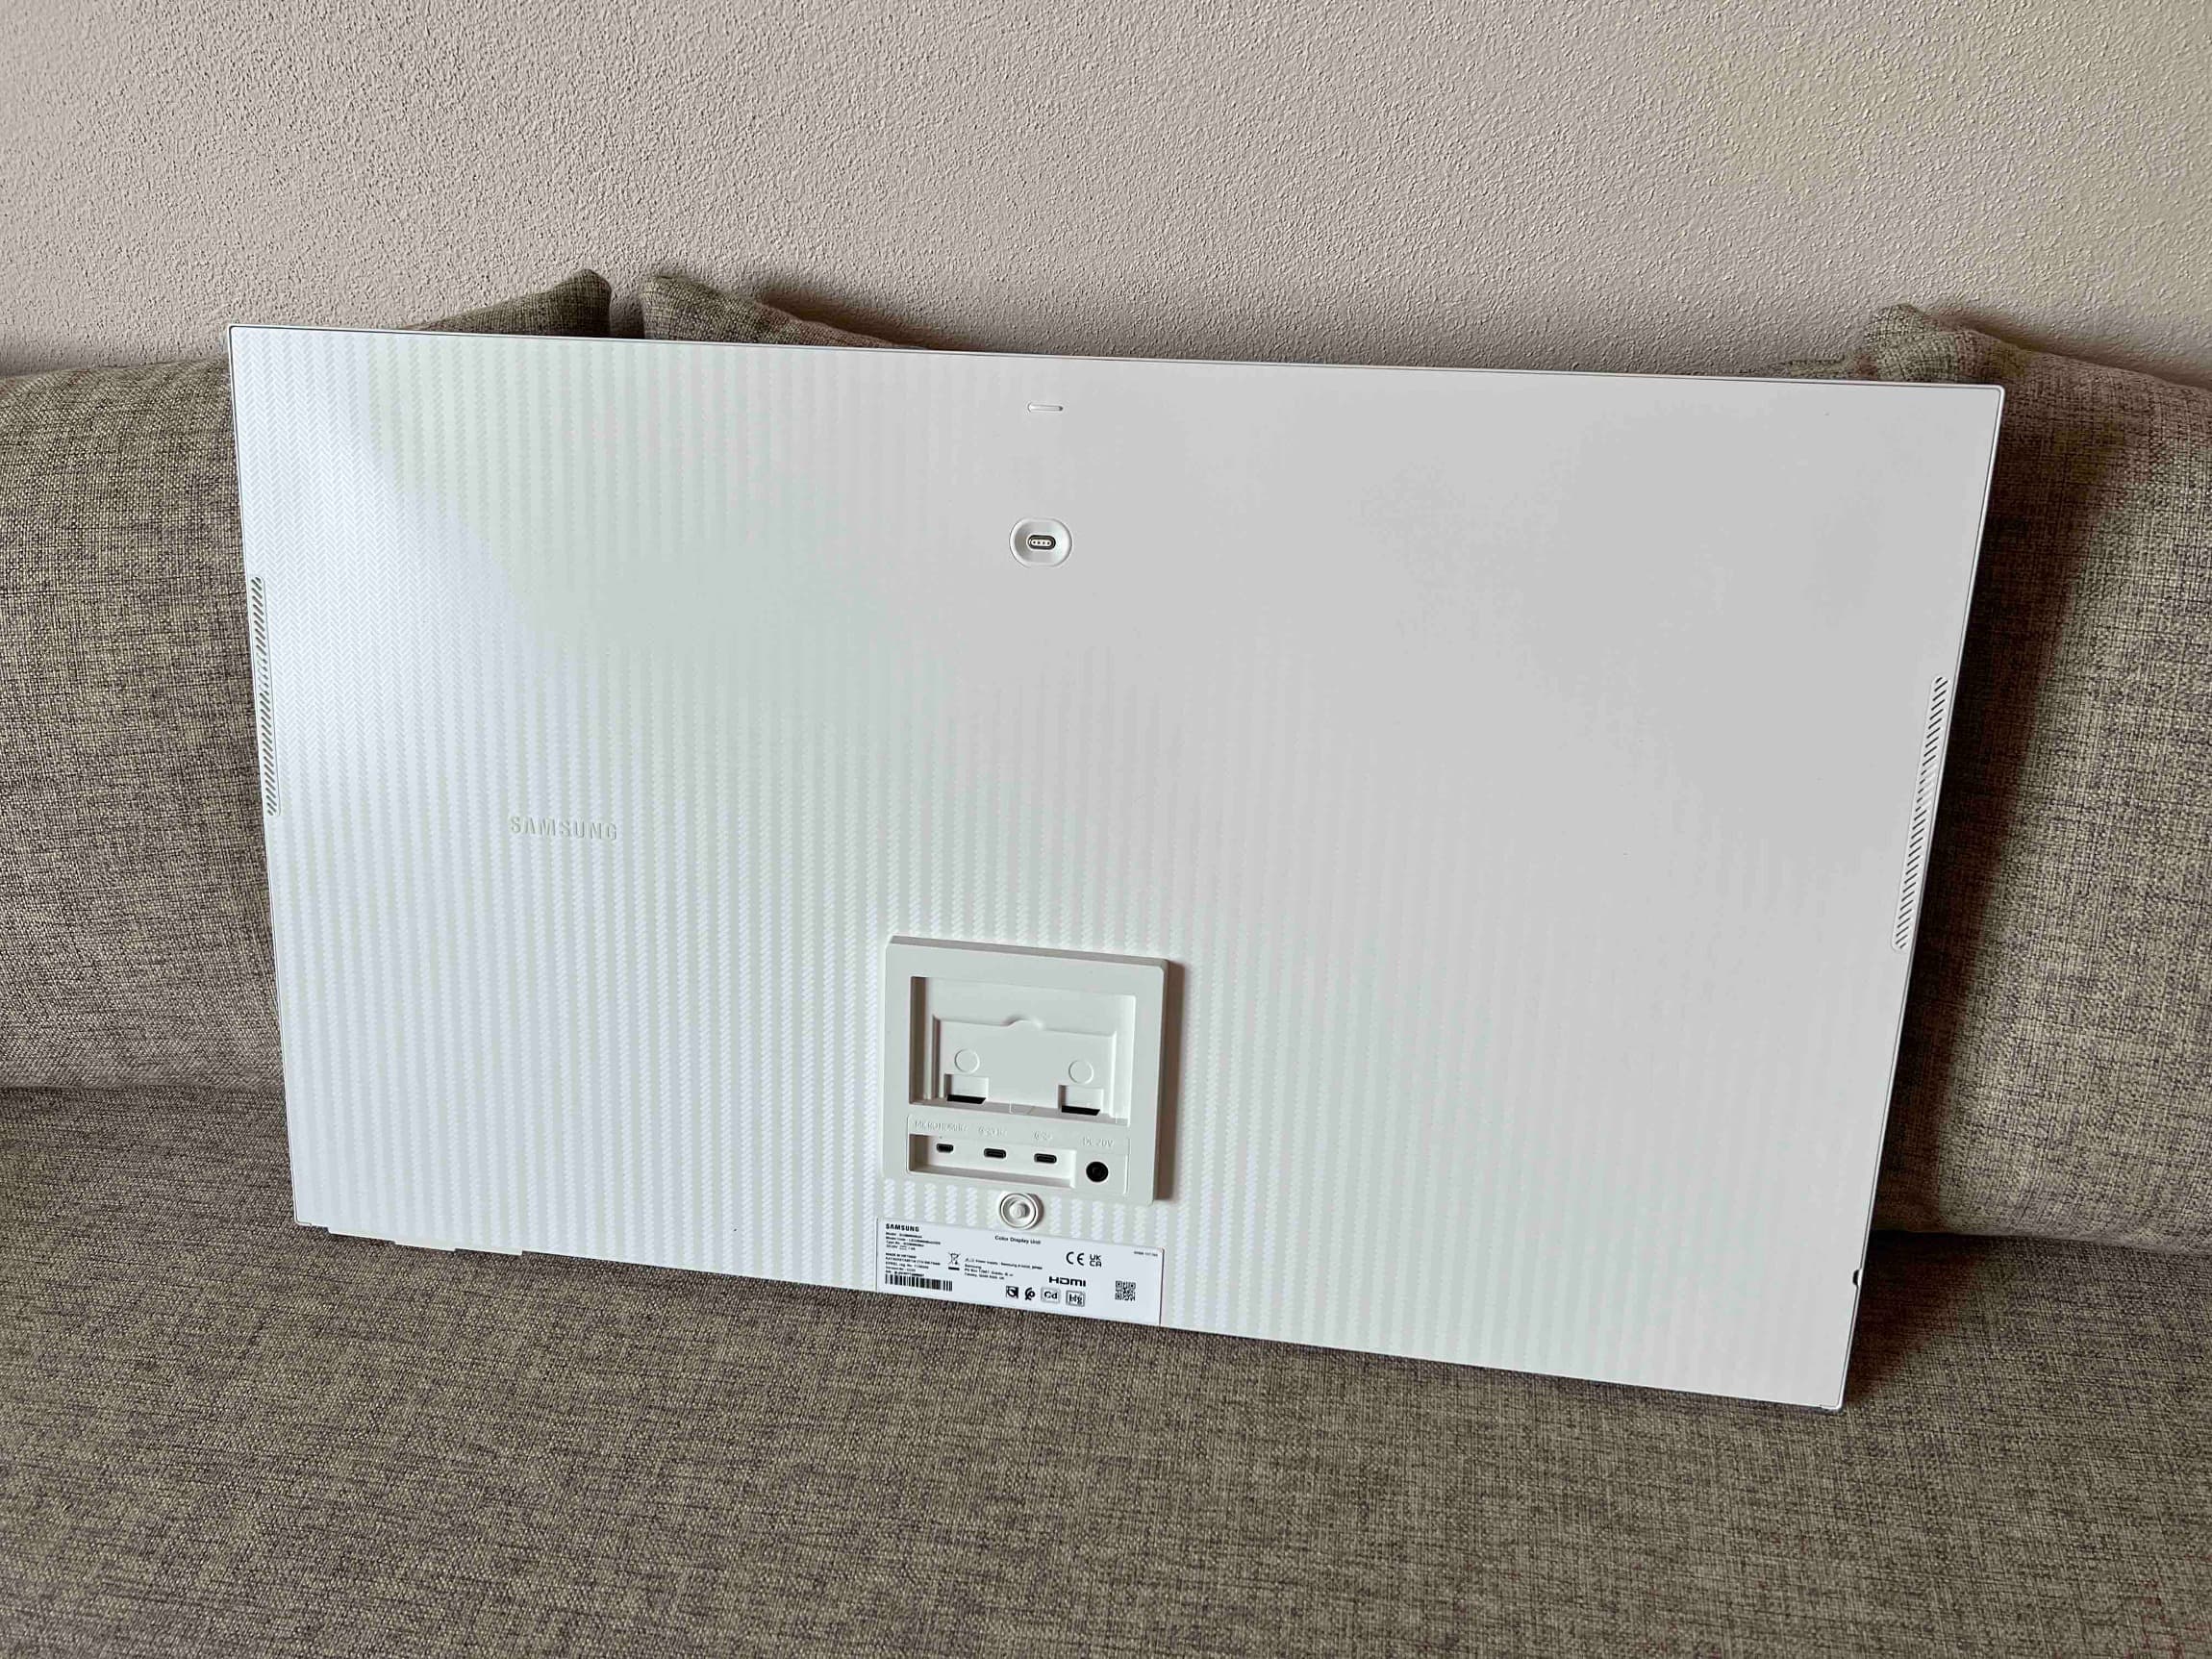
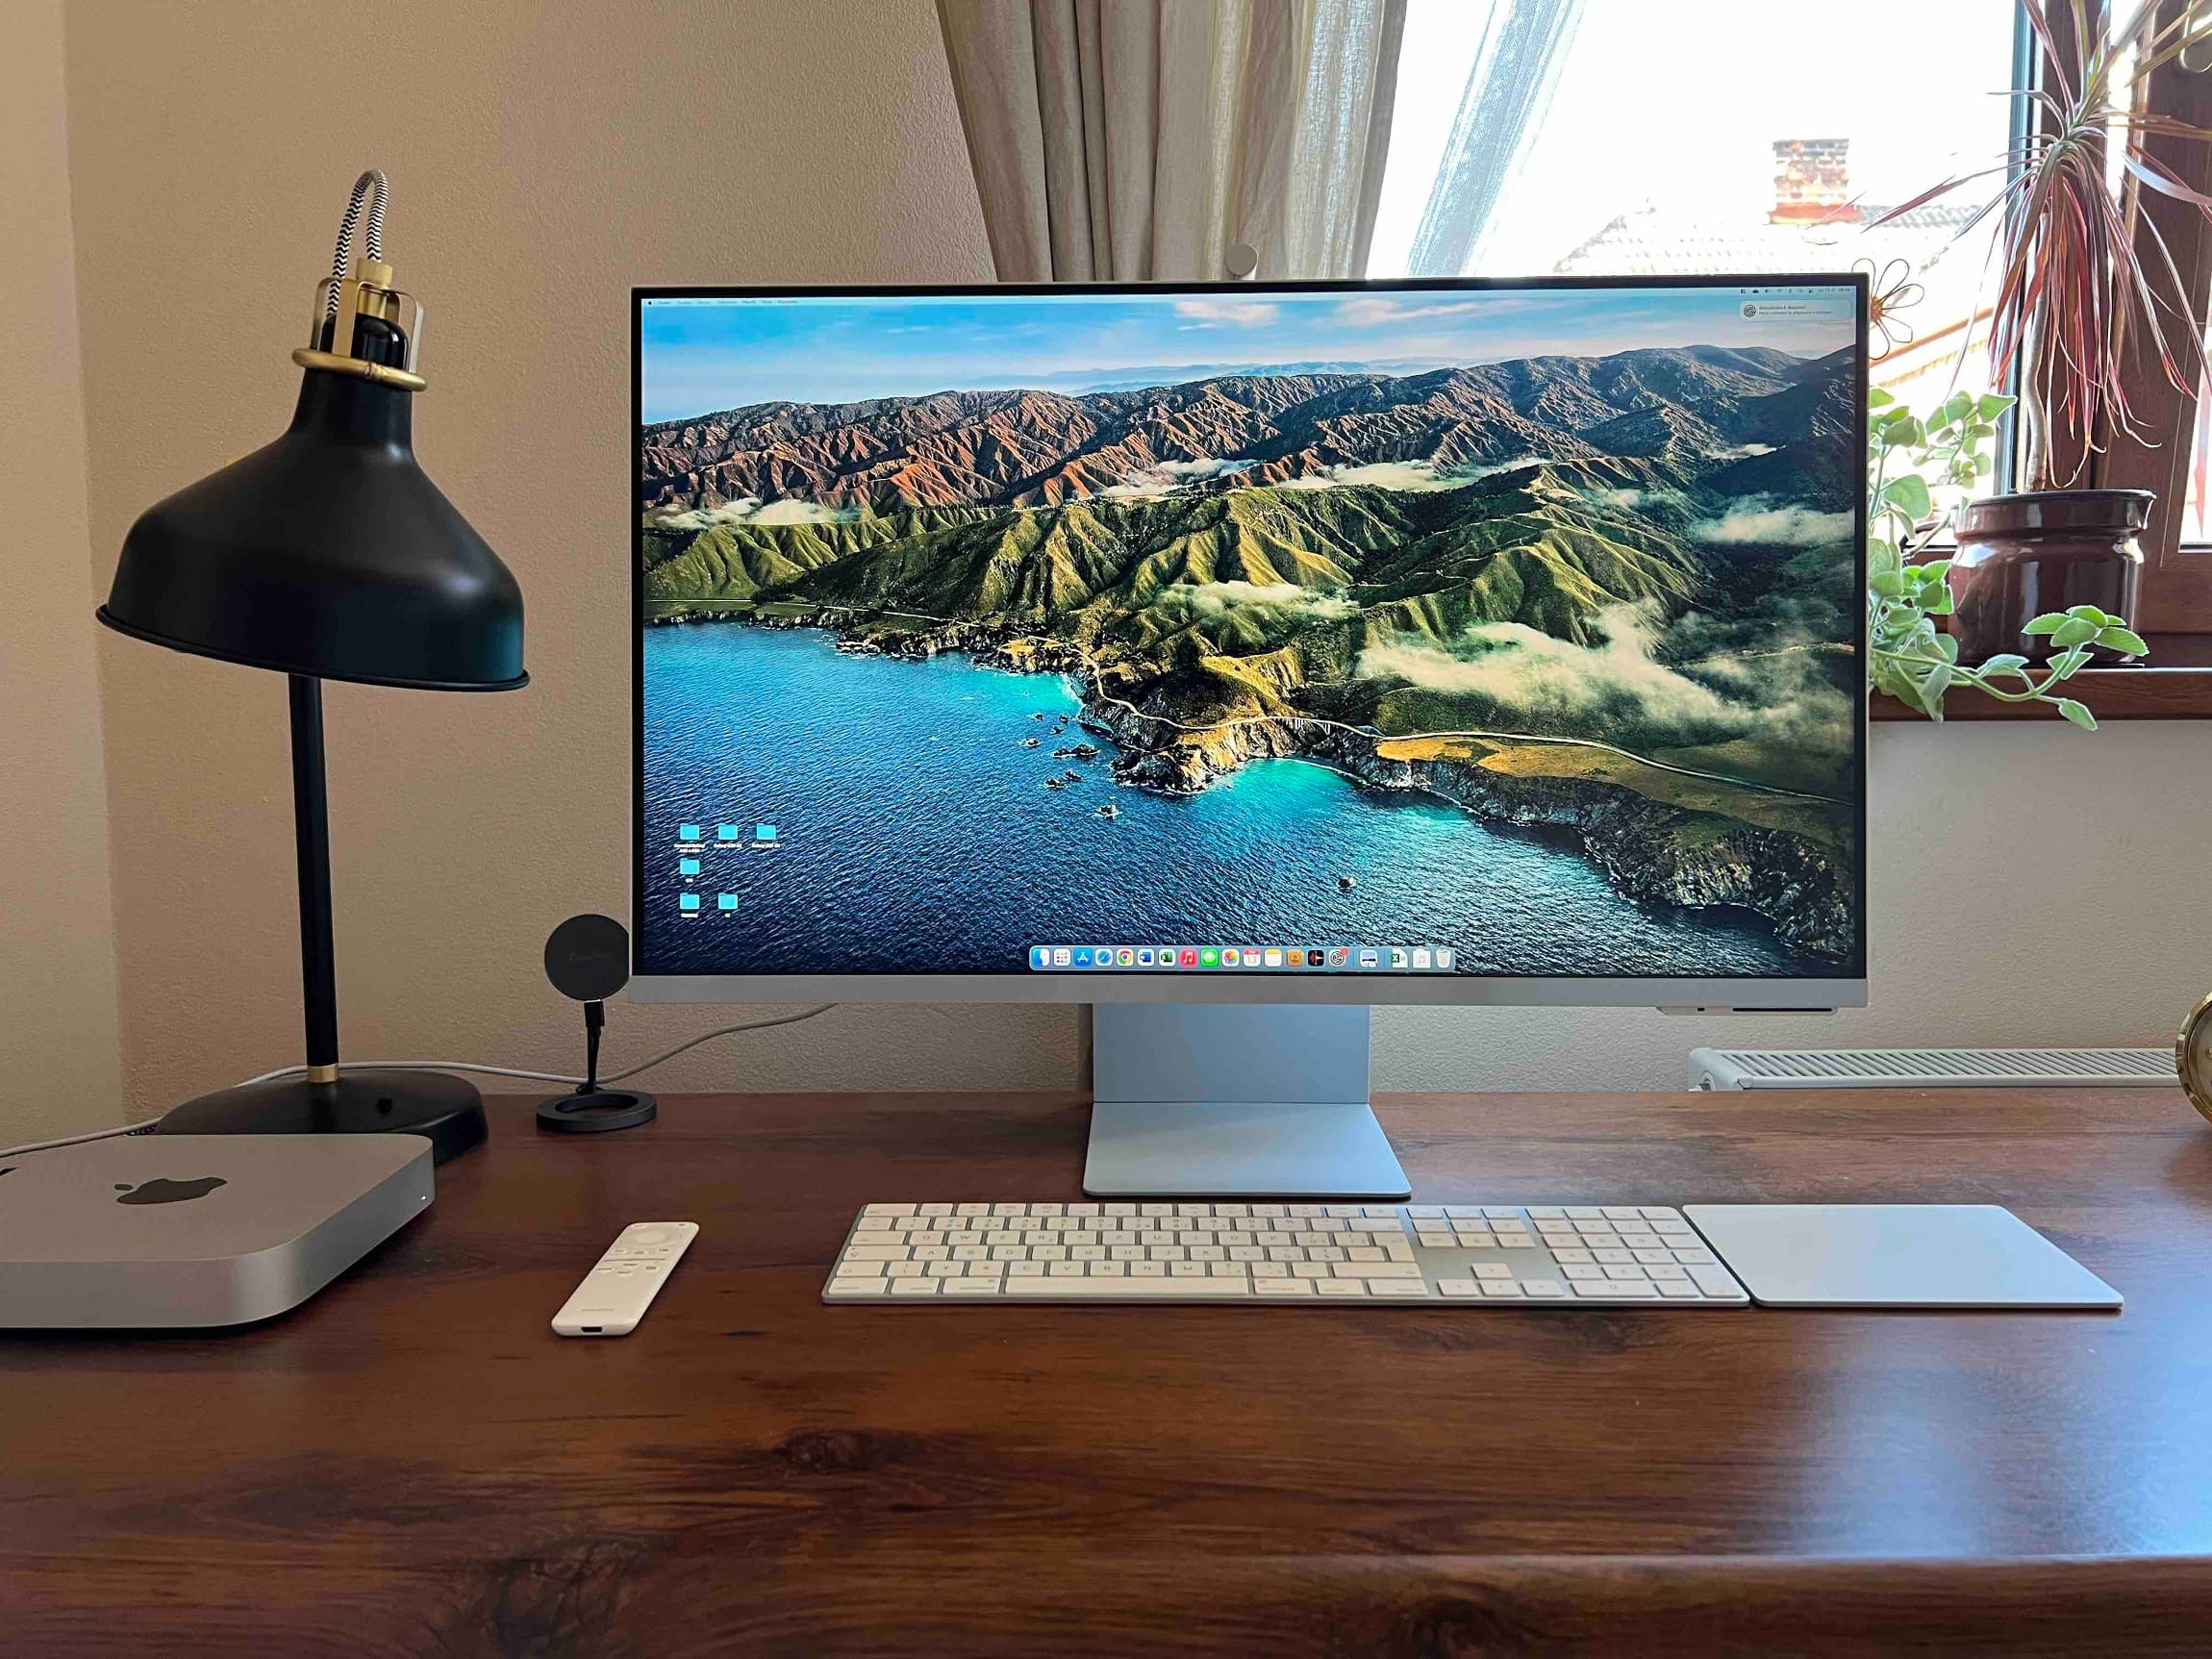
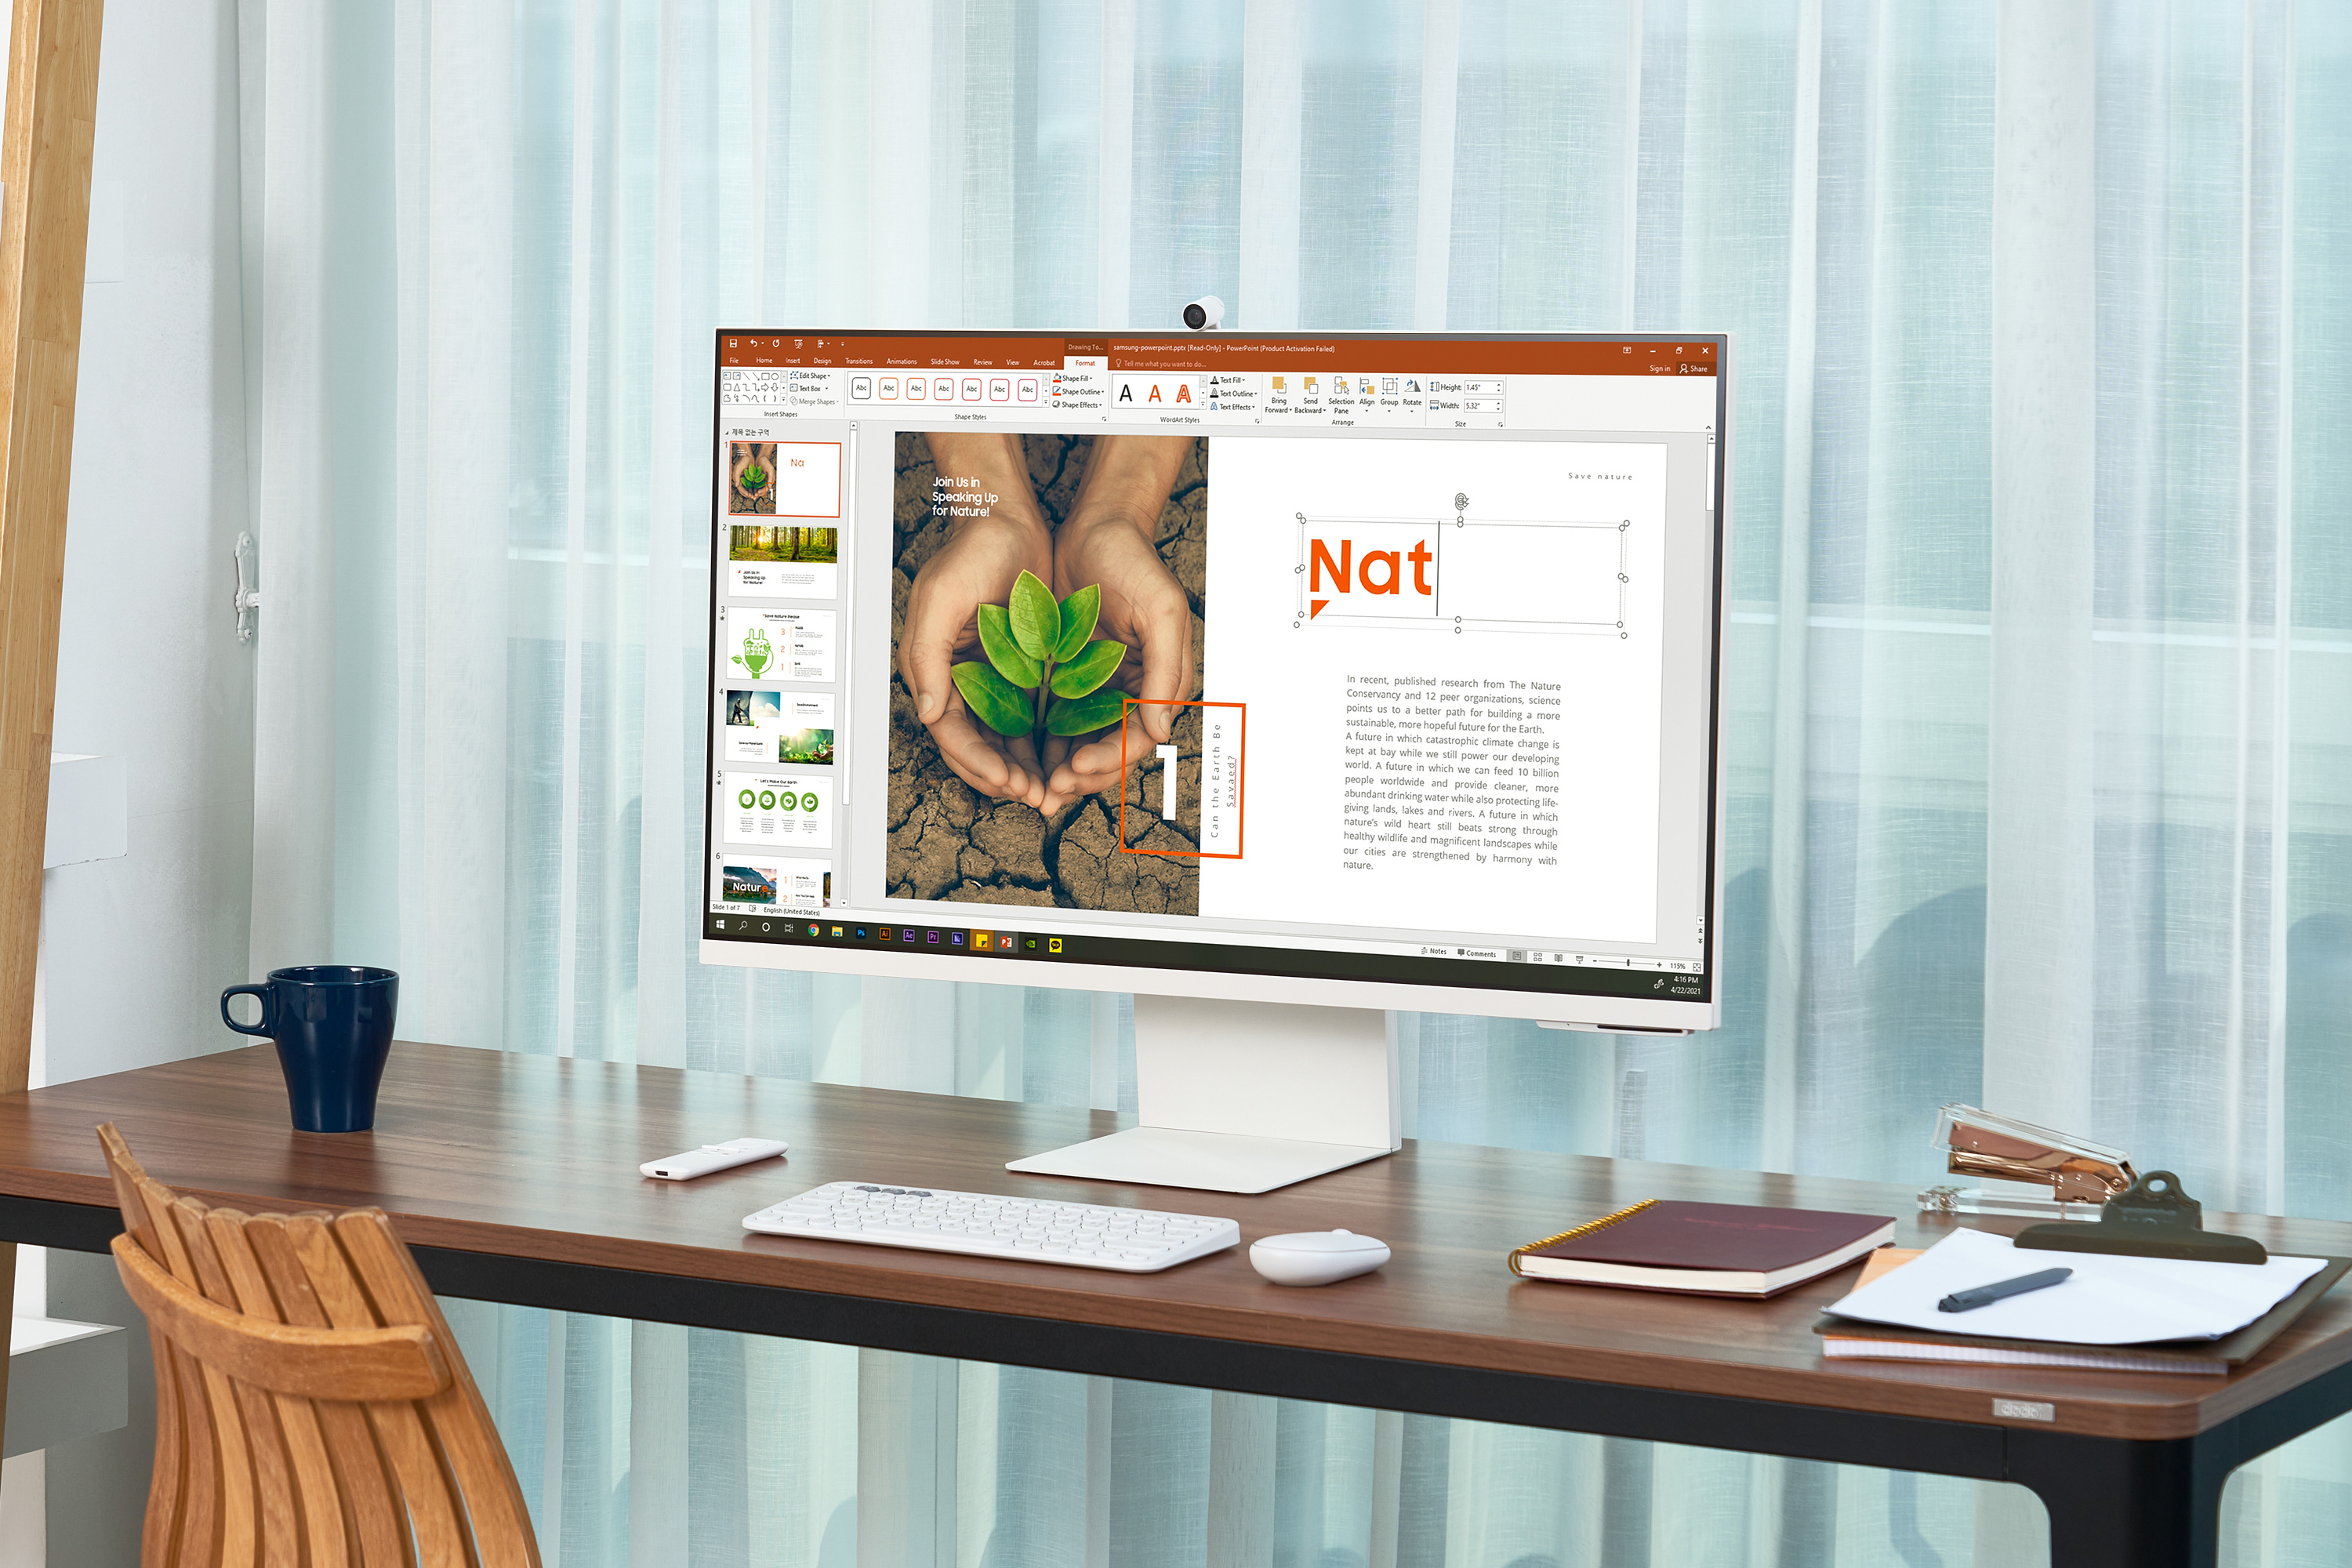
In terms of appearance, there is no other way to say than that Samsung was clearly inspired by Apple's 24" iMacs, even though you have a straight 32" in front of you. Too bad about the beard. It doesn't look intrusive, but if it wasn't there, the display would look smoother. It should be mentioned that you will not find aluminum here. The entire monitor is plastic. The thickness of 11,4 mm is relatively negligible, and is thus 0,1 mm thinner than the aforementioned iMac. However, you are looking at the monitor from the front and its depth does not play too much of a role. Compared to the iMac, however, the Smart Monitor M8 is positionable.
Specifically, not only in the case of the tilt, which the manufacturer indicates -2.0˚ to 15.0˚, but also in the case of determining the height (120,0 ± 5,0 mm). While the height is relatively easy to change by simply moving the display up and down, tilting is a bit of a pain. It is not easy and you can be quite afraid of some damage. Maybe it's a habit that we don't have yet, but the joint is too stiff for some simple manipulation.
Engagement with limitation
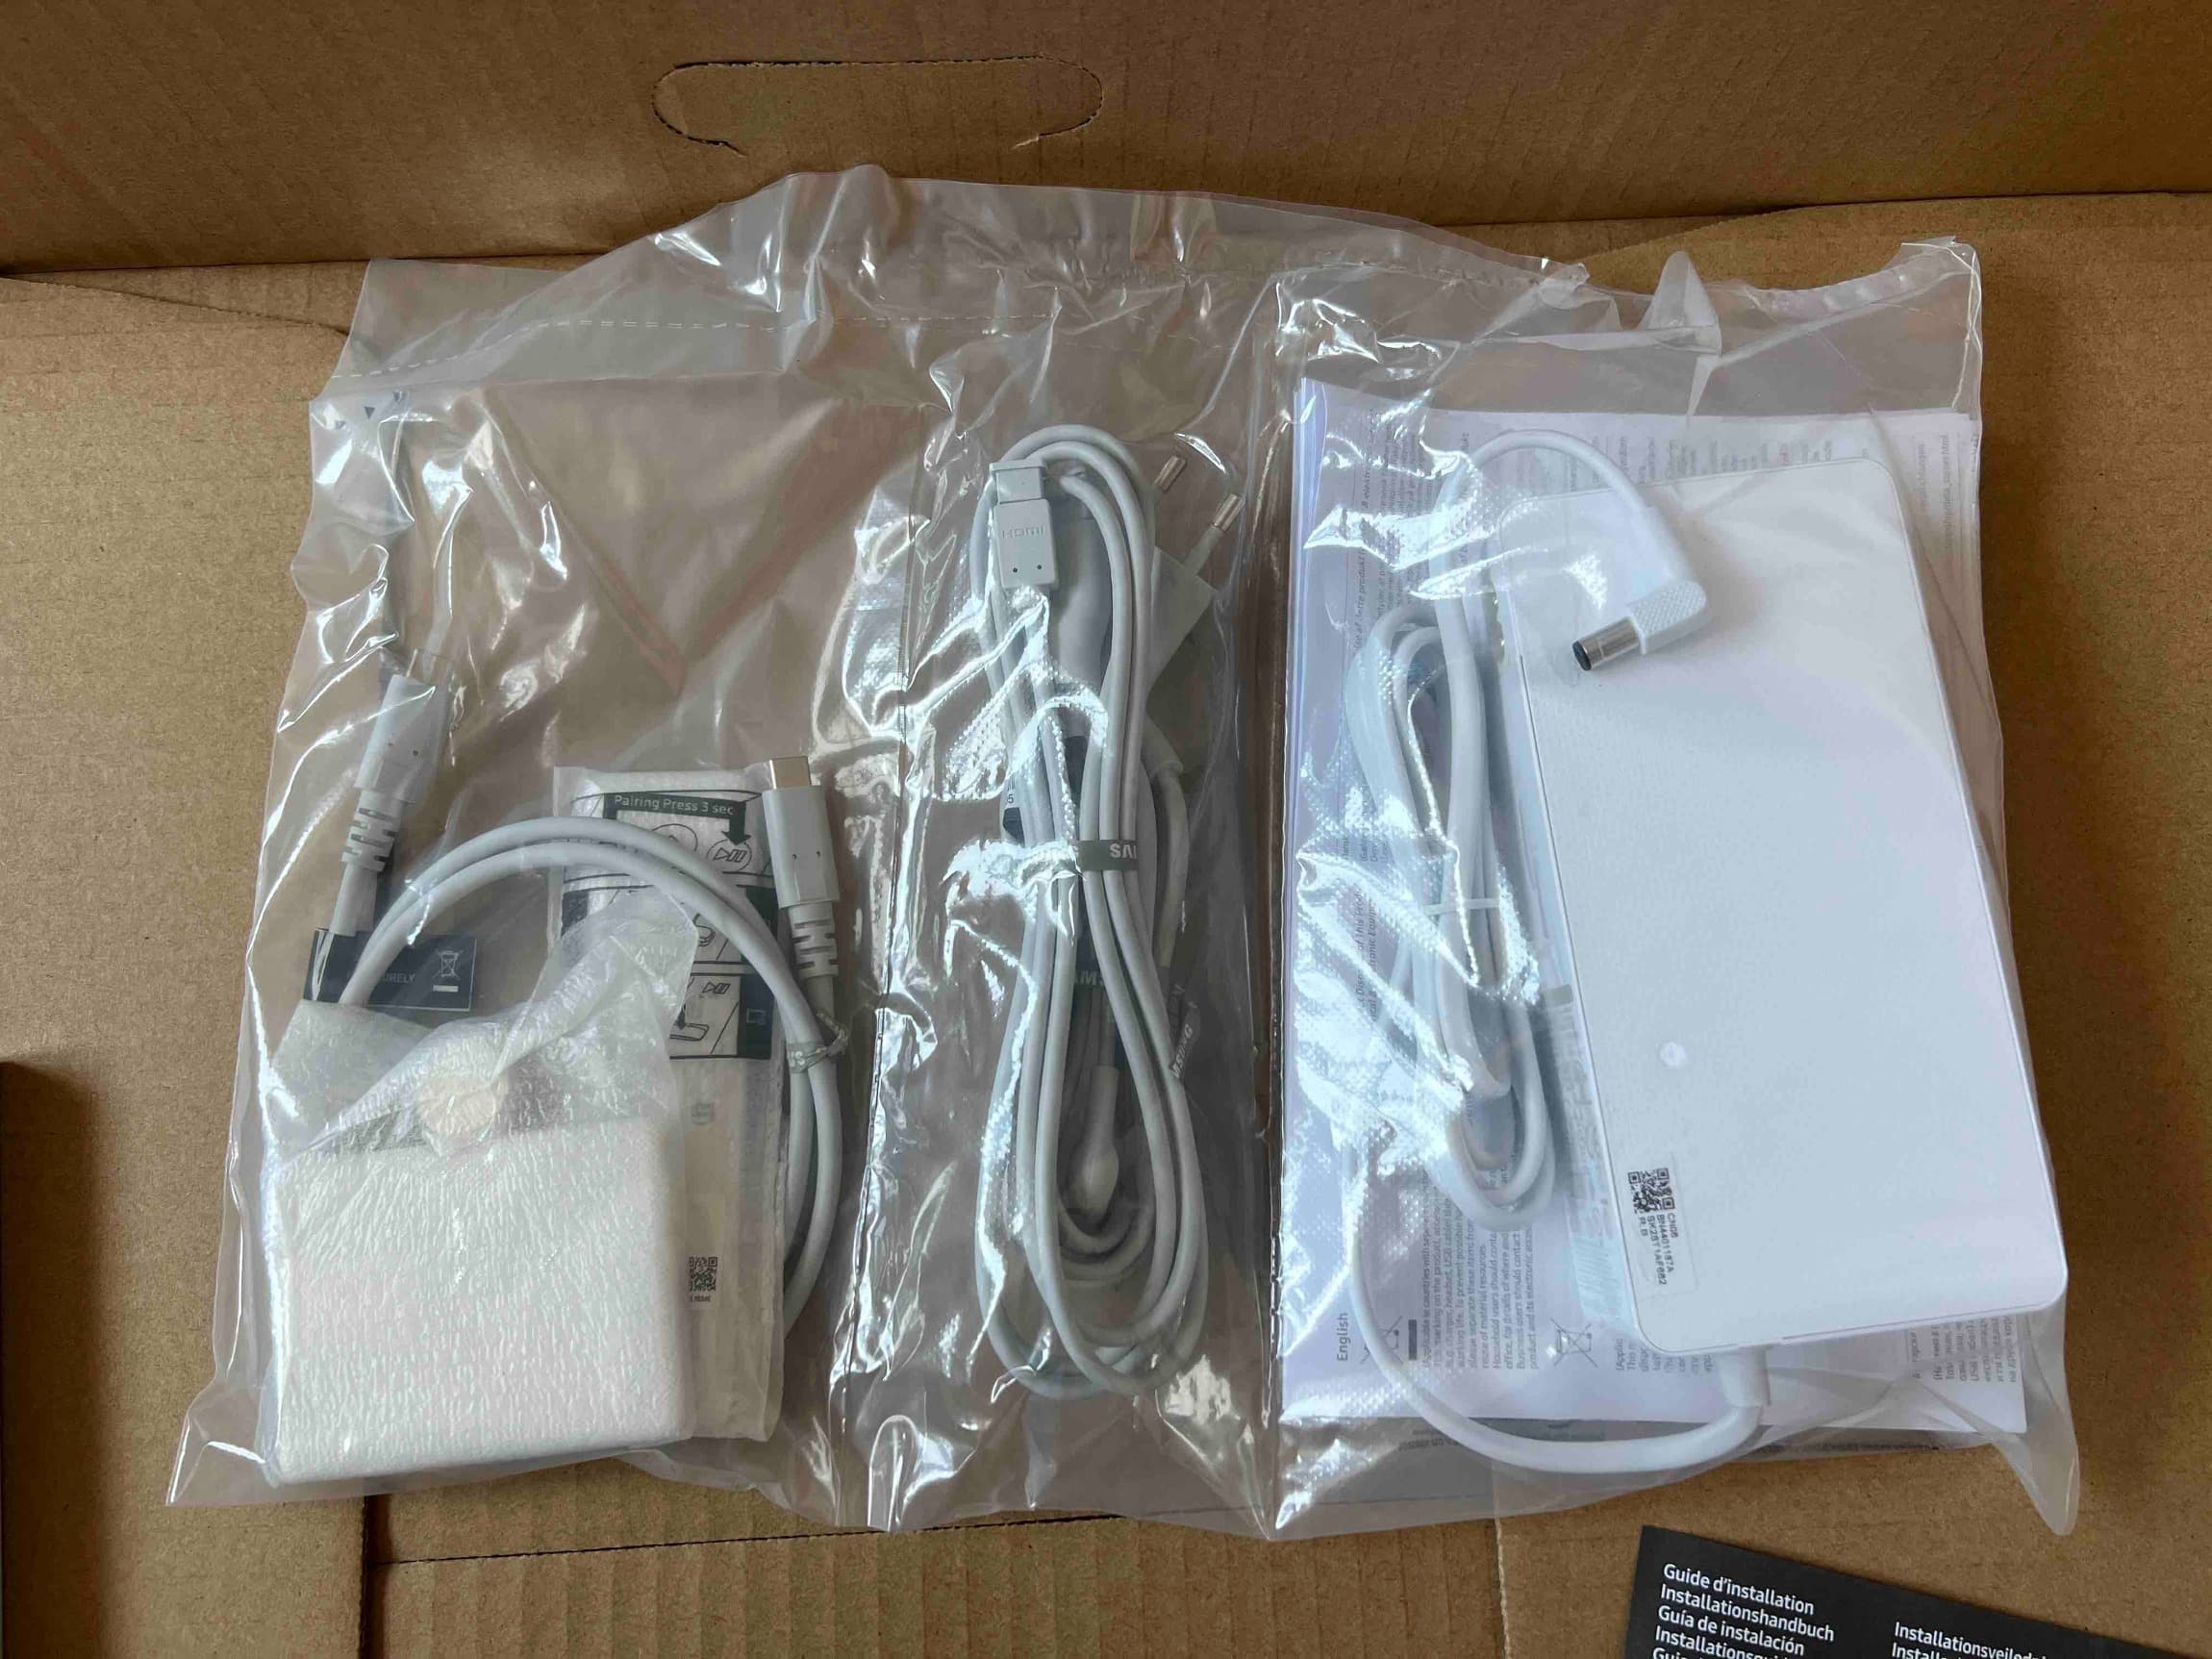
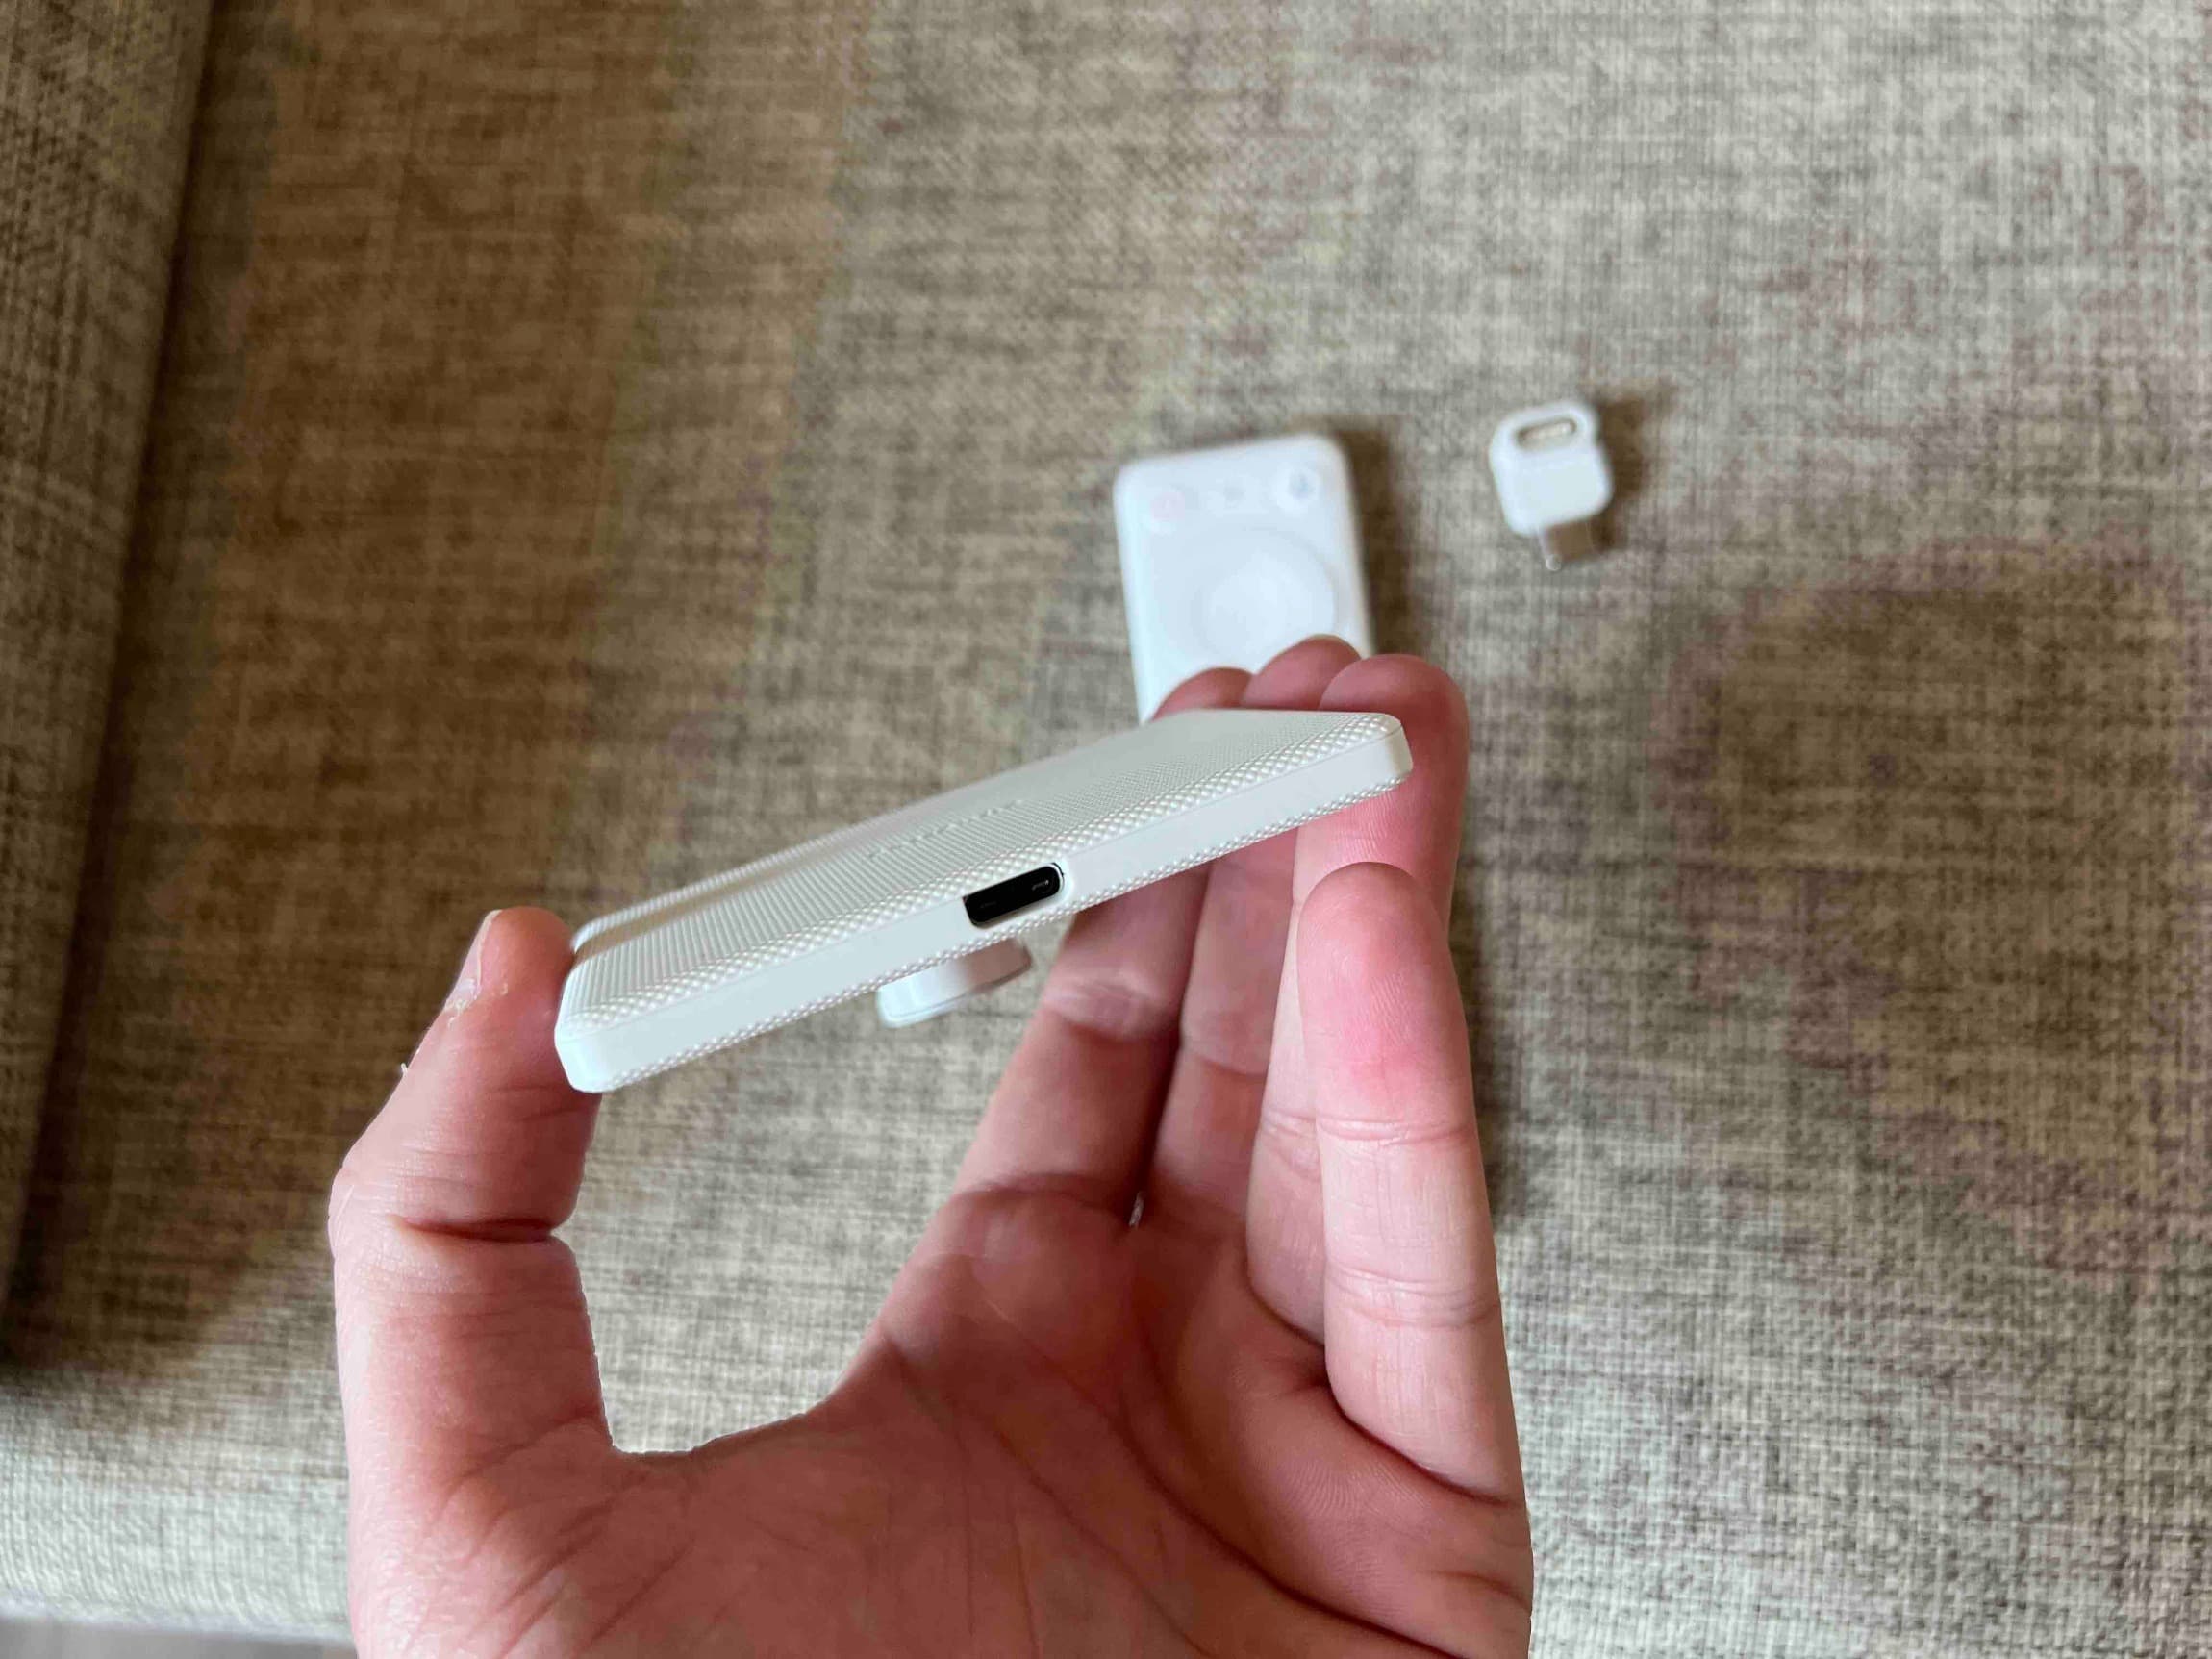
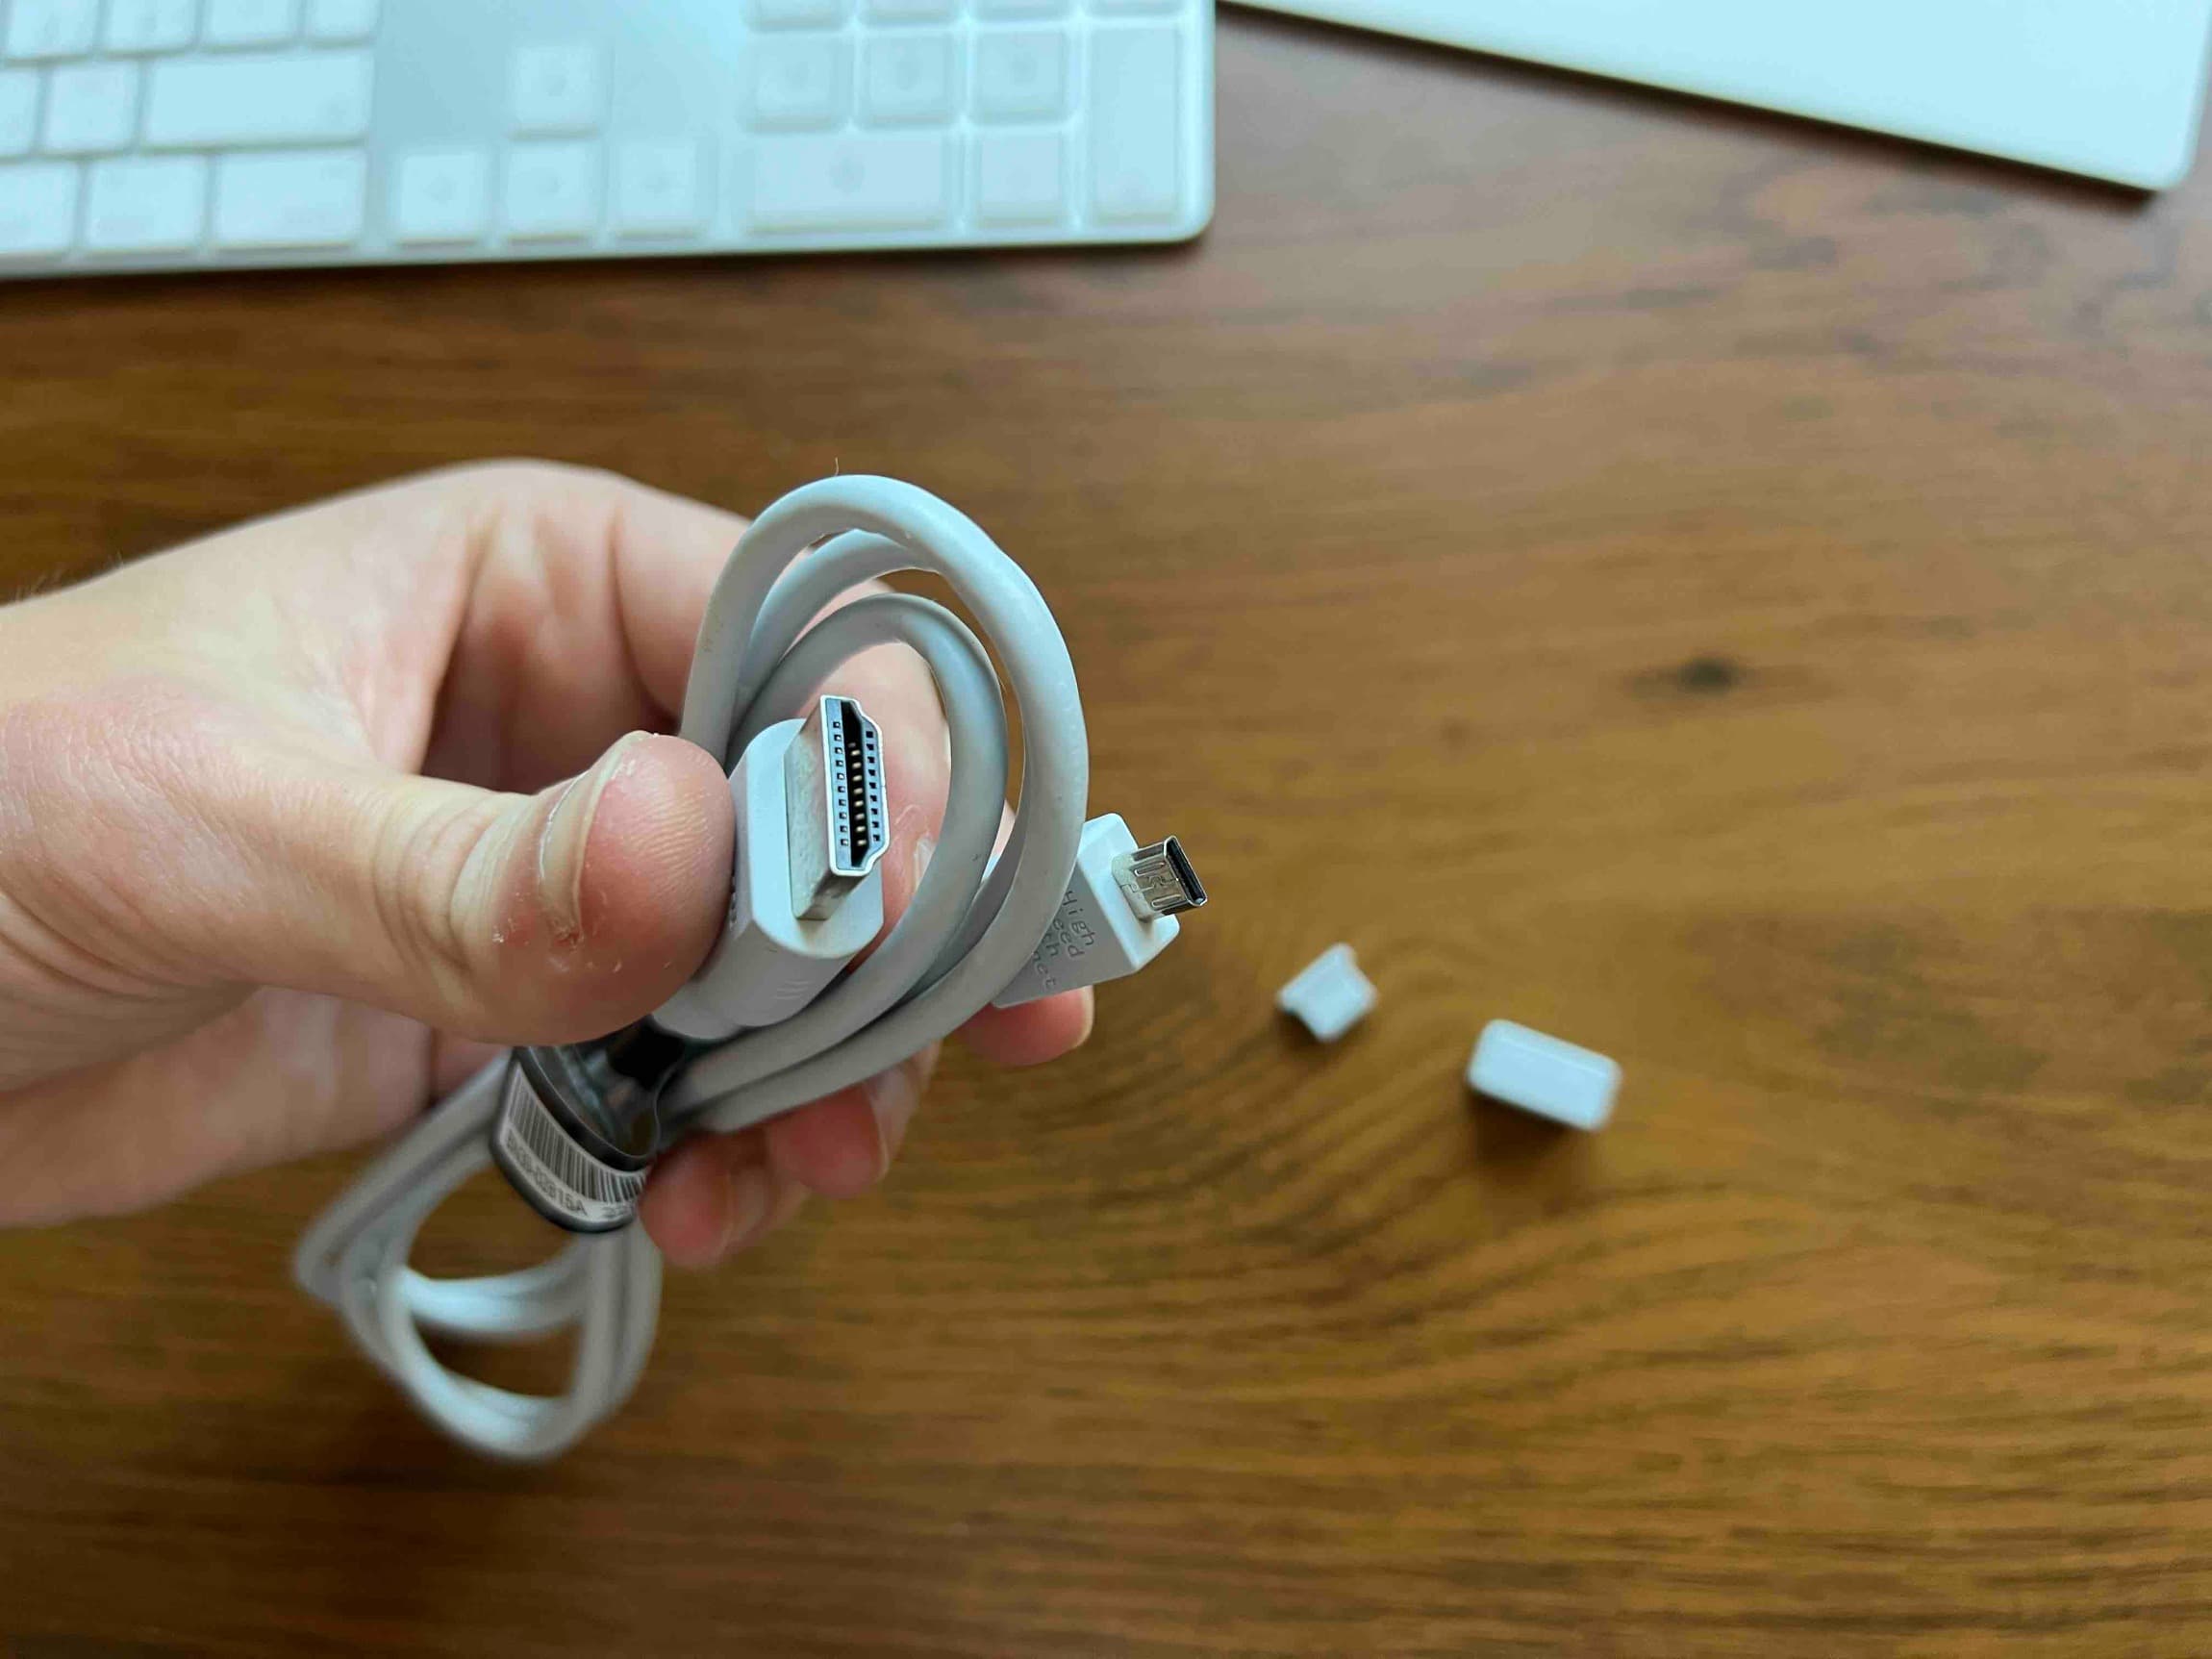
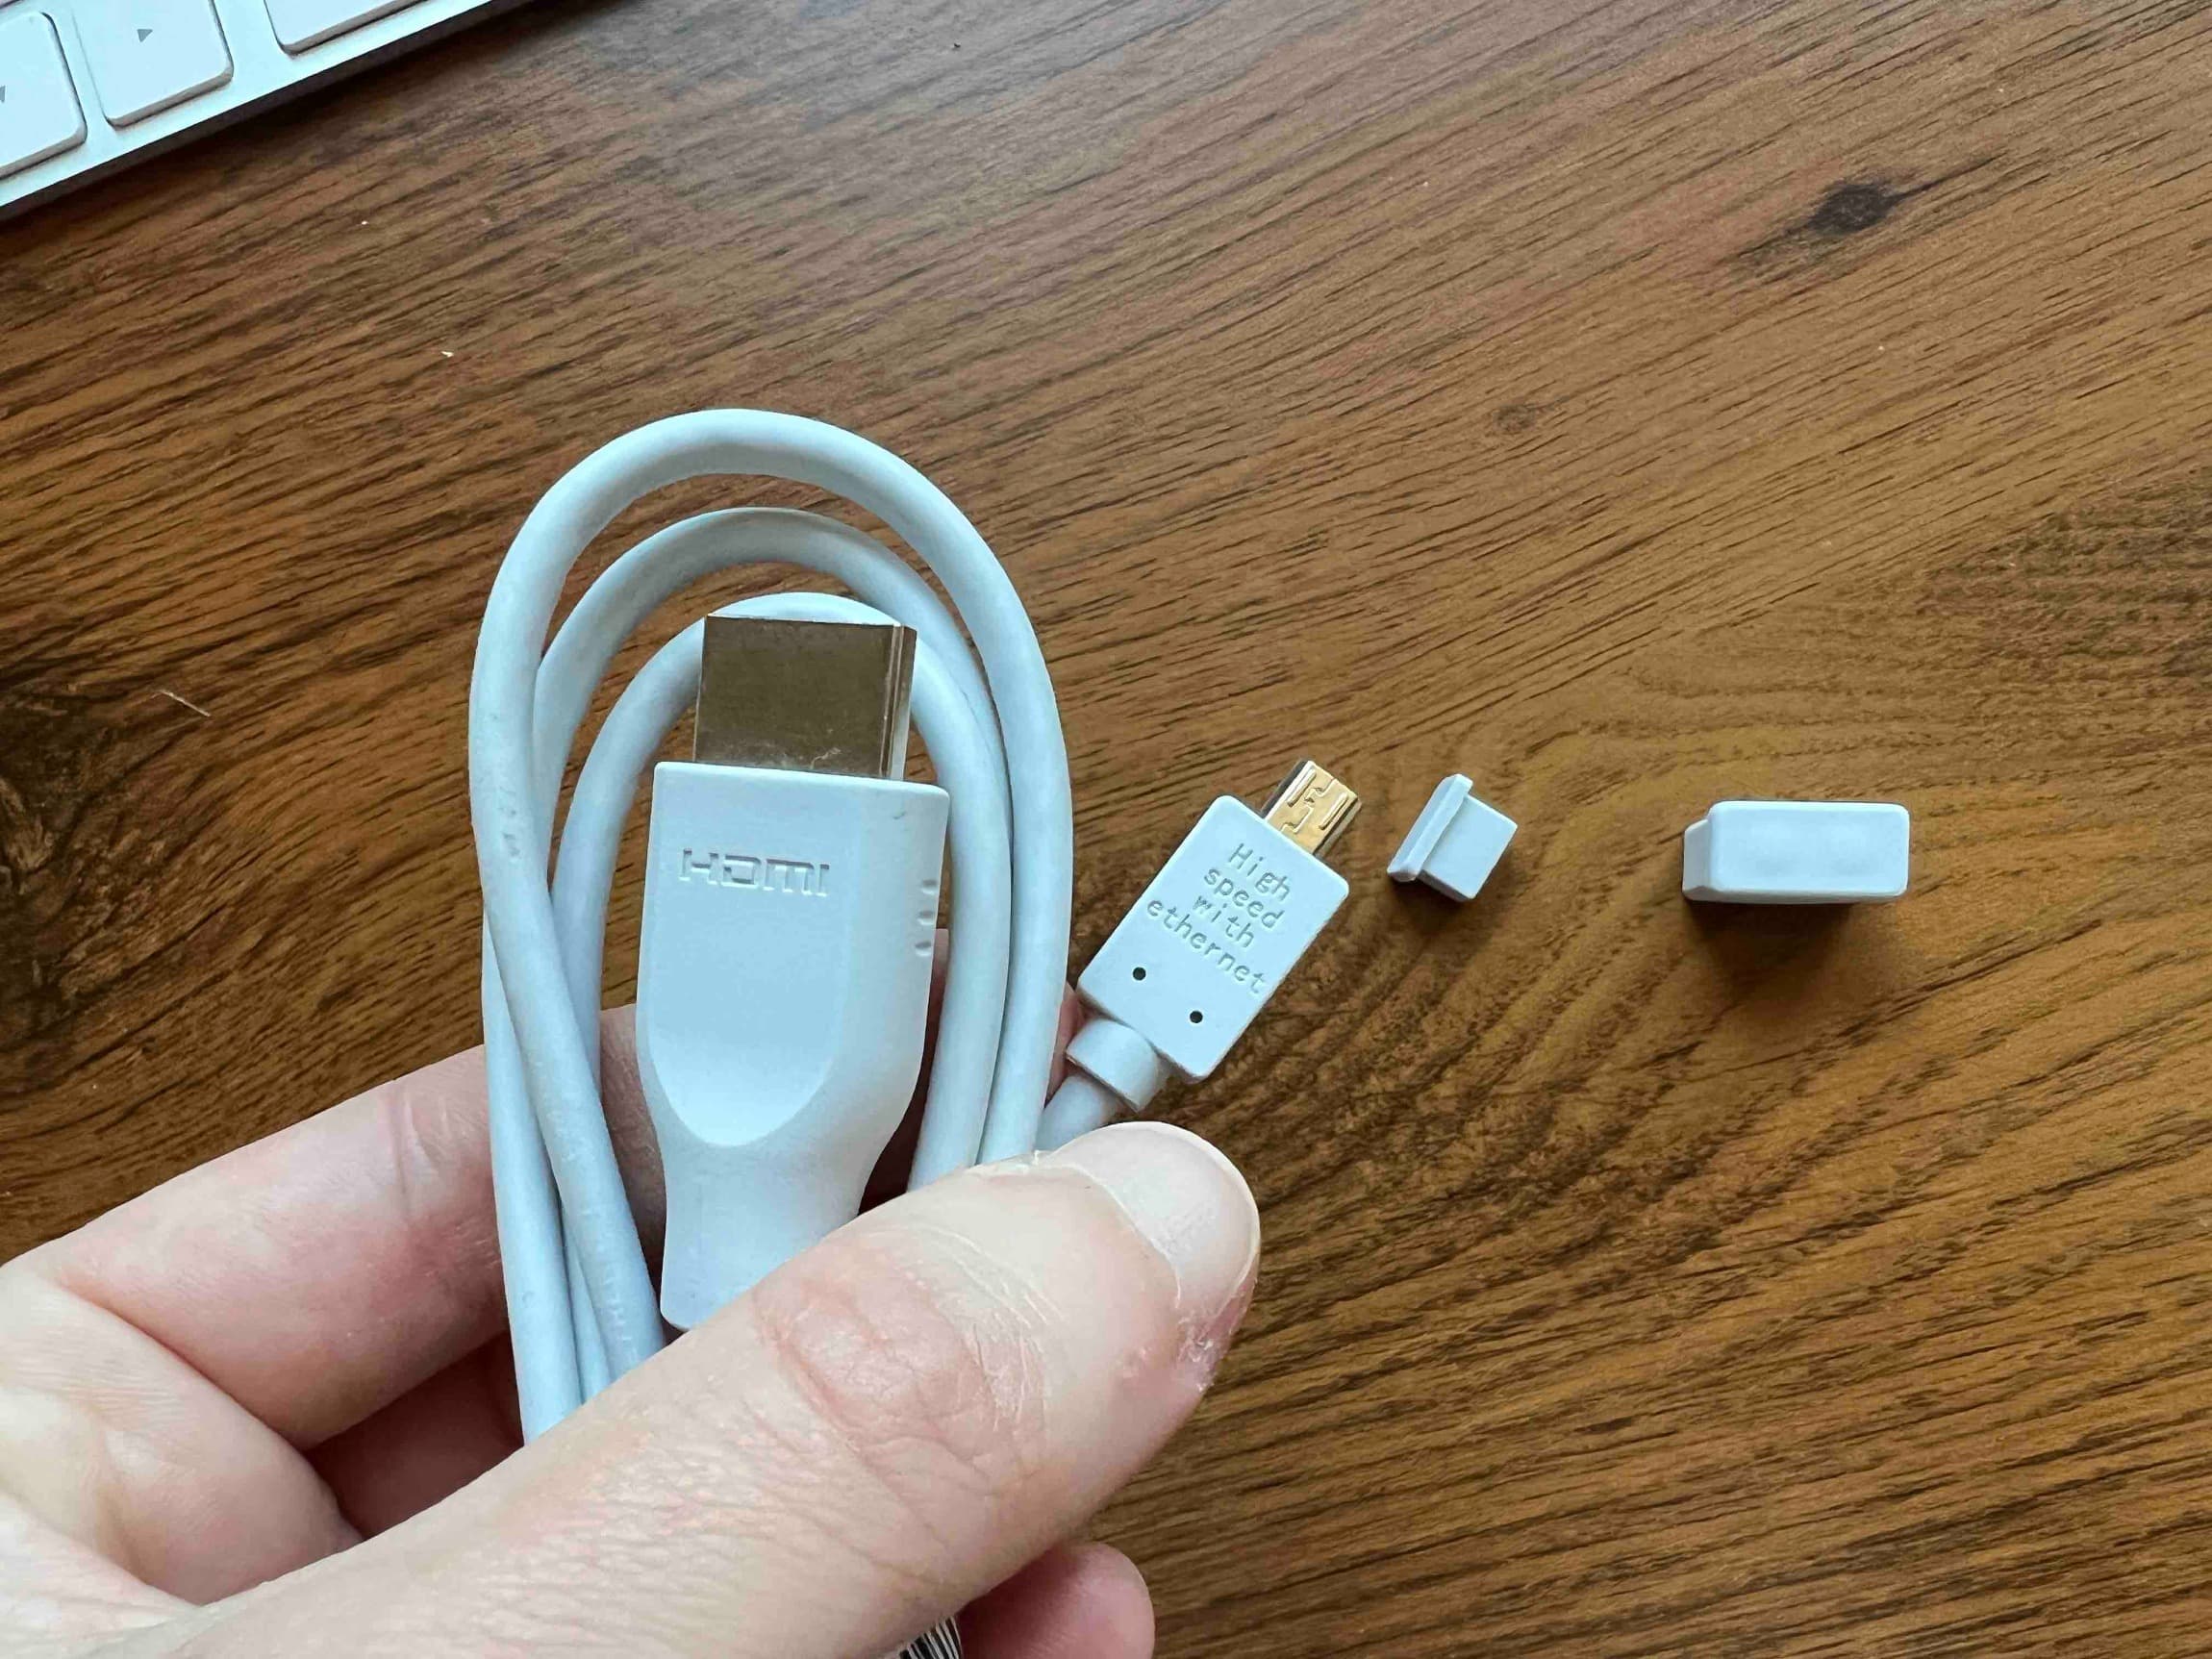
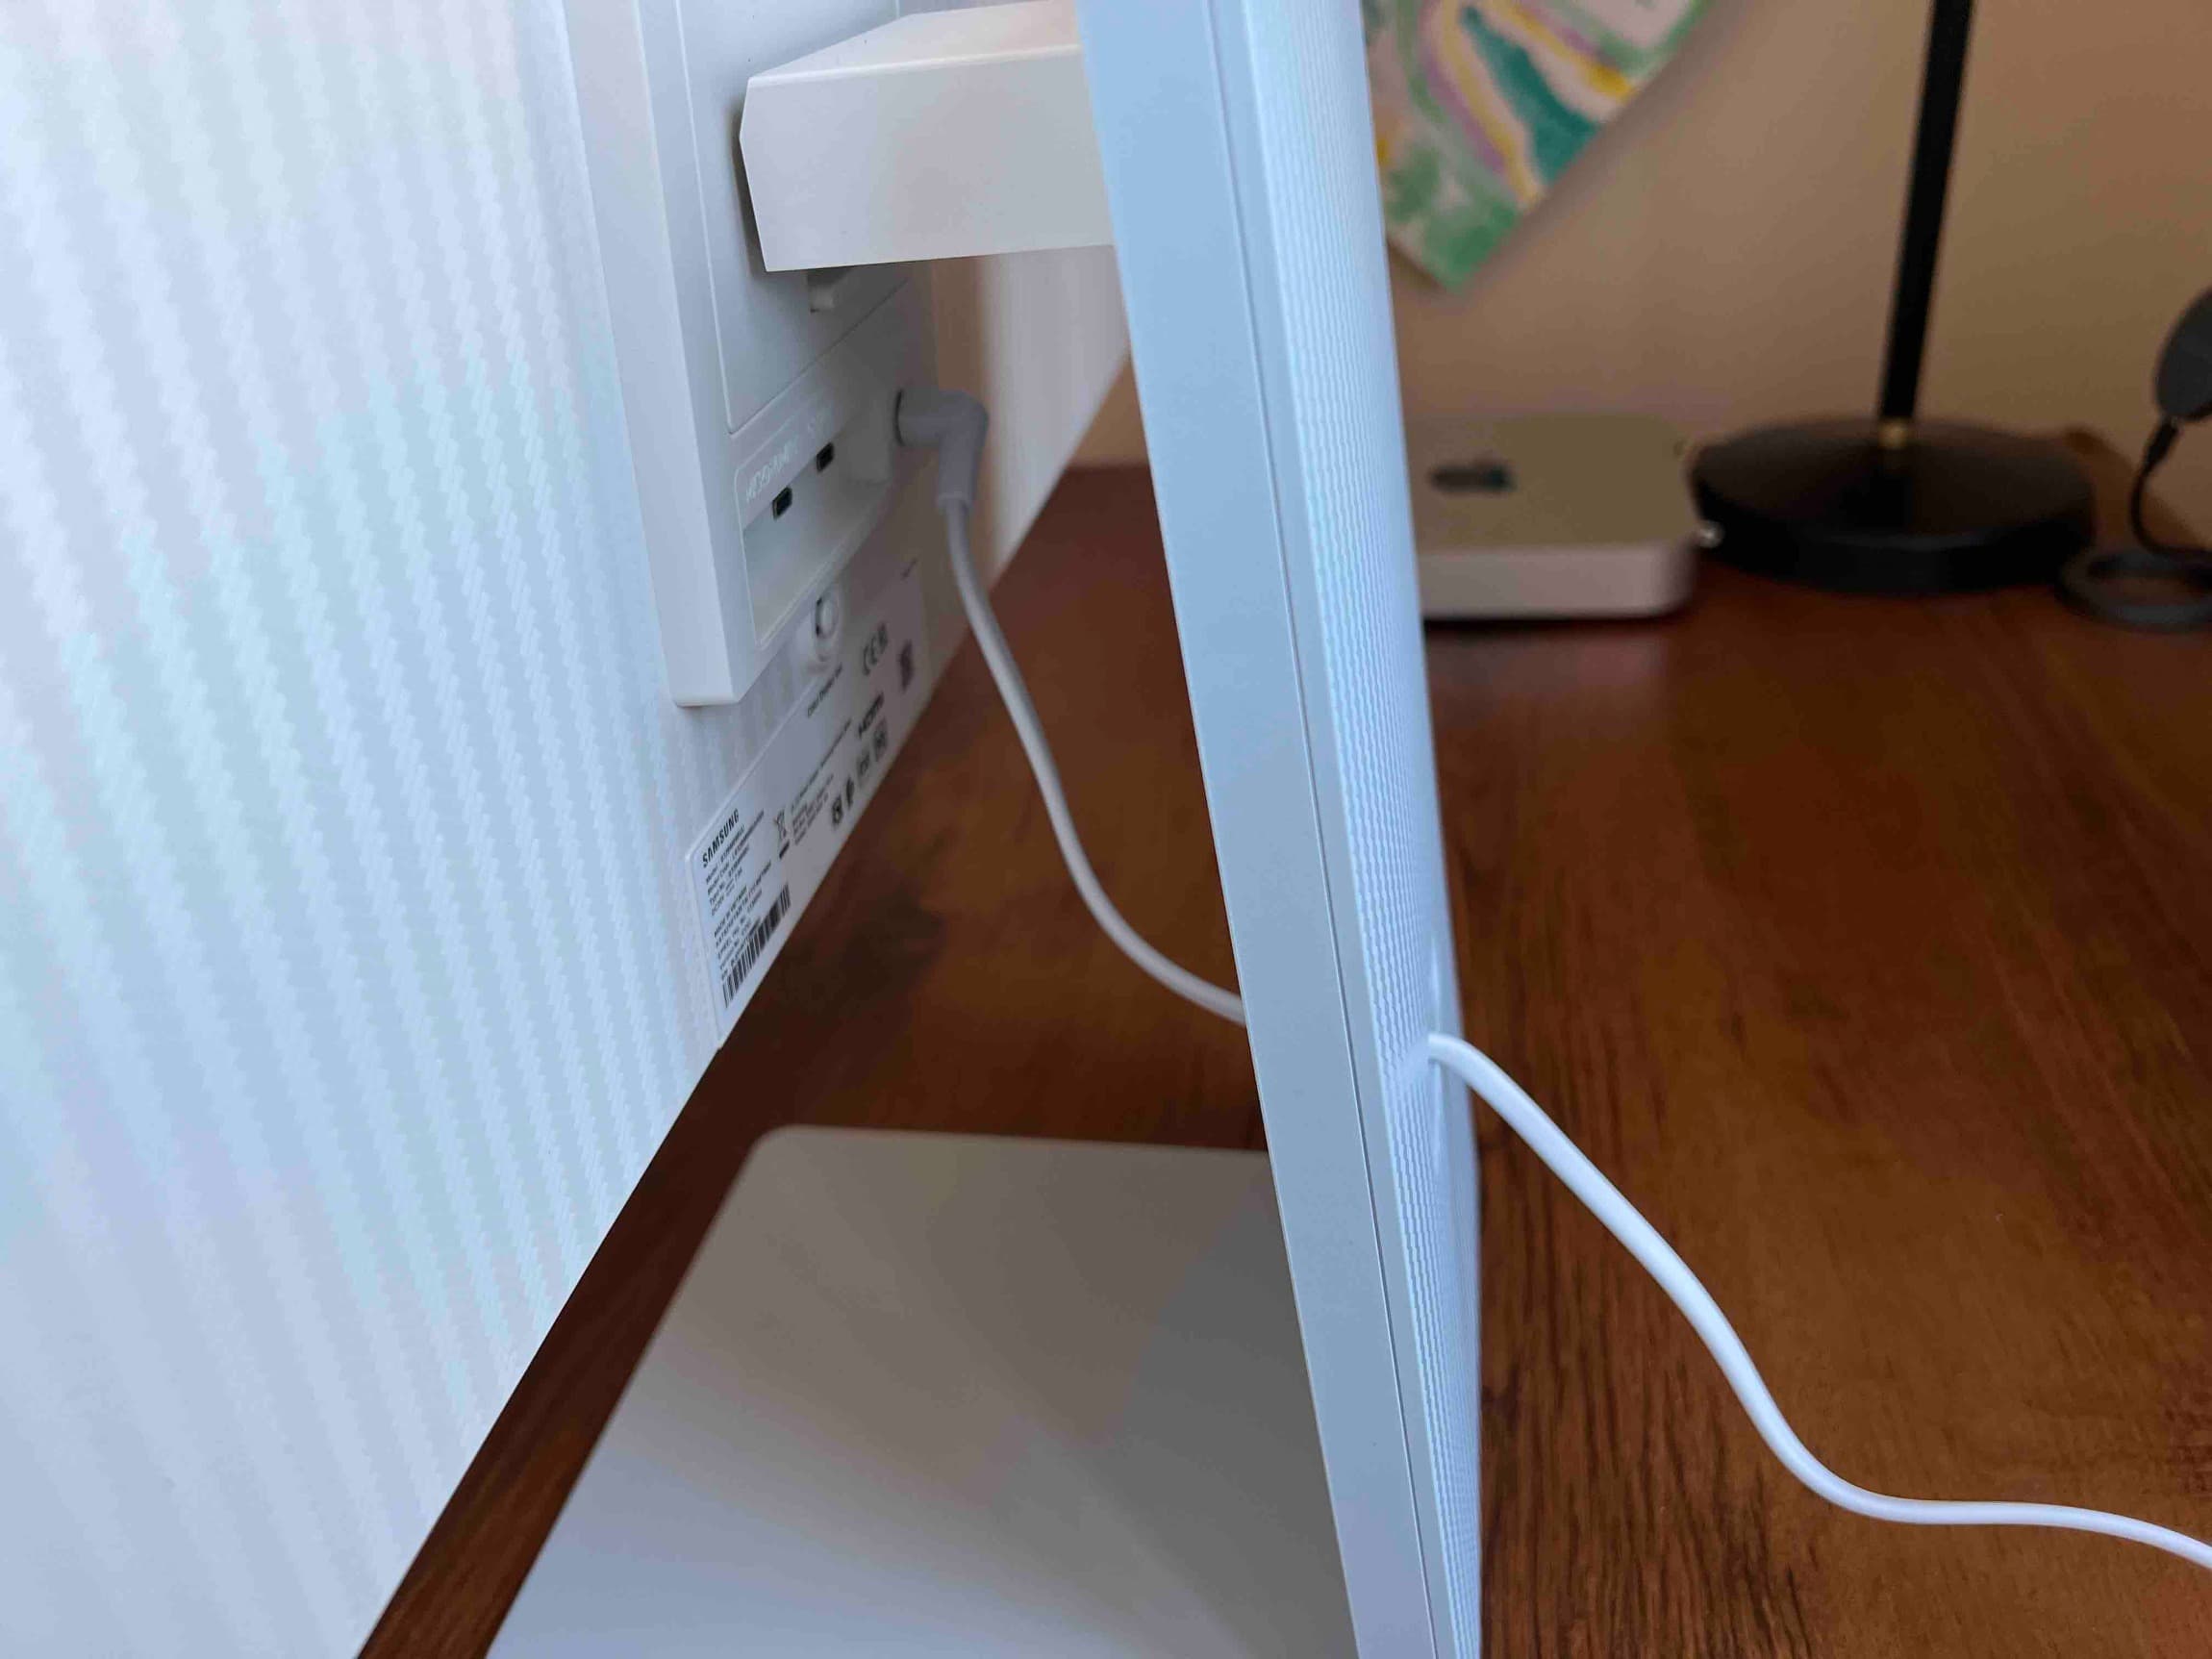
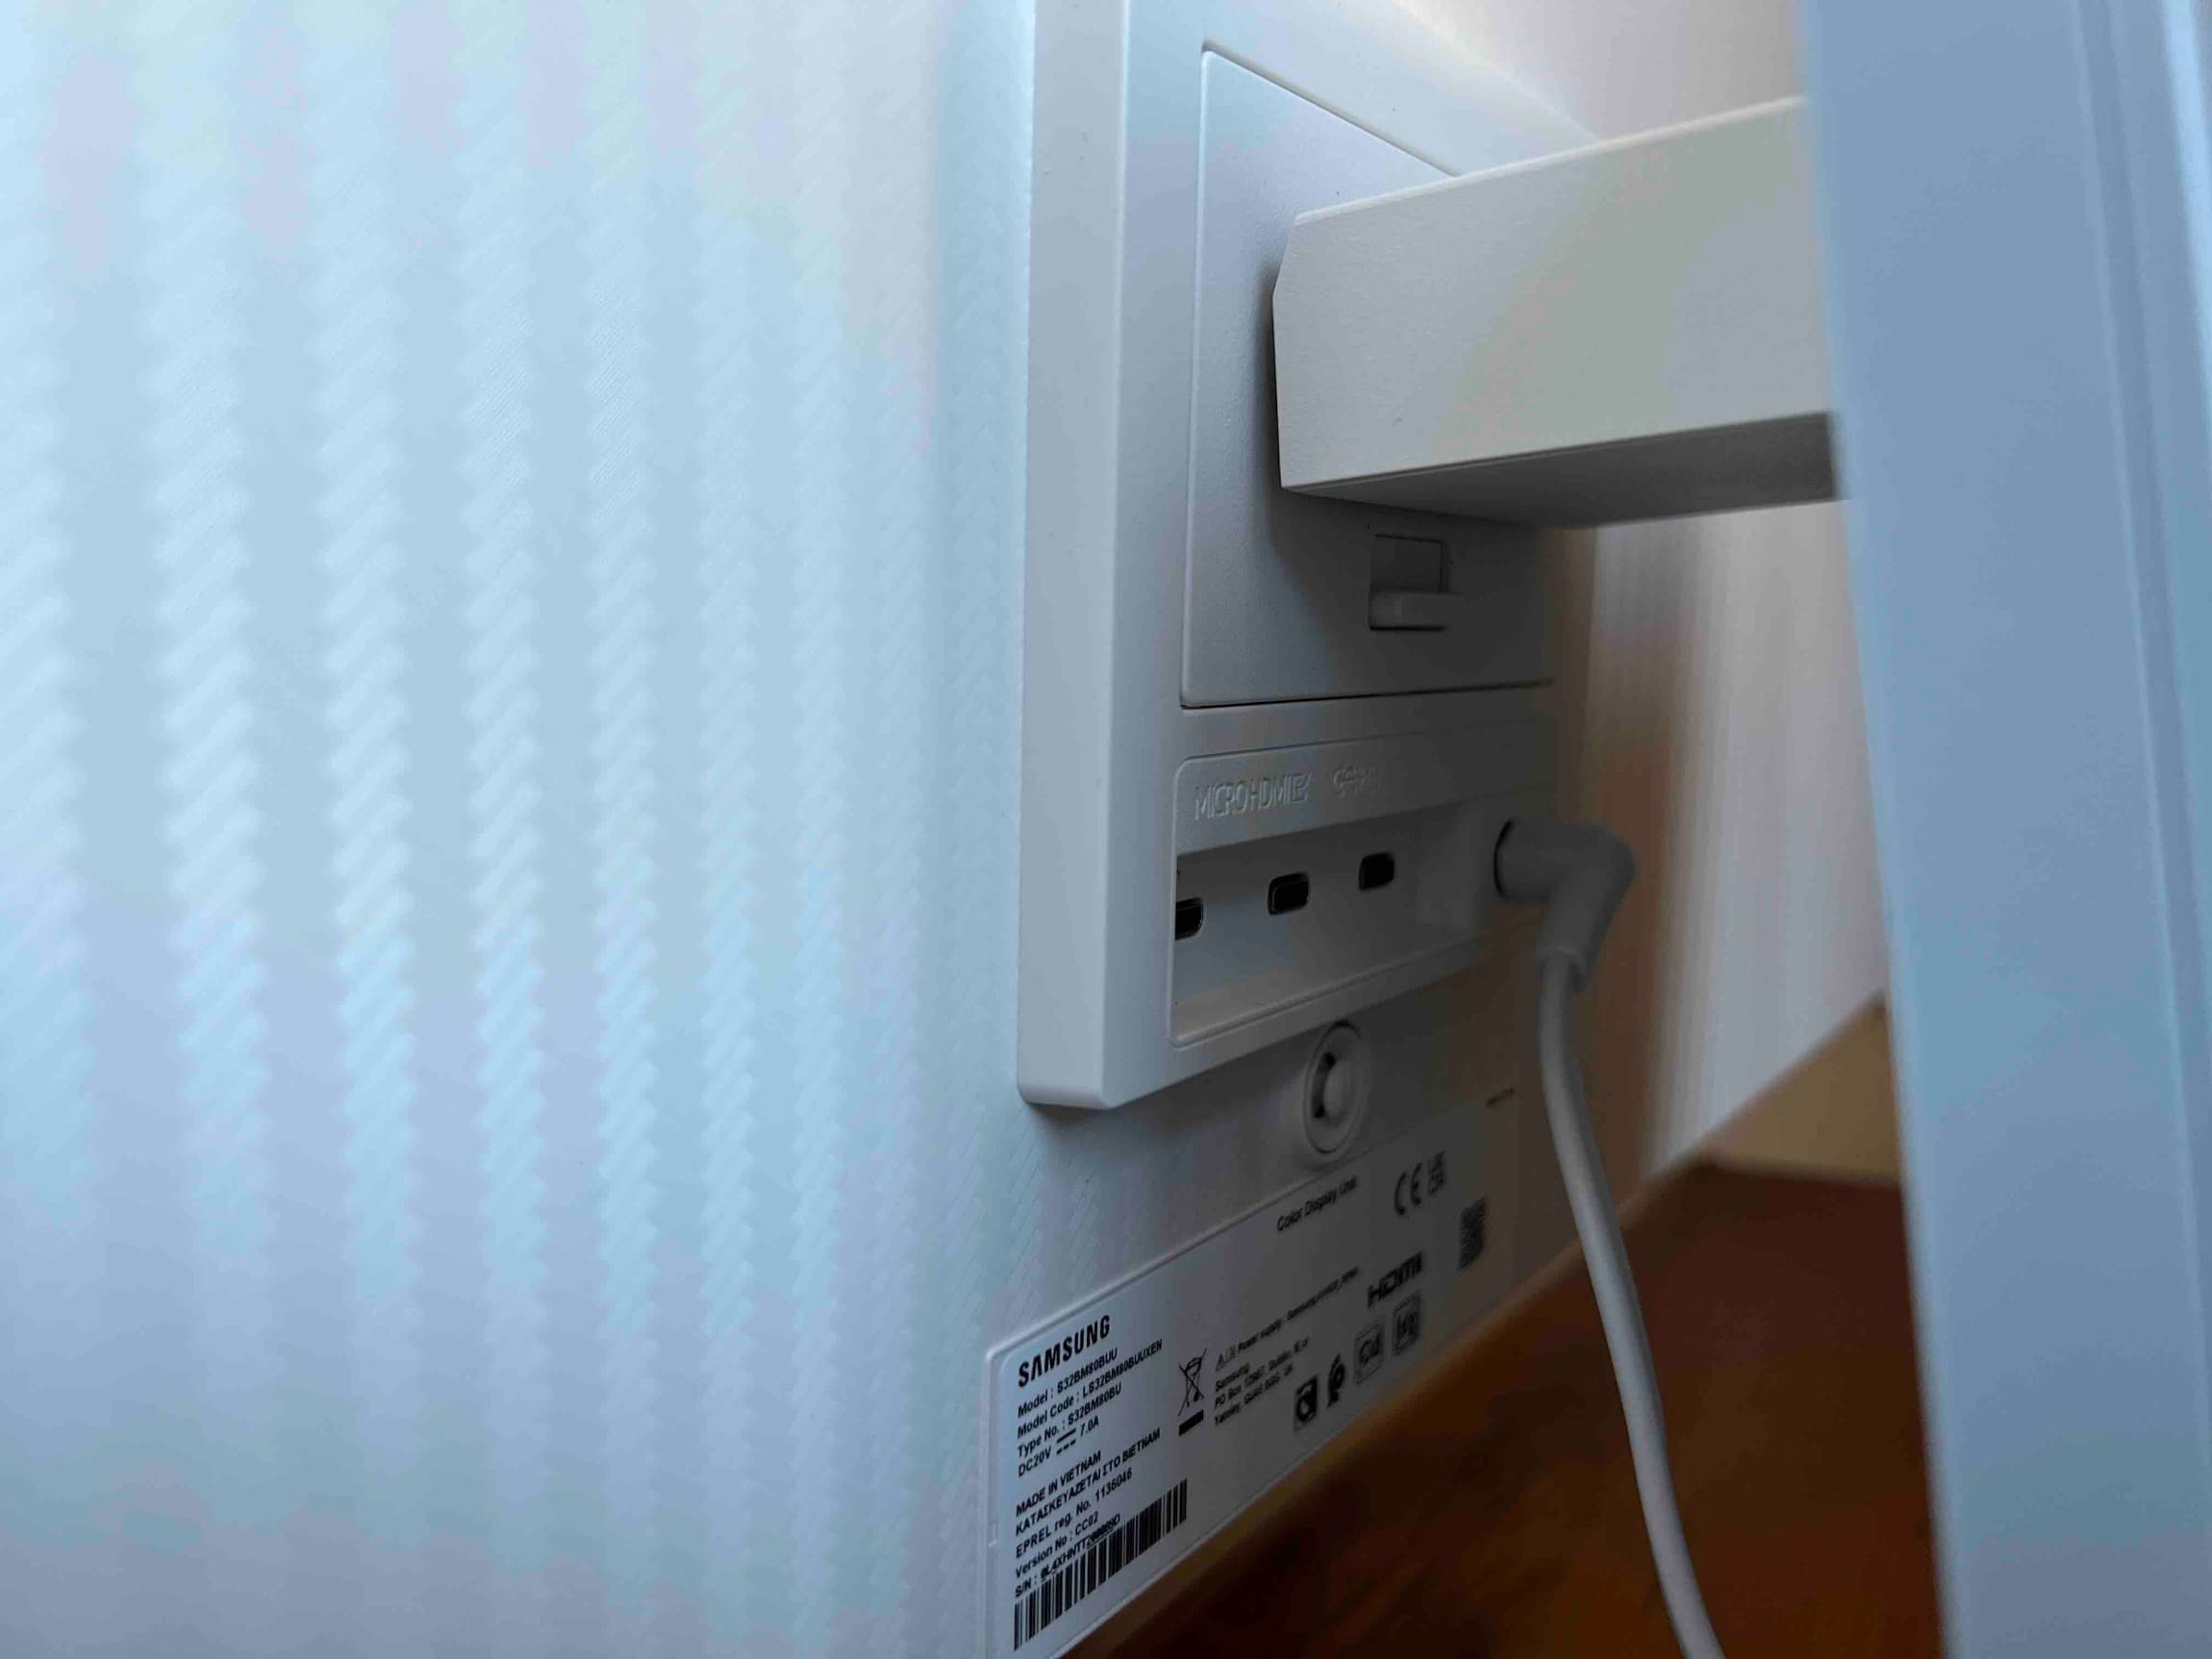
The mains adapter is quite large and heavy. But the stand provides a passage through which you plug it in. This also allows you to extend the HDMI cable, which has a micro HDMI end on the other side. It's quite a shame that you can't use a regular HDMI cable and have to have this bundled version. You will also find two USB-C ports, but access to them is rather difficult, as they are located behind the stand. You would look for a 3,5mm jack connector in vain, the monitor relies on the Bluetooth 4.2 interface.
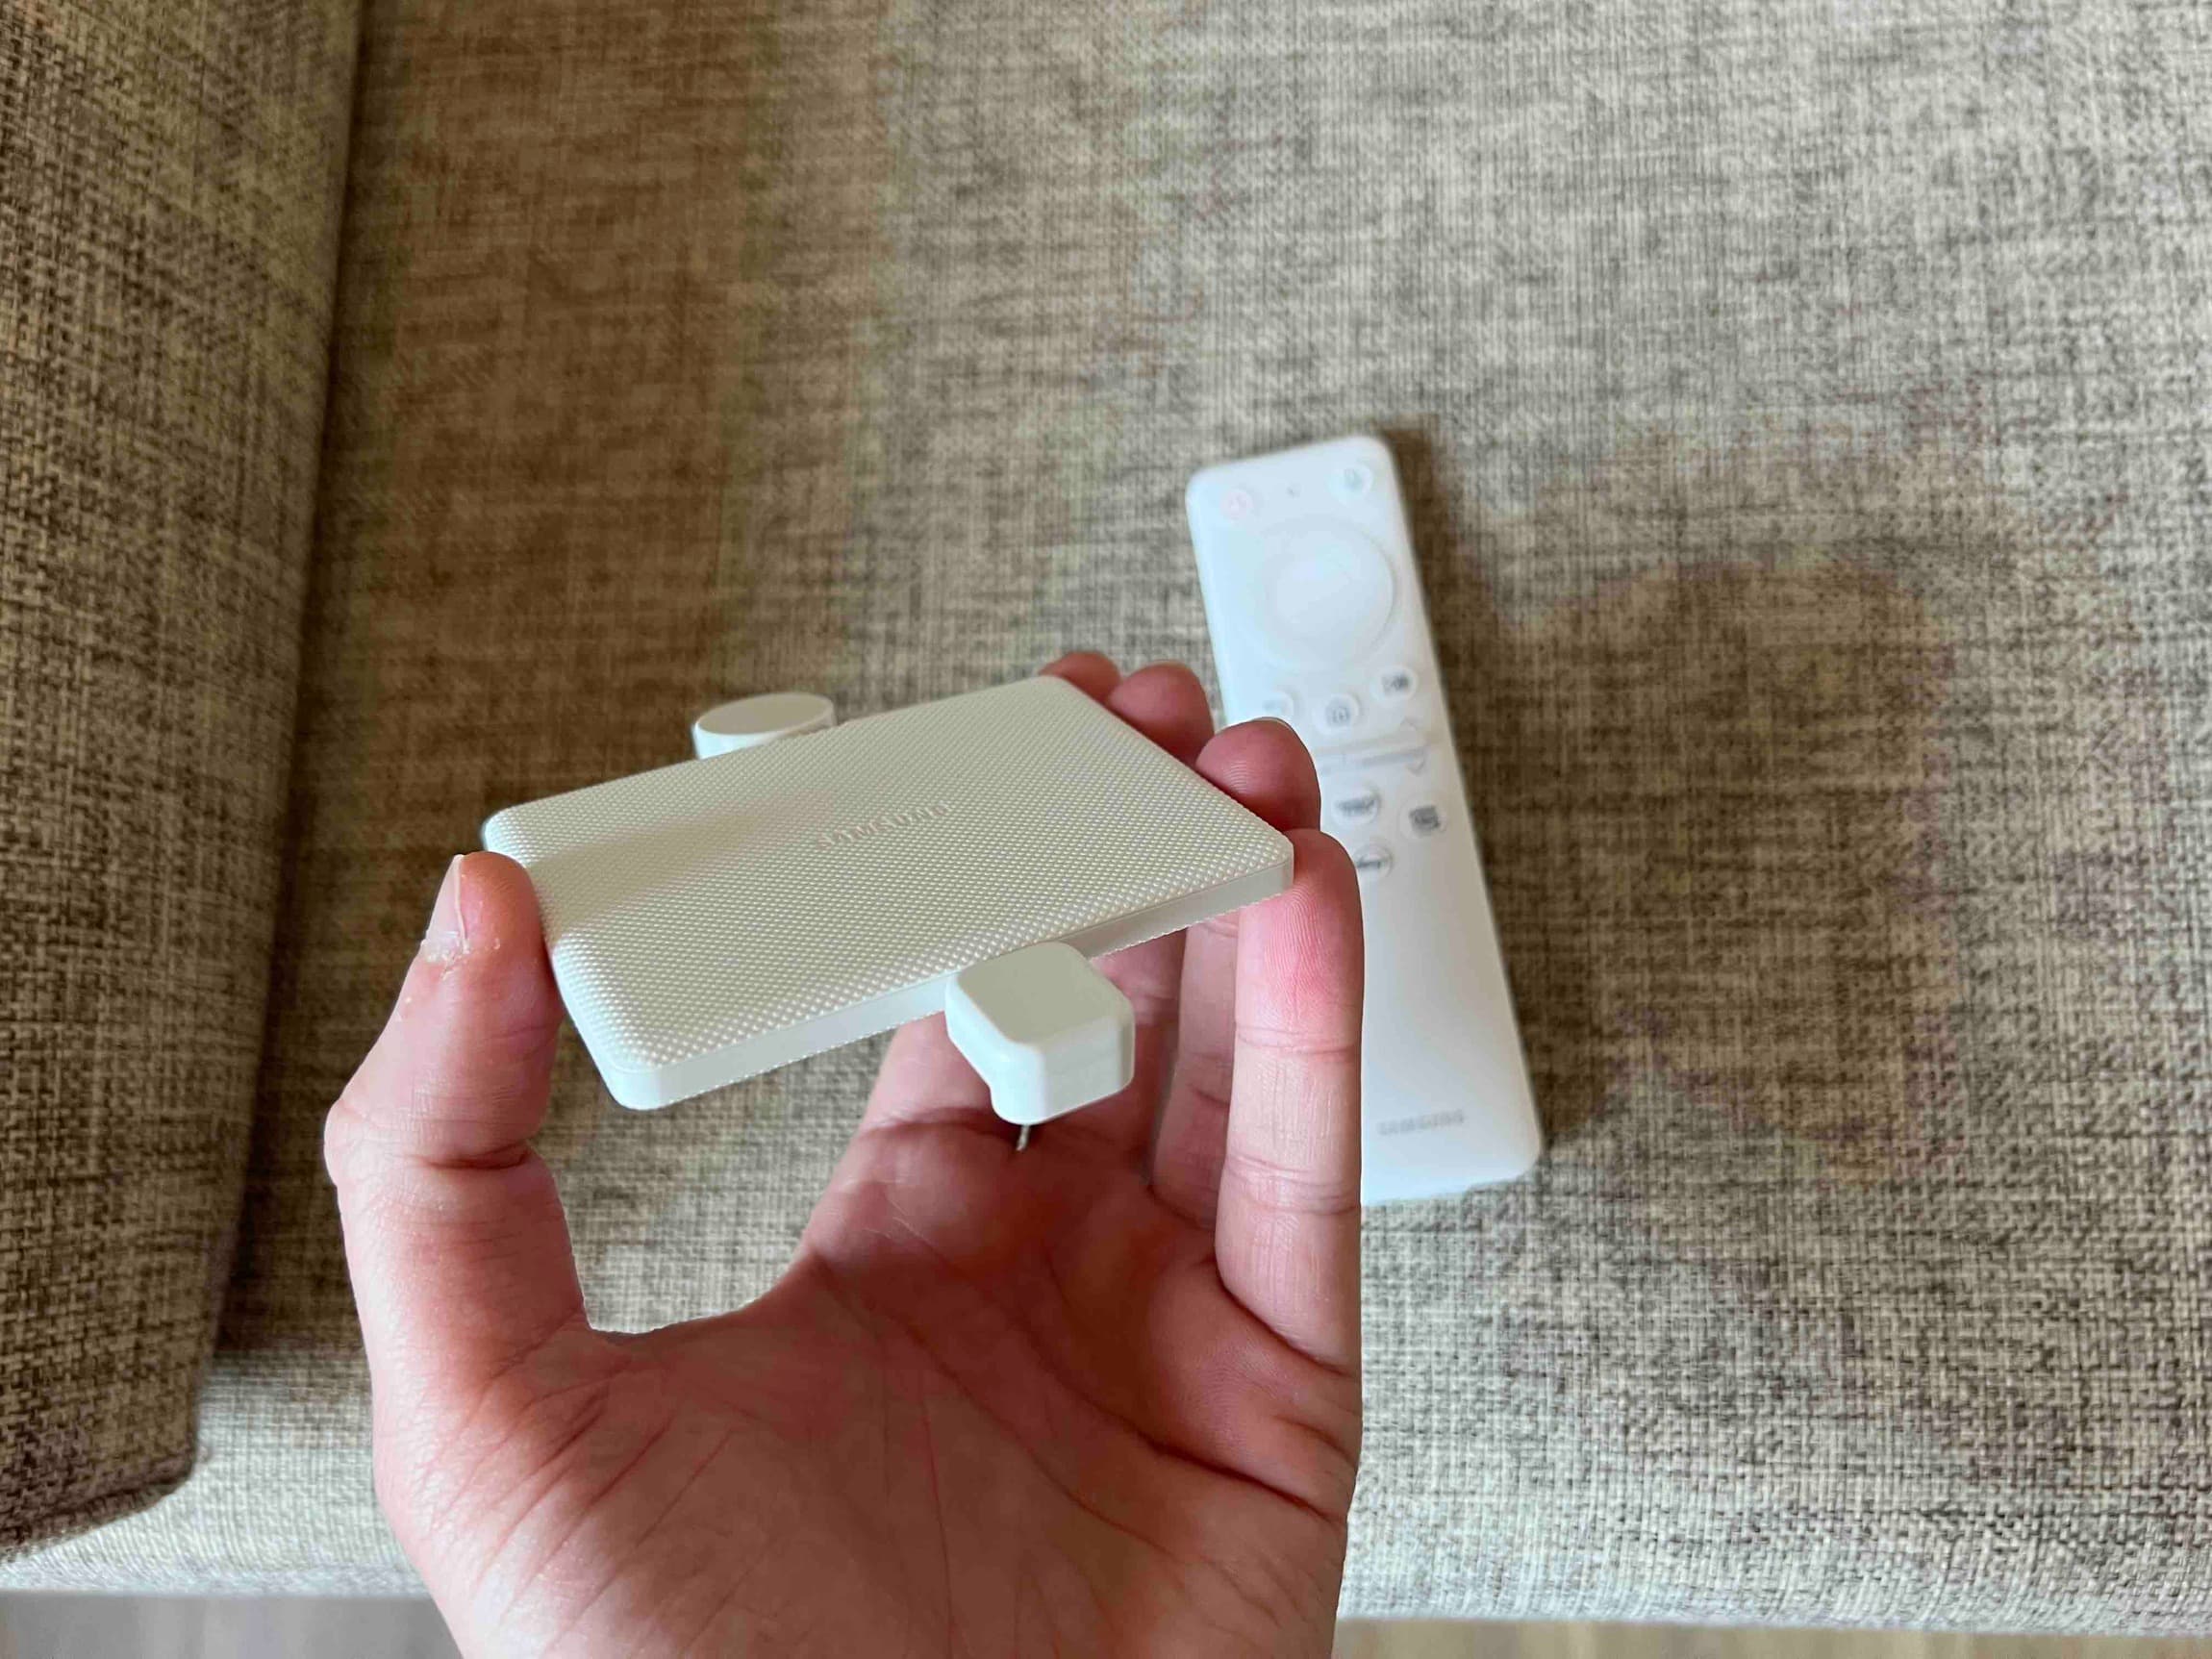
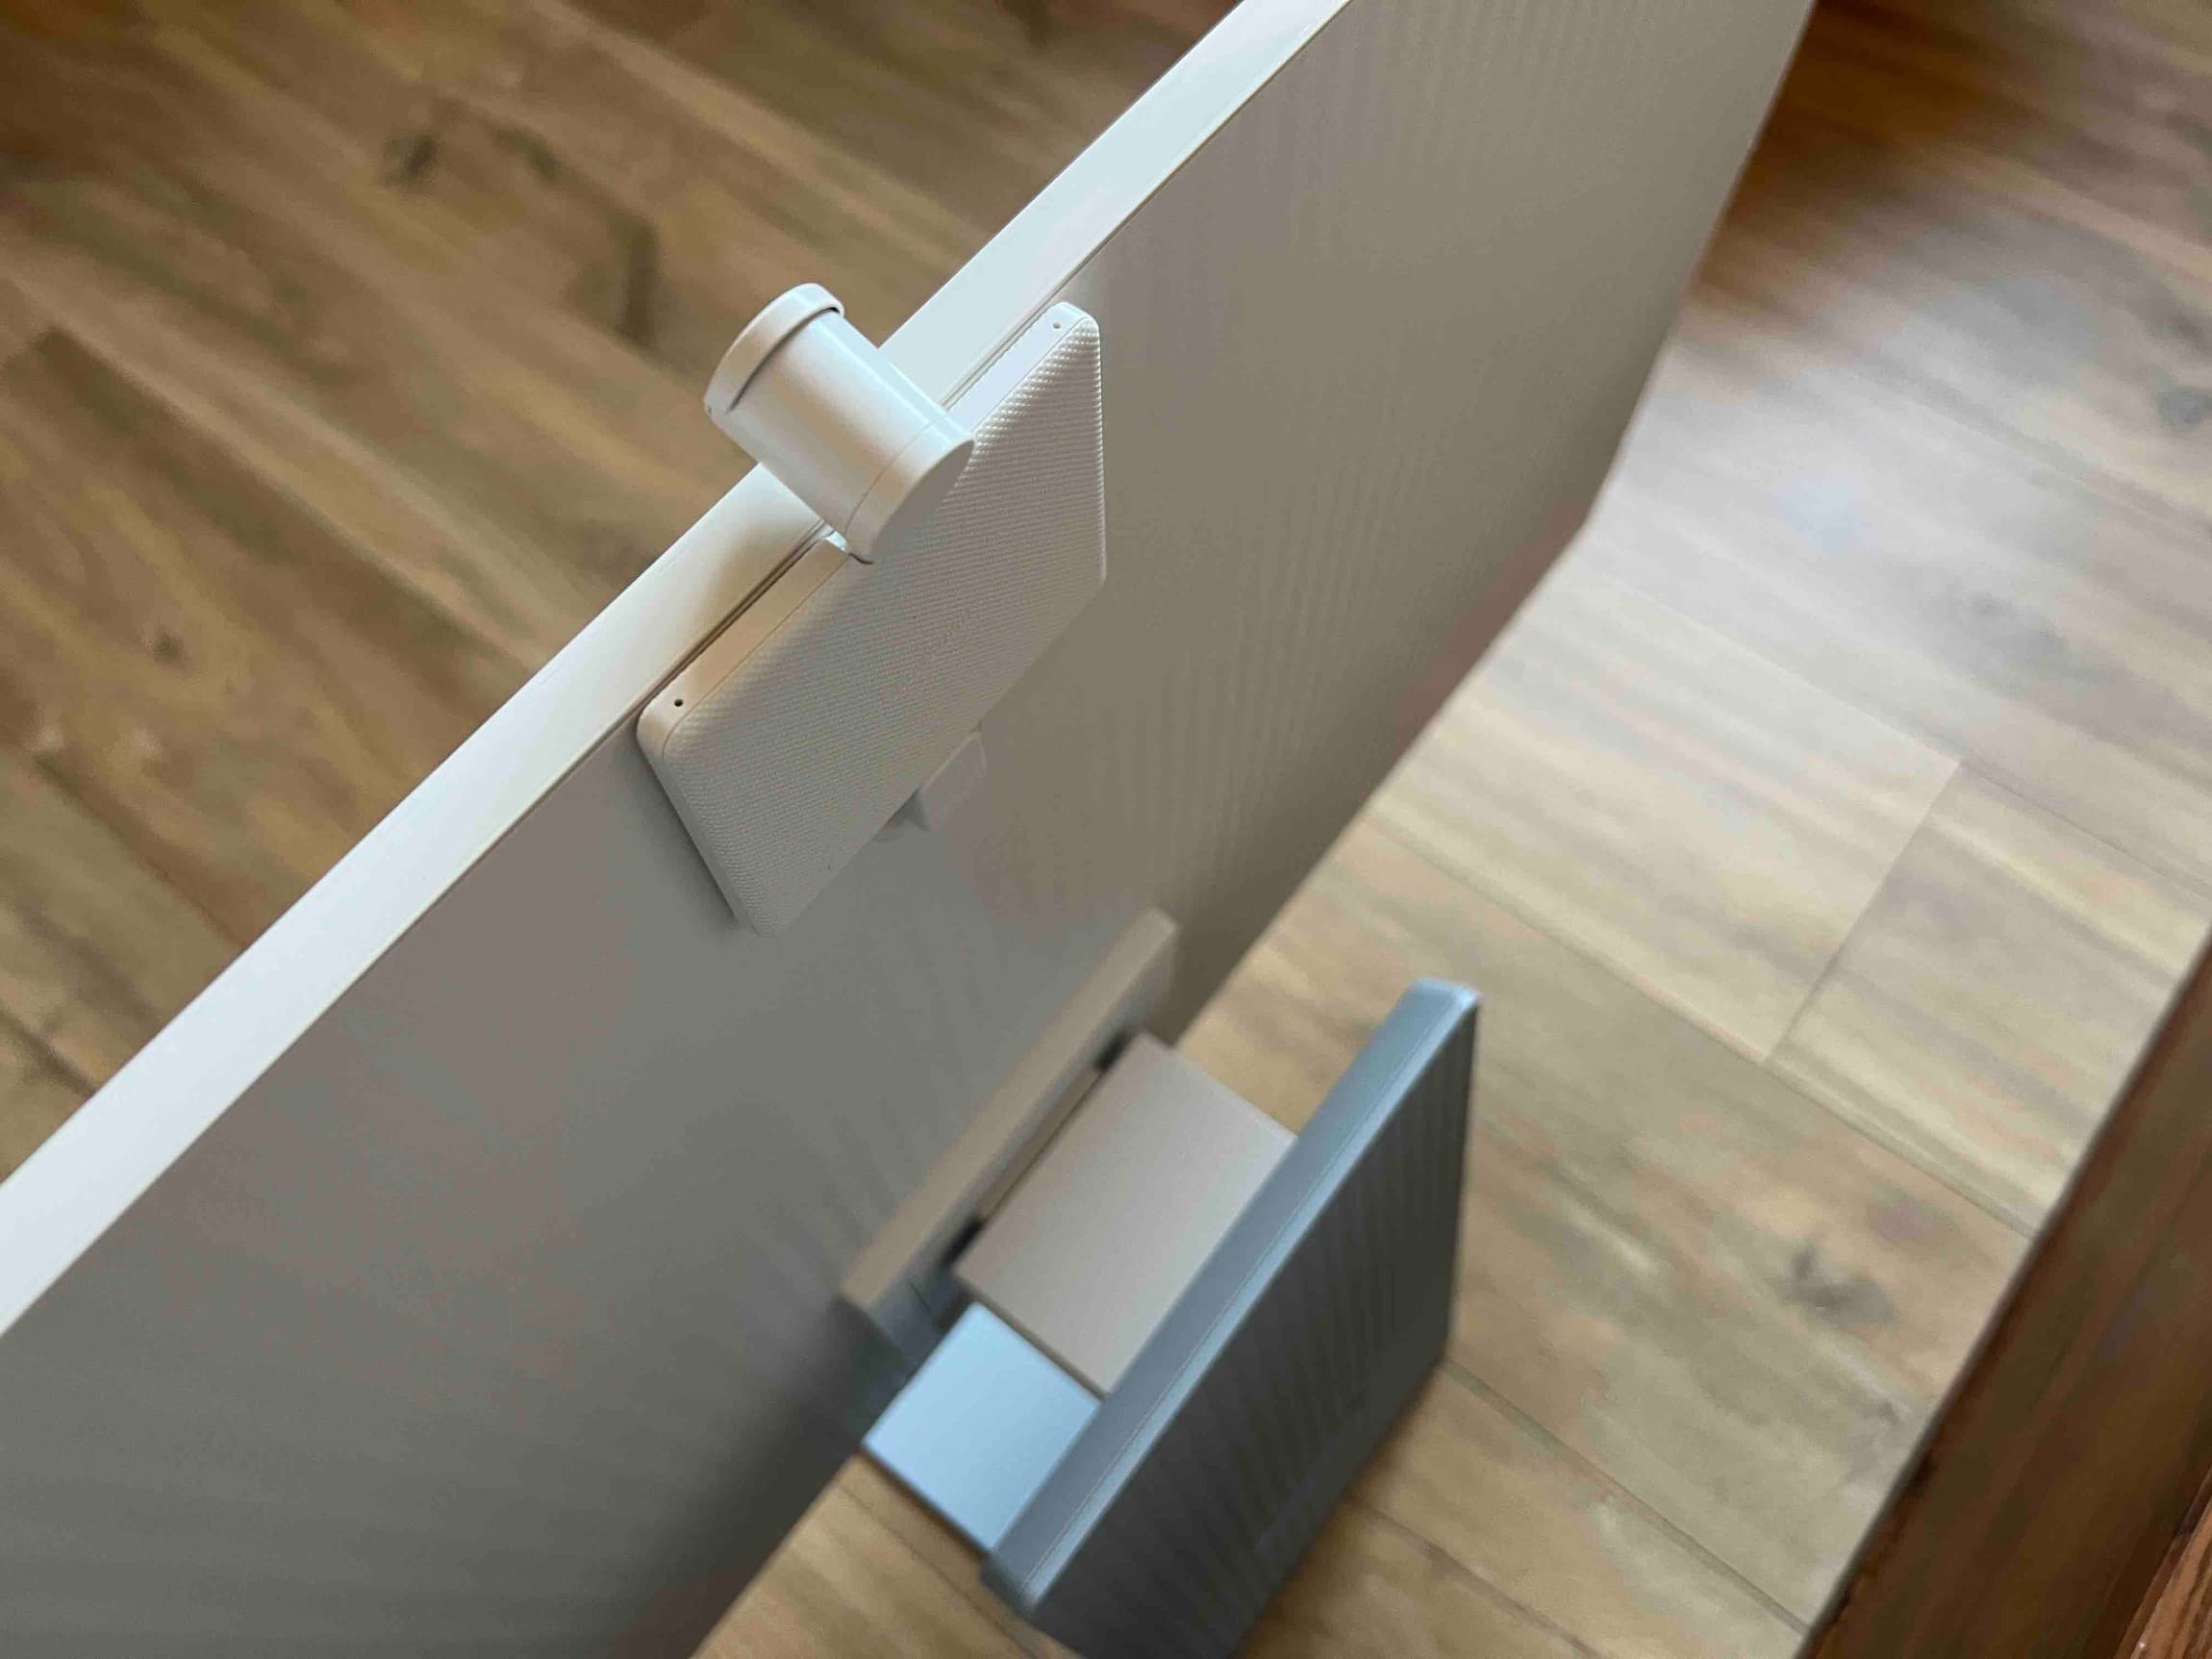
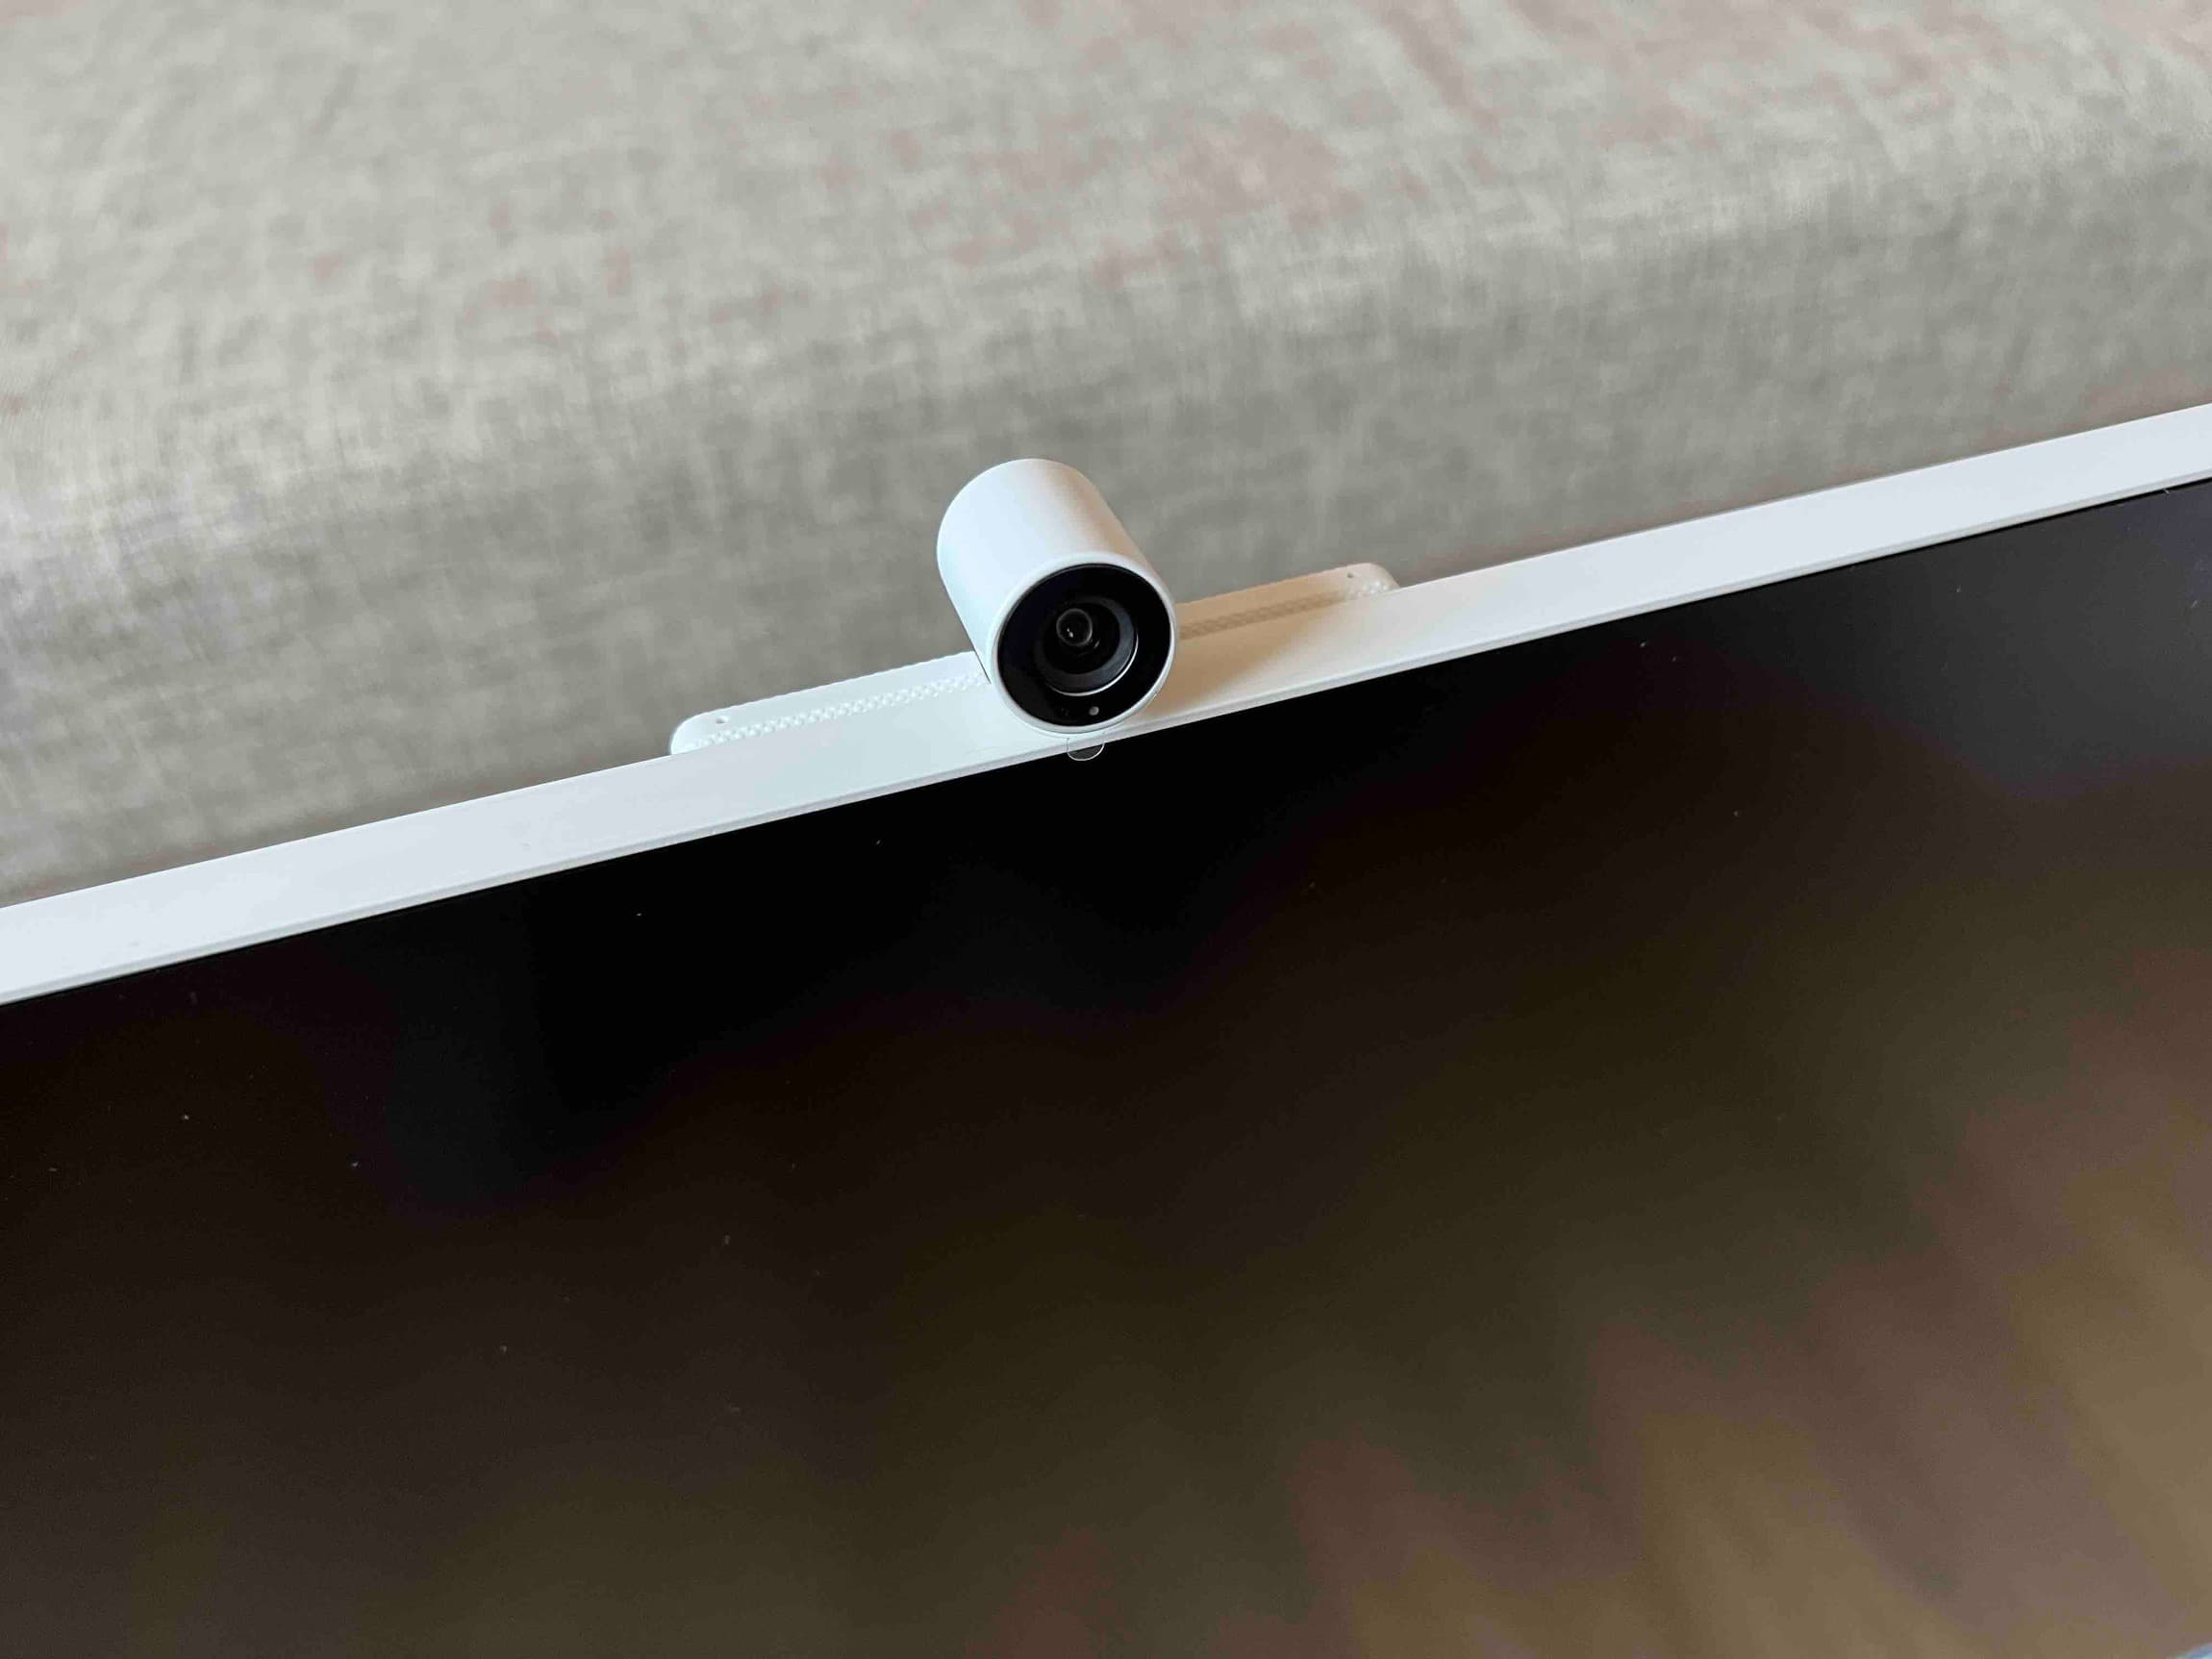
And then, of course, there's the additional camera. It consists of three parts. The first is the module itself, the second is the USB-C reduction to a magnetic connector similar to the MagSafe of Apple computers, and the third is the camera cover, which you cover so that it cannot "secretly" track you. Just place it in place and it will automatically set itself thanks to the magnets.
You will also find a remote control in the package. The monitor can function as an independent unit, so it is designed to be controlled without connecting to a computer. The power button is located at the back in the middle, but because it is relatively low, you can find it easier than the USB-C connectors.
